
In this article we will learn How to Enable Conda-forge Channel For Conda Package Manager. The Conda Package manager installs packages from Default channels. ll packages in the default channel are tested and maintained by the Conda team from Anaconda, Inc.
Aside from the official default channel, there are some third-party channels available for hosting and managing packages. One of the channels is Conda-Forge. Conda-forge is community drived channel that provides latest conda packages for a wide-range of software.
The default channel may not always have all the packages. There could be some missing or outdated packages. The Conda-Forge community tackles these issues by maintaining up-to-date packages with the help of contributors. Conda-forge project is financially supported by NumFOCUS, a non-profit dedicated to support open source scientific computing community.
First, We will Install Anaconda upon which we will enable Conda-Forge Channel.
Install Anaconda On Linux:
Anaconda Python distribution comes as free and paid editions. The Individual edition is free for personal use and learning purposes. We will be using Anaconda Individual edition.
Install the prerequisites for Anaconda using the following command:
apt install libgl1-mesa-glx libegl1-mesa libxrandr2 libxrandr2 libxss1 libxcursor1 libxcomposite1 libasound2 libxi6 libxtst6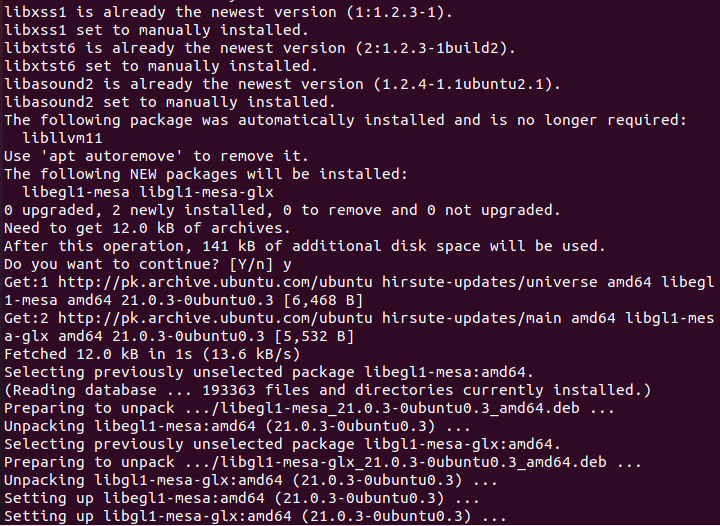
After installing the prerequisites, download the latest Anaconda installer for Linux from Anaconda Official Download Page.
Use the following command to do so.
wget https://repo.anaconda.com/archive/Anaconda3-2021.05-Linux-x86_64.sh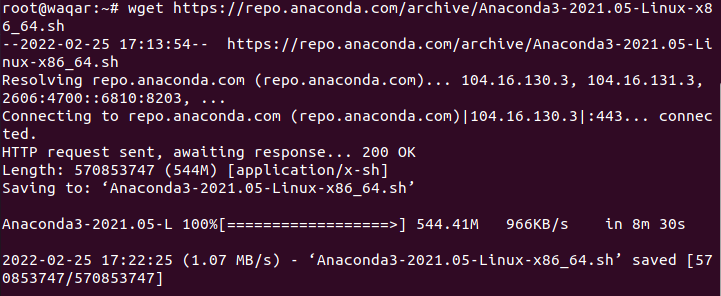
Now, start Anaconda installation using command:
bash Anaconda3-2021.05-Linux-x86_64.sh 
Press ENTER to continue installation:
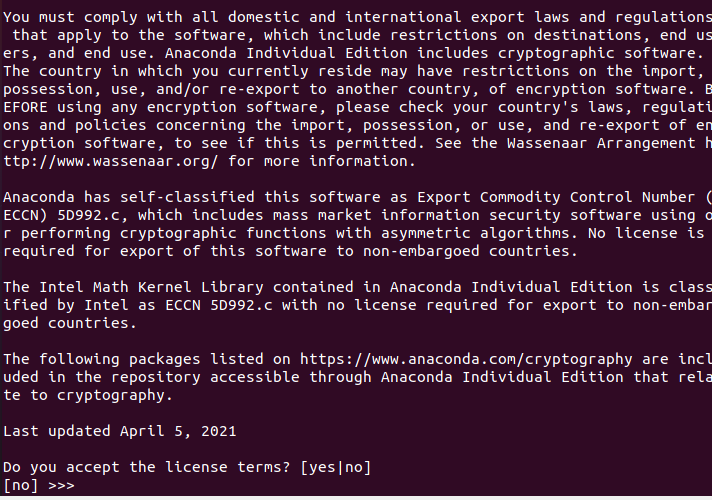
Type “yes” to accept license terms and then press “ENTER”
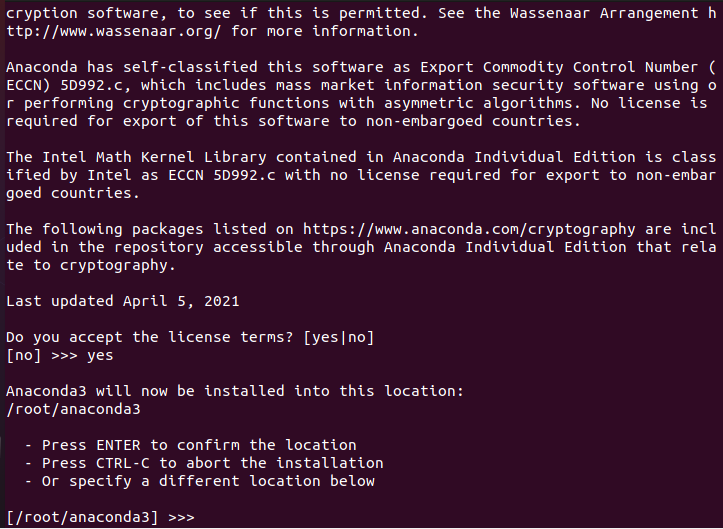
Press Enter for the Default location where Anaconda will be installed or specify your desired location and press ENTER.
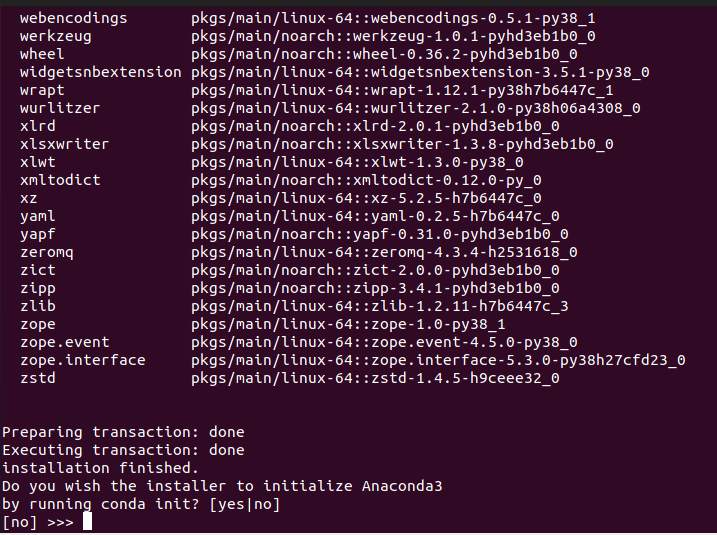
Next you will be asked if you want to initialize Anaconda. It is recommended to initialize it, so just type yes and press ENTER.
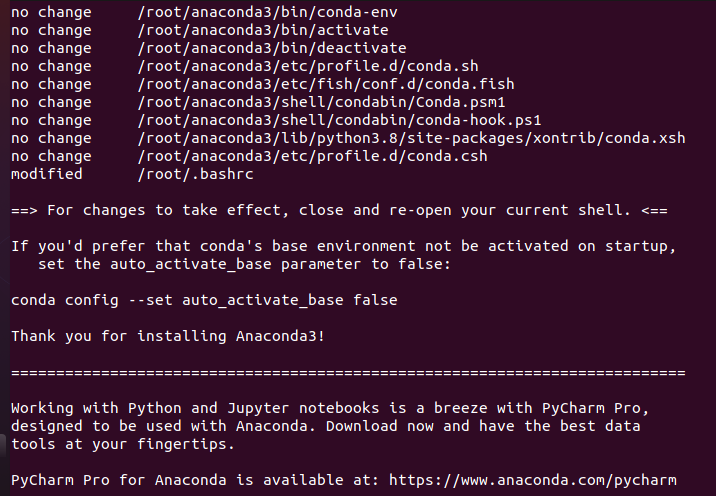
For the installation to take effect, close and open your terminal and run the following command:
source ~/.bashrc
Install packages from conda-forge channel:
It is possible to install packages from a specific channel without adding it in our system. It is recommended to always install packages from conda-forge channel instead of base channel.
We will create a new environment named testapp and install pandas along with its supporting packages in the testapp environment using the following command:
conda create --channel conda-forge --name testapp pandas
or
conda create -c conda-forge -n testapp pandas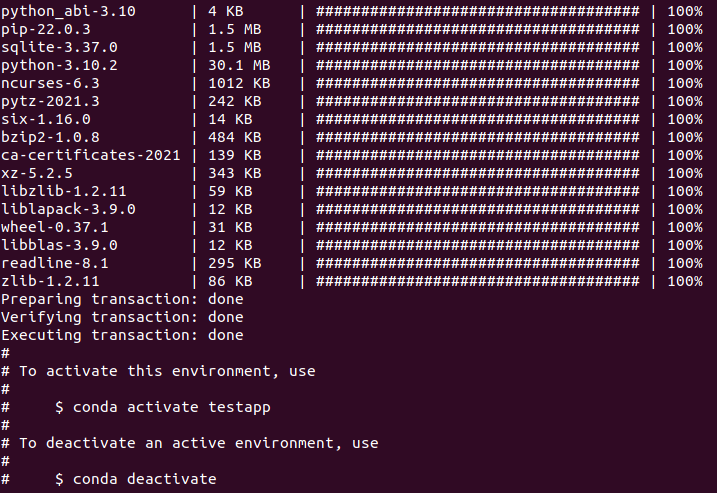
Activate the newly created “testapp” environment using the following command:
conda activate testapp
Check the channel of all packages installed in the Conda Environment using the following command:
conda list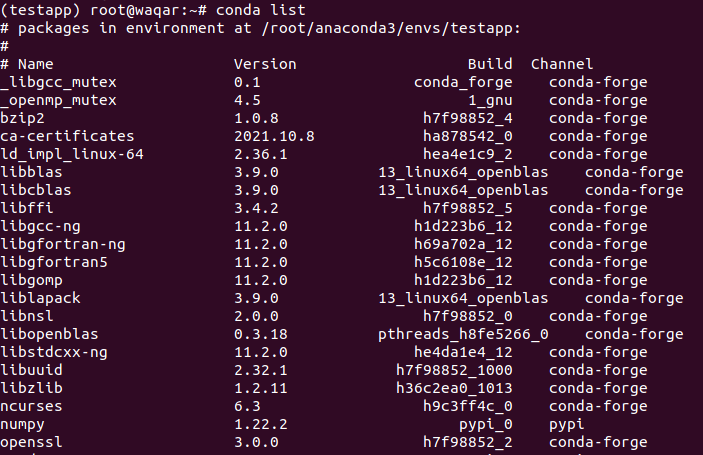
As you can see in the above image channel used is Conda-Forge.
If you don’t want to create new environment but install packages in the existing active environment, run the following command:
conda install --channel conda-forge pandas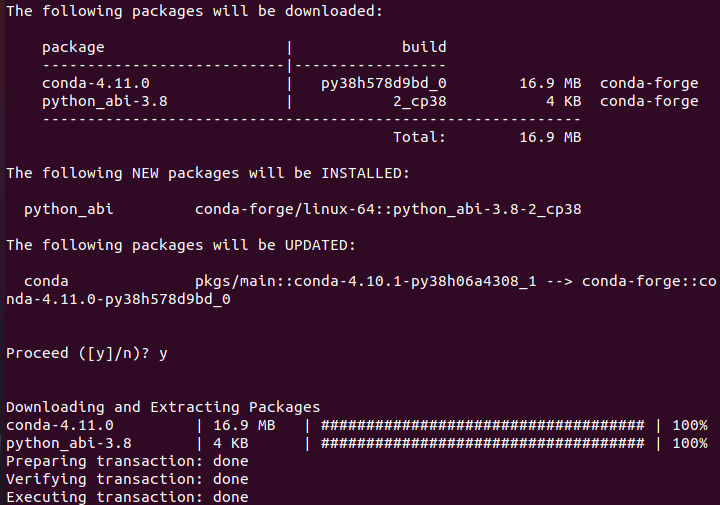
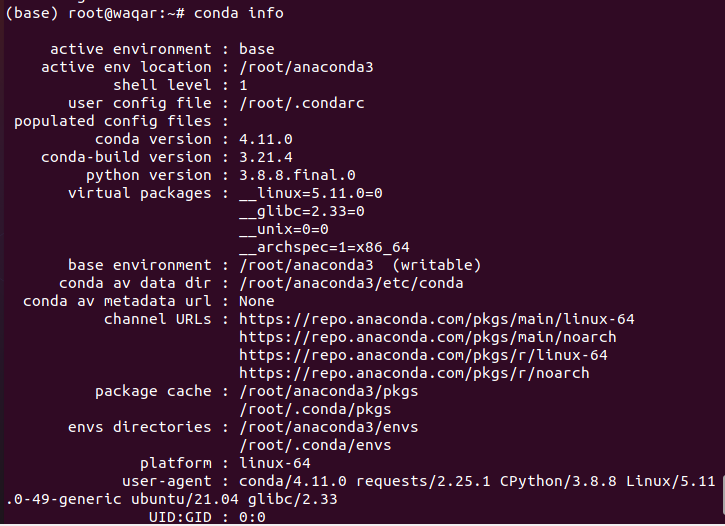
Let us verify if the conda-forge channel is added by using the following methods:
conda infoThe above command shows the details of currently active conda environment, including the channels.
If you want to see only the channels, use the following command:
conda config --show channels
To see the default channels run the following command:
conda config --show default_channels
As you see in the above outputs, conda-forge is not added. We have only installed the packages from the conda-forge channel, but we didn’t enabled / added it yet. Now we will add / enable conda-forge channel permanently.
Enable conda-forge channel for conda package manager in Linux:
Enable conda-forge channel using the following command:
conda config --add channels conda-forgeTo use conda-forge channel everytime you install a package use the following command:
conda config --set channel_priority strict
The channel_priority strict option used in above command will place conda-forge channel on top of defaults channel and ensure that all the dependencies will use conda-forge channel unless they exist only on defaults.
Verify if conda-forge channel is added using the following command:
conda config --show channels
As seen in above image conda-forge is placed on the top of defaults channel. Now you can normally install any package on your environment without explicitly mentioning the channel and it will installed using conda-forge.
We will now install a package as an example shown below:
conda install pandas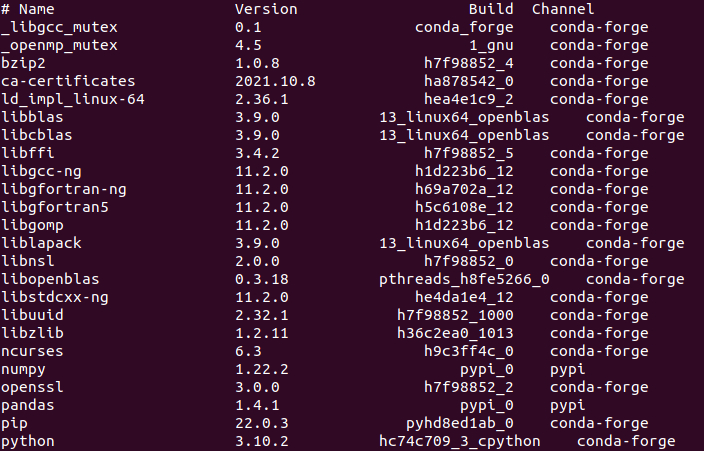
We have successfully Enabled Conda-Forge Channel.