In this article I will help you how to set DRBD on Ubuntu Server 22.04. DRBD is a Distributed and Replicated* storage system wich can be used for high availability computer clusters or can be used to create larger storage pools defined by software.
- *I’m not sure what the B and D stands for, I think is Block Device
First step: install the required software
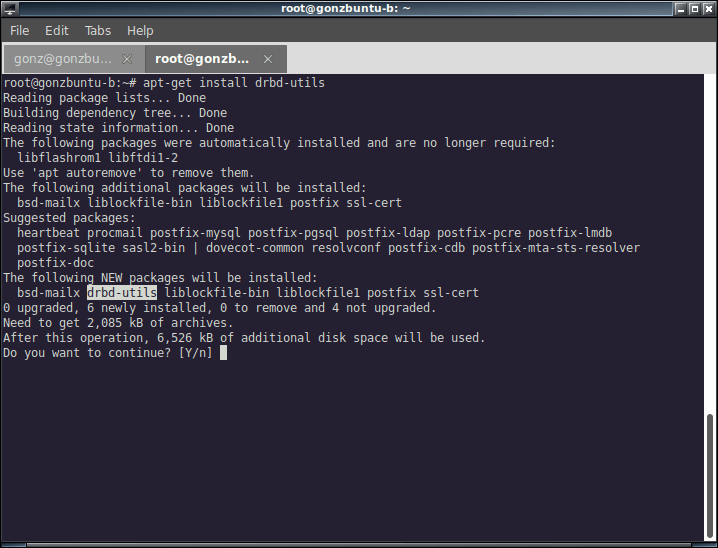
Which in ubuntu means install drbd-utils with apt:
sudo apt-get install drbd-utils

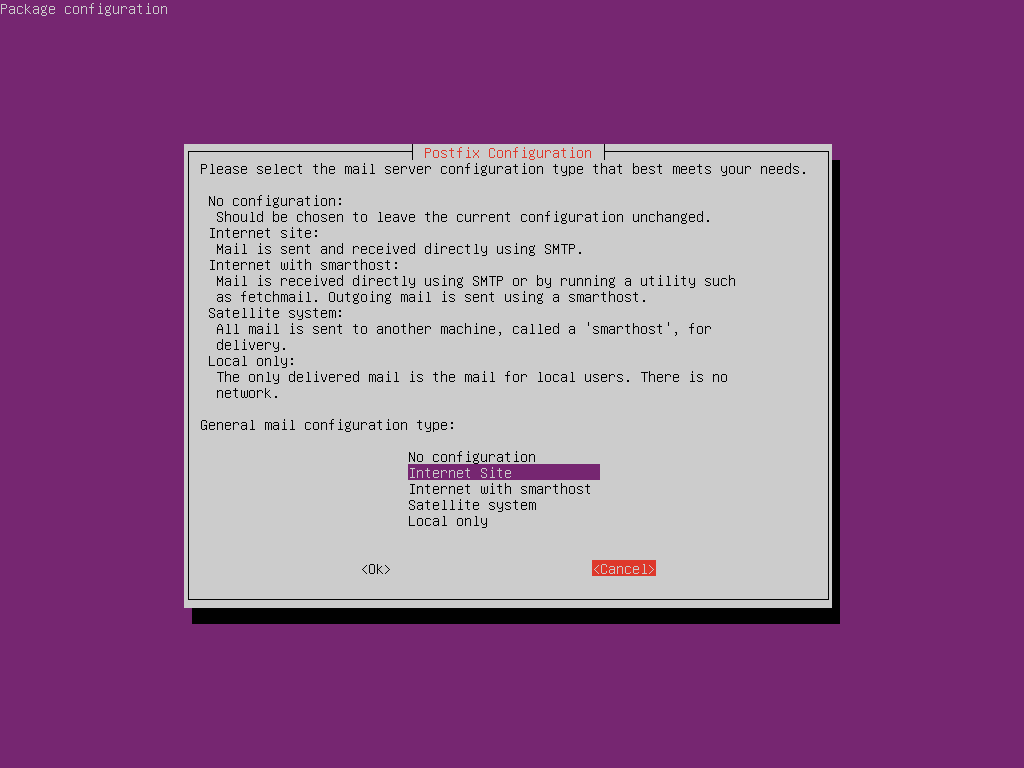
Apt-get (or apt install) will take care of install the dependencies. For example, this was a brand new Virtual Machine that I’ve created only to learn how to setup DRBD on Ubuntu and dependencies included some mta, Postfix in this case.
Second step: install the required software
Wait… what?
I mean, install the required software on the second server. As this is a distributed replicated storage system, we need at least two nodes, so become root in the second one and install drbd-utils.
Alternatively, you can install just one of them and after drbd-utils installation clone the system disk (or clone the VM if you are with virtual machines)
Third step: create a configuration file
Before this step: you should save a partition or a whole disk (much better) to be the shared resource. For this example I’m working with /dev/vda4 (the last partition of the only disk of my virtual machines).
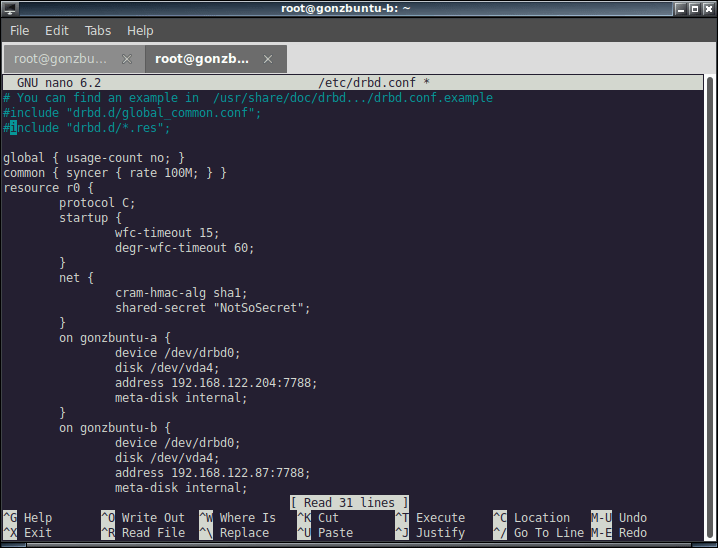
Create /etc/drbd.conf file with the following content:
global { usage-count no; }
common { syncer { rate 100M; } }
resource r0 { #resource name
	protocol C;
	startup {
		wfc-timeout 15;
		degr-wfc-timeout 60;
	}
	net {
		cram-hmac-alg sha1;
		shared-secret "NotSoSecret";
	}
	on gonzbuntu-a { #one server
		device /dev/drbd0;
		disk /dev/vda4; #shared partition
		address 192.168.122.204:7788;
		meta-disk internal;
	}
	on gonzbuntu-b { the other server
                device /dev/drbd0;
                disk /dev/vda4; #shared partition
                address 192.168.122.87:7788;
                meta-disk internal;
	}
}
Our shared resource is called (not imaginatively) r0.
This is just a demo. You may want to have several shared resources and cleaner configuration files. You can create a file per resource and store in separate files in /etc/drbd.d/<resourcename>.res
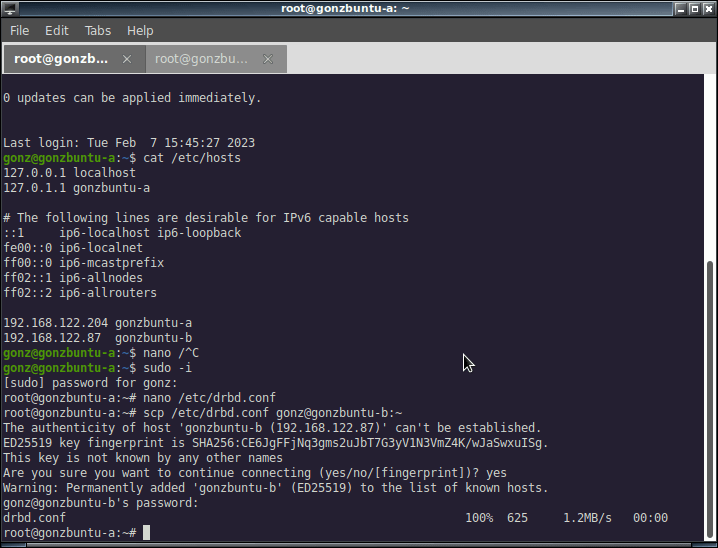
The resource configuration is the same on both nodes, so we can just copy the config file to the other server with scp:
scp /etc/drbd.conf root@server2:/etc/drbd.conf
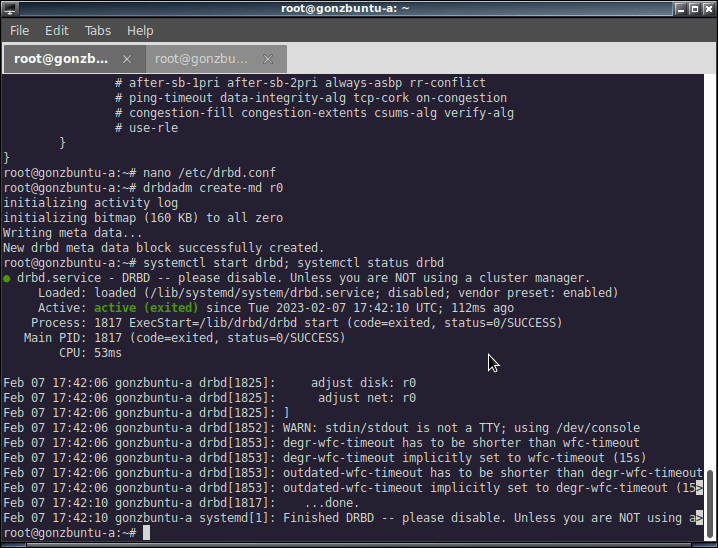
Fourth step: create device metadata
This step must be completed only on the initial device creation, on both hosts:
drbdadm create-md <resource>
Then we can start, also on both hosts, the drbd service:
systemctl start drbd
systemctl status drbd
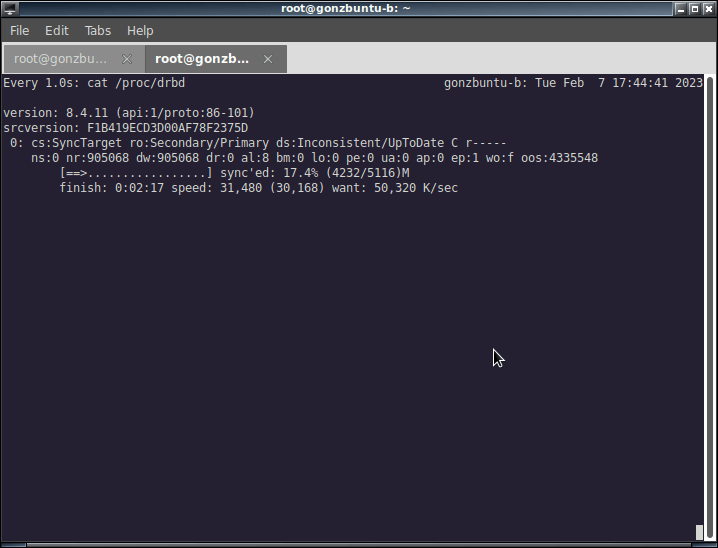
Fifth step: start synchronization
On the master host run the following command:
drbdadm -- --overwrite-data-of-peer primary all
At this point (we are just starting with drbd on ubuntu) any of them can be the primary, just choose the one you like the more. You can check how the synchro goes on the secondary by running:
watch -n1 cat /proc/drbd
Sixth step: add a filesystem
Now we can create a filesystem and mount into some directory. But first make the drbd service starts on every reboot:
systemctl enable drbd.service
mkfs.ext4 /dev/drbd0
mount /dev/drbd0 /mnt/drb/
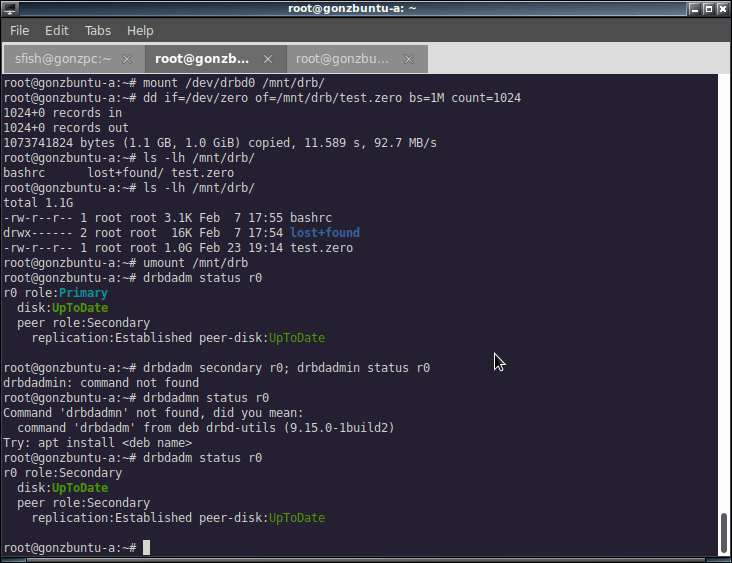
Seventh step: test
Let’s create a test file on the master and then transform this host on the secondary one:
dd if=/dev/zero of=/mnt/drb/filename.ext bs=1M count=1024
umount /mnt/drb
drbdadm secondary r0
drbdadm status r0
Before we work on the master-to-be host, this commands should look like this:
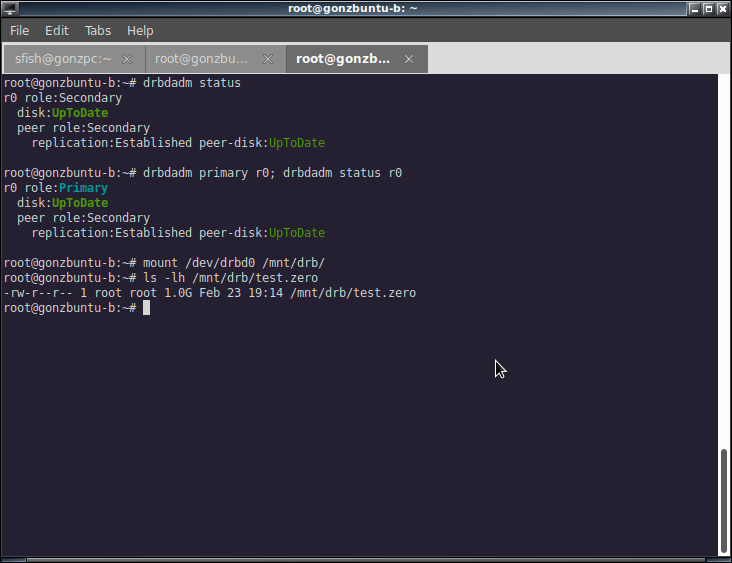
On the second host you can check first if both hosts are with the secondary role and then promote to primary:
drbdadm status r0
drbdadm primary r0
And now you can mount the drb device and check if the file created on the first host it’s here:
mount /dev/drb0 /mnt/drb
ls -lh /mnt/drb/filename.ext
And this is it, t least for learning purposes, how to setup DRBD on Ubuntu server ;). If you are working with Centos 8, we already had a drbd tutorial right here.