
Docker Hub is a cloud-based repository for Docker images. It’s like a library where you can get the information you need to run your code, but it’s more than that: it’s also a place where you can share your code with other people. Also, it makes it easy to store, manage, and deploy Docker containers.
It is a free service provided by Docker, Inc. that allows you to build, store, and ship applications in containers. It’s also a part of the Docker ecosystem—a suite of tools that help developers build and run apps faster.
When you use Docker Hub, you can:
– Store your Docker images in the cloud, so they’re accessible from anywhere
– Automate the deployment of your code with Continuous Delivery (CD) pipelines
– Share your images with other developers or teams
How does Docker Hub Work?
Docker Hub is a great resource for managing your Docker images. You can use it to store and push images, configure repositories, and even create automated builds.
In order to use docker hub, first, you’ll need to create an account on Docker Hub. Once you’ve done that, you’ll be able to log in at https://hub.docker.com/login/.
Once you log in, click “Create Repository” in the top right corner of the screen. This will start the process of creating a new repository for your image. You’ll need to provide a name for your project and pick where you want it hosted on Docker Hub (you can always change this later). When you create a repository, it will be public by default—anyone can view or download any of the images in your repository. If you want to make your repository private, then click on “Settings” and then select “Private” under “Access.” Once this is done, click “Create Repository.”
Now that you have created a repository for your image, you’re ready to upload it! If this sounds confusing at all, don’t worry—making an image is just like making a recipe! All you have to do is take all of the ingredients (code) needed for your project and put them into one big pot (image). Once everything is in there, just stir until everything looks good!
Click “Push” at the top of the screen and then select “Upload Files from Your Computer” from the dropdown menu that appears next to “Repositories.” The next step is selecting which files need to be uploaded by clicking on “Choose file(s).” At this point, you should only have one option available: “.tar.” Selecting this will allow you to choose which file needs to be uploaded into Docker Hub.
Apart from this, you can push images via CLI. But how do we do that? Let us understand in detail.
Push Image via CLI
Follow these simple steps:
1. Open the Docker Command Prompt.
2. Type docker login, then enter your username and password for Docker Hub when prompted for credentials.
$ docker login 
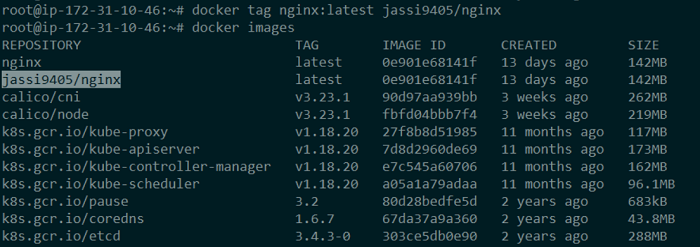
3. Type docker tag myapp:latest <username>/myapp (replace <username> with your username from step 2). This tags the latest version of myapp with your username.
$ docker tag nginx:latest jassi9405/nginx
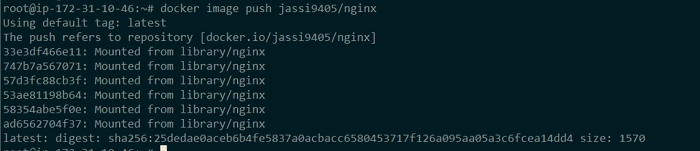
Then you can push it to Docker Hub later on if you want to share it with other developers or use it yourself again in the future without having to rebuild it from scratch.
$ docker image push jassi9405/nginx
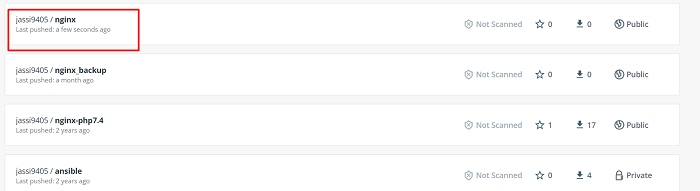
If you make changes or break something while trying something new out in the codebase before committing those changes into production (not yet anyway).
When you push an image to Docker Hub, it is stored in the registry. Then, you can pull this image from the registry to your computer.
$ docker image pull jassi9405/nginxConclusion
Overall, Docker Hub is a great resource for developers who are looking to simplify their workflow with Docker. It’s a must-use tool that takes the pain out of configuring and managing your containers.