
Hello, friends. In this post, you will learn how to install Nextcloud on Rocky Linux 8.
As we all know, with Nextcloud, we can deploy our private cloud where we don’t have to trust our files to anyone.
For this very reason, is that many companies have instances to share data between workers without trusting third parties that can steal data.
So let’s go for it.
Install necessary packages
Before we start, we have to do a few things on the server. First, update it.
sudo dnf updateAfter the whole system is up-to-date, we have to install some necessary packages like
sudo dnf install nano unzip wgetNow we can continue
Install Apache web server and MariaDB
Nextcloud is an application that requires LAMP to run. So, we have to install Apache and MariaDB.
sudo dnf install httpd mariadb-serverAfter this, make sure that the firewall is open for Apache.
sudo firewall-cmd --permanent --add-service=httpThen, start the service for both
sudo systemctl start httpd mariadbIt is recommended to enable them to start with the system.
sudo systemctl enable httpd mariadbThen define a root password for MariaDB
sudo mysql_secure_installationThere you will be prompted for a password. As there is no password defined, just press Enter. Then, you can change it to a stronger one if you want. Afterwards, you will be asked some configuration questions that you will have to answer Y.
Now Apache and MariaDB are present on the system.
Install PHP 7.4 on Rocky Linux
The version of PHP that is available on the system is 7.2, but the latest versions of Nextcloud require at least 7.4. So, we have to install PHP 7.4 on Rocky Linux.
To archieve this, first run
sudo dnf module list reset php
Last metadata expiration check: 0:32:46 ago on Fri 11 Feb 2022 07:46:37 PM UTC.
Rocky Linux 8 - AppStream
Name                           Stream                               Profiles                                             Summary
php                            7.2 [d][e]                           common [d], devel, minimal                           PHP scripting language
php                            7.3                                  common [d], devel, minimal                           PHP scripting language
php                            7.4                                  common [d], devel, minimal                           PHP scripting language
As we can see the PHP module that is enabled is for version 7.2. We have to disable it.
sudo dnf module disable php:7.2And as we have version 7.4 available, then we have to enable it.
sudo dnf module enable php:7.4After this, we will be able to install PHP 7.4 along with all the modules required by Nextcloud.
sudo dnf install php php-gd php-curl php-curl php-zip php-dom php-xml php-simplexml php-mbstring php-intl php-json php-mysqlndNow we have to simply restart Apache.
sudo systemctl restart httpdCreate a new database for Nextcloud
Now with LAMP ready, we have to create a new database and a new user for Nextcloud.
Log in to the MariaDB console:
sudo mysql -u root -pThen create a new database with the name you want:
CREATE DATABASE nextclouddb;Then the user. You can also use the name you want and a stronger password.
CREATE USER 'user'@'localhost' IDENTIFIED BY 'pss';Assign permissions on the new database:
GRANT ALL ON nextclouddb.* to 'user'@'localhost';Refresh the permissions and exit the console:
FLUSH PRIVILEGES;
exit
Download Nextcloud on Rocky Linux 8
After this, download a recent version of Nextcloud
wget https://download.nextcloud.com/server/releases/nextcloud-23.0.0.zip
Now go to a safe location such as /var/www/.
cd /var/wwwAnd there unzip the file
sudo unzip ~/nextcloud-23.0.0.zipMake apache the owner of the folder and assign appropriate permissions to this folder.
sudo chown -R apache:apache nextcloud
sudo chmod -R 755 nextcloud
We also have to create a new folder for the data to be generated.
sudo mkdir -p /var/nextcloud/dataLikewise, make apache the owner with the correct permissions.
sudo chown -R apache:apache nextcloud
sudo chmod -R 755 nextcloud
Now create a new virtual host for Nextcloud.
sudo nano /etc/httpd/conf.d/nextcloud.confAnd add the following
<VirtualHost *:80>
     ServerAdmin admin@your_domain.com
     DocumentRoot /var/www/nextcloud
     ServerName cloud.unixcop.test

        <Directory /var/www/nextcloud>
          Options FollowSymlinks
          AllowOverride All
          Require all granted
         </Directory>
</VirtualHost>
Remember that you have to modify the value of ServerName to your domain name.
Save the changes and close the editor. To apply the changes, restart Apache.
sudo systemctl restart httpdComplete the installation
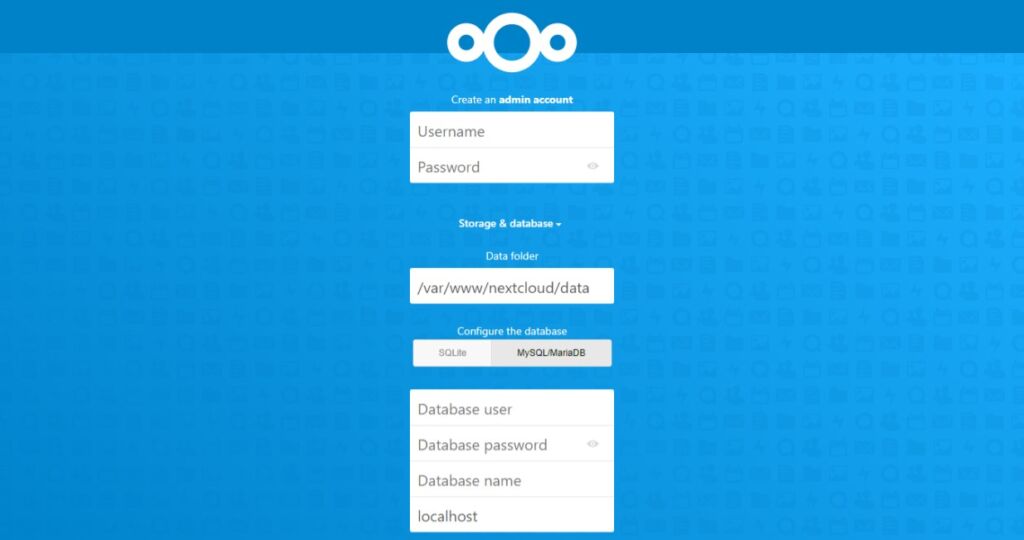
Then open a web browser and go to your domain to see the installation screen, where you will have to create an administrator user and configure the database with MariaDB.
If all that goes well, you will be able to choose whether to install some default apps and when the whole process is finished you will be redirected to the dashboard.
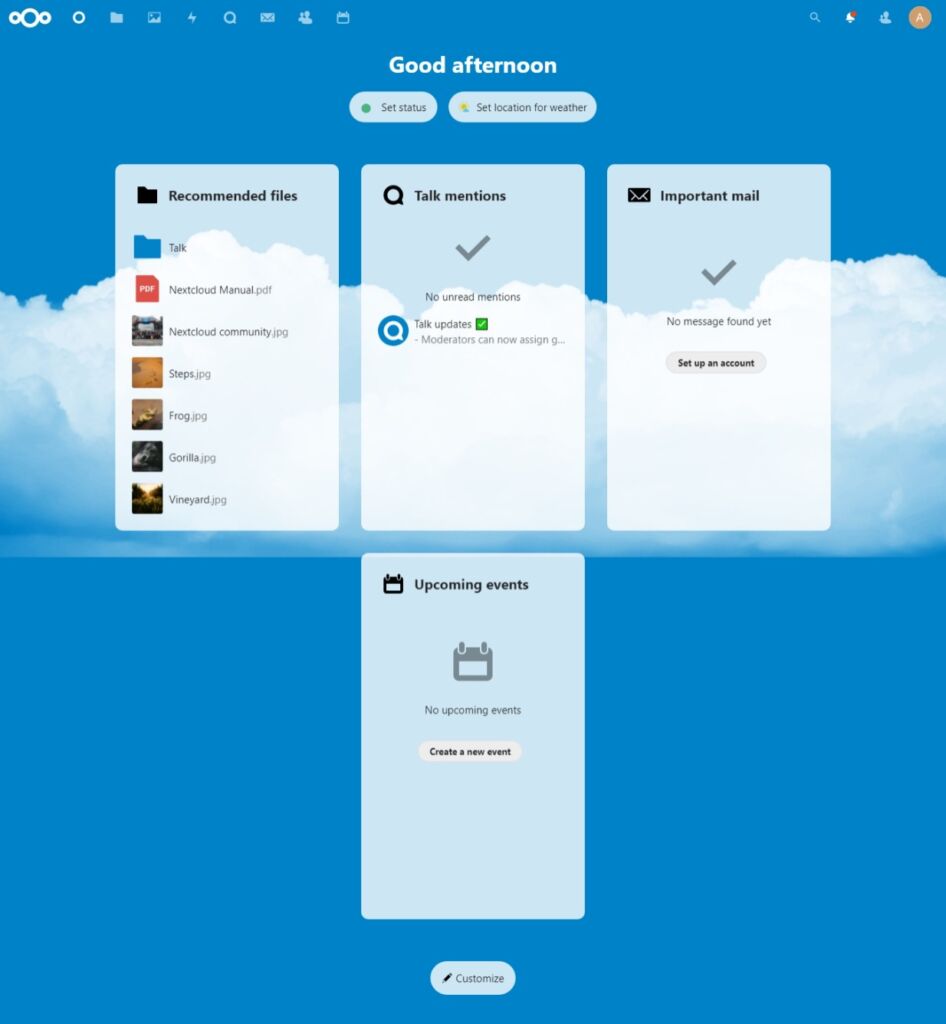
So enjoy it.
Conclusion
Thanks to this post, you learned how to install Nextcloud on Rocky Linux. So, you can easily do it too.