
Introduction
Welcome again! today will learn to build a Firewall with ClearOS. in the very last article I listed up the top five firewalls. The one potentially useful firewall, I was not able to cover in the article. So today we will cover a complete step-by-step installation guide for the same.
The firewall comes in a form of a dedicated OS and can be downloaded from this link. The free-to-use license of ClearOS comes under community license. Yet the UTM is free having no official support. But, still have a good support community and documentation. Let’s go step by step. First, we will have a look into the features of the firewall followed by an installation guide. Finally, we will give the final verdict in form of a conclusion.
Features of ClearOS
Here are key highlights of the free service available with ClearOS community addition.
Server
- Directory Services.
- Print sharing sever.
- ClearOS support Windows PDC services integration.
- Antivirus/file scanner.
- Web Server with PHP.
- Zarafa community edition.
Network
- Multi-WAN support.
- Bandwidth management for per-user throughput guarantee.
- DHCP, DNS, NTP services are supported.
- OpenVPN for secured network access.
- Firewall.
- Routing services are highly flexible and easy to manage.
- DNZ and 1-1 NATing possible.
Application management
- Antimalware.
- Content Filtering is available even with the free edition.
- Intrusion detection.
- Application control.
- Antiphishing services.
- Multi protocol filter.
Installtion of ClearOS
We have downloaded OS. Now define the minimum configuration for the server. To support 40-50 users on average, a Ci5 Server with 02 LAN cards, 16 GB of RAM, and 160 GB SSD is recommended.
Boot system
Define your language and keyboard format. Click next.
Define your drive installation, define hostname and Network Settings.
Define IP address for WAN and LAN ports.
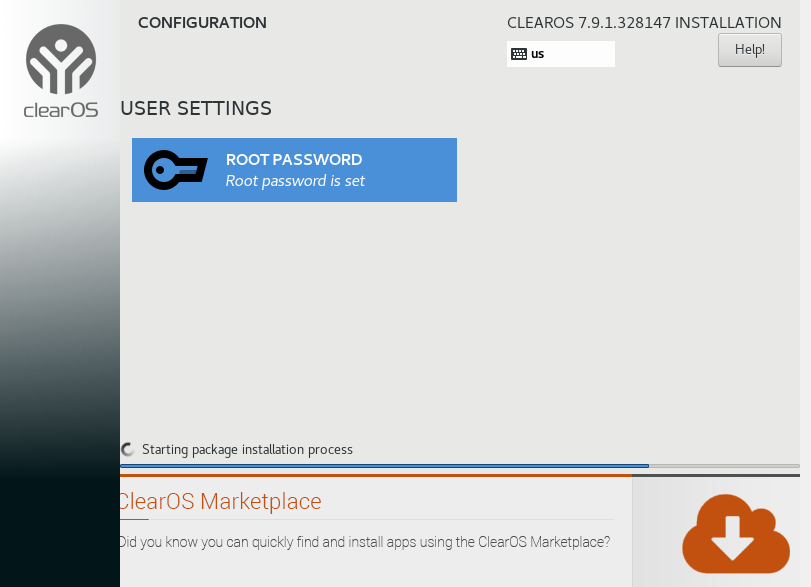
Define root password, let the installation begin.
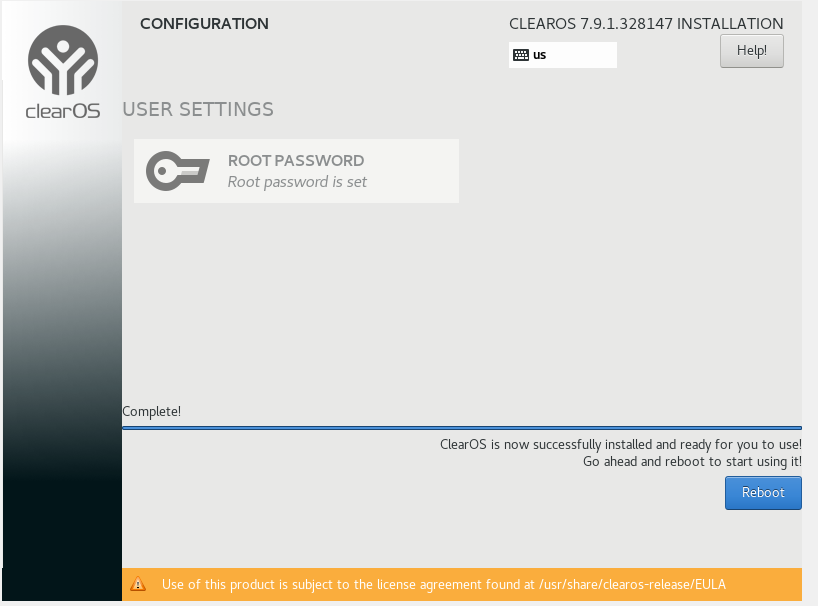
Reboot, after installation.
Reboot the server and see what IP address you have got, have a look. L
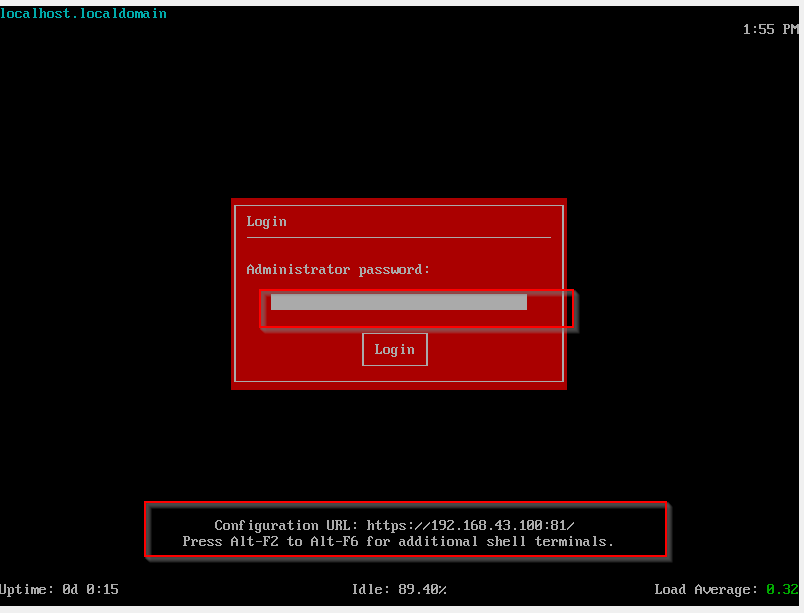
Define WAN and LAN passwords. Change console settings. Login with Root creds.
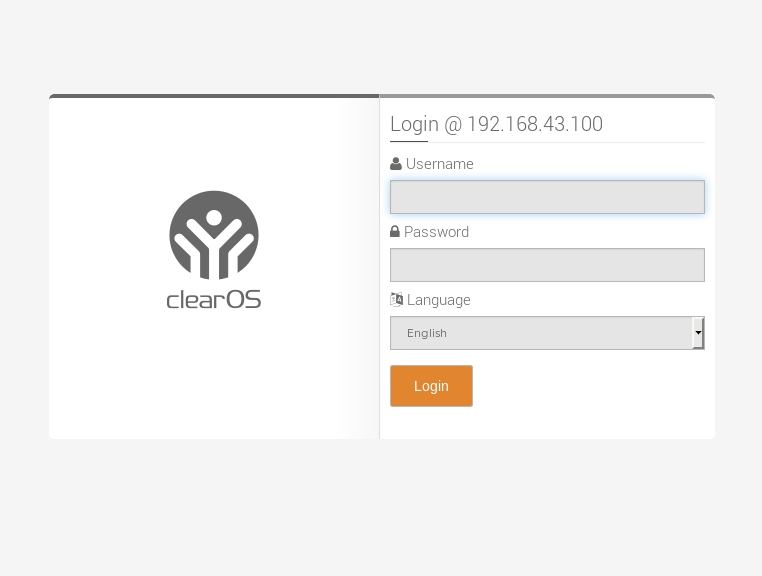
Define your gateway and desired LAN/VLAN address.
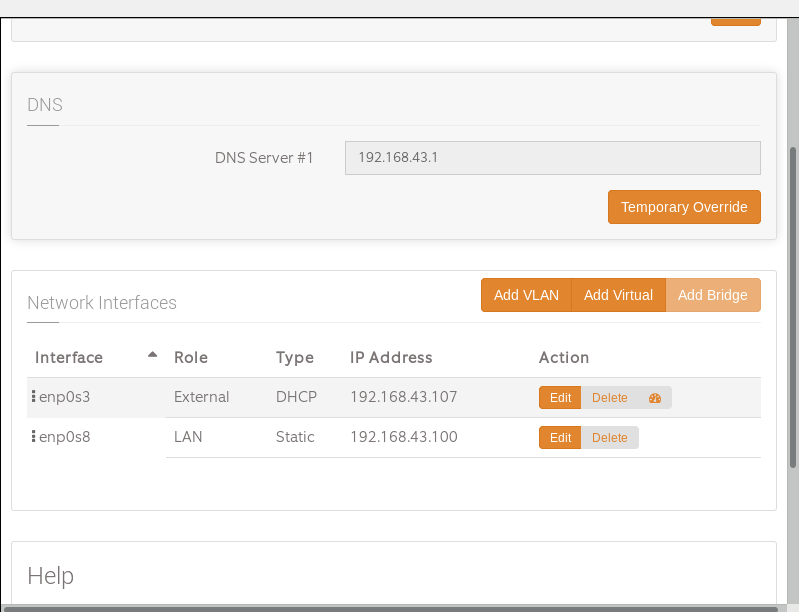
Congratulations, here we have installed the server successfully.
Conclusion
Here, we have installed ClearOS successfully. Installation is almost equal to CentOS. Define your real-time IP address per your need. Stay tuned, till next article. Great Day!!