Hello, friends. One of the most emblematic open-source applications is Nextcloud. This fabulous tool allows you to deploy a private cloud in a matter of minutes and everything is well documented. By default, it is accessed from a web interface, but what if we want a desktop application? Well, it also exists. Today, you will learn how to install Nextcloud desktop client on Linux.
Nextcloud and its desktop client
Thanks to Nextcloud, many of us can do what seemed impossible before, and that is to have our file server in the cloud. But not only that, we can also enrich everything with many available plugins such as antivirus, online office automation and so on.
This is why many users find it convenient to have a desktop client instead of accessing from the web. The reasons are to get integration with the rest of the system and no dependency on the browser itself. All for productivity.
Installation is pretty straightforward, so let’s get started.
Install Nextcloud server on Linux
Although it is not a client dependency, if you are going to install the application it is because there is supposed to be a server.
We’ve discussed it on this site and installed it on two popular systems
How to Install NextCloud on Debian 11
Deploy your private cloud by installing nextcloud on Rocky Linux 8 / Alma Linux 8
There, we explain step by step how to install Nextcloud.
Download and install the Nextcloud desktop client
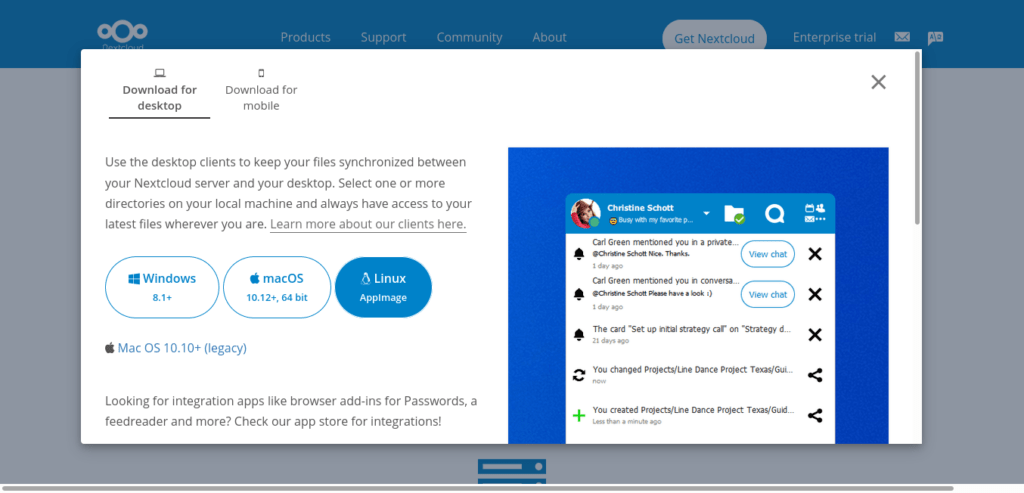
The process of downloading and installing Nextcloud is fairly straightforward. First, we need to access the Nextcloud desktop client download website.
And select the Linux executable, which is in AppImage format.

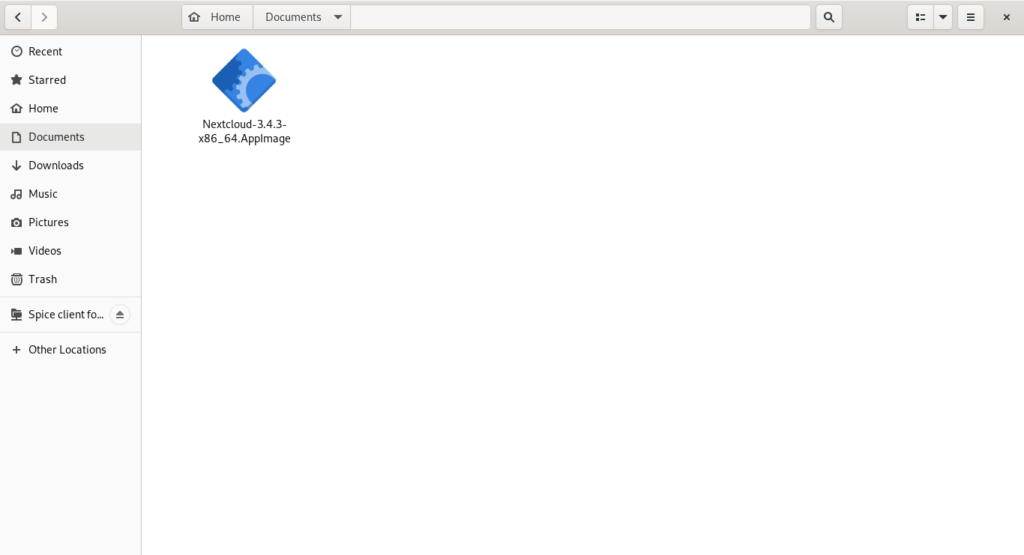
When you download it, open the file browser and navigate to the folder where it is located.

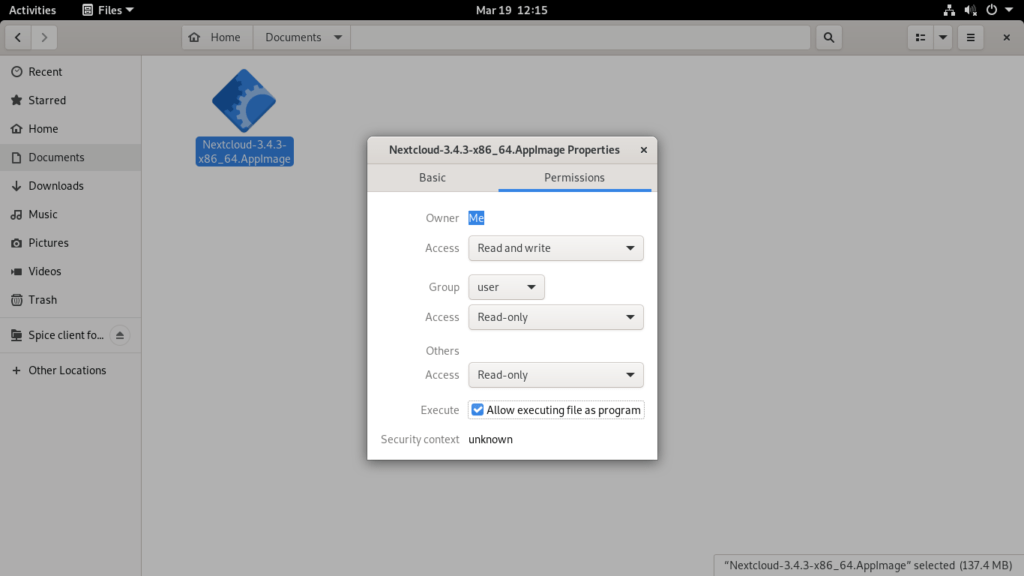
Make sure you give it permissions to run by right-clicking > Properties and searching for the option to make it executable. In GNOME, it is done as in the image.

The only thing left to do is to run it by double-clicking on it.
Optional: Do this process through the terminal.
The terminal is faster for doing things, but not always to the liking of less experienced users.
To download Nextcloud desktop, just run
wget -c https://github.com/nextcloud/desktop/releases/download/v3.4.3/Nextcloud-3.4.3-x86_64.AppImage
The only downside to this method is that you have to get the link from the download site first. Then use wget to perform the download.
Make sure it is executable
chmod +x Nextcloud-3.4.3-x86_64.AppImage
And then we can run it by double-clicking on the file or by running
./Nextcloud-3.4.3-x86_64.AppImage
It’s that easy.
The Nextcloud desktop interface
As soon as you start it, you will see a very simple interface.

There you will have to enter the credentials or the custom server you have created.

Uninstalling Nextcloud Desktop
As it is a bundled application with AppImage, we just need to delete the file to uninstall it from the system.
rm Nextcloud-3.4.3-x86_64.AppImage
Or from the file browser.
Conclusion
In this post, you learned how to install the desktop client for Nextcloud to connect to a personal cloud server.


