
Introduction
Portainer is a program that helps you manage your docker containers. If you want to delete , stop, or restart a docker container; you can easily do so with the portainer user interface (rather than going SSH and typing all kinds of commands). You can adjust containers settings, manage resource, and manage from within inside the container to gain perspective.
Just think of Portainer as the GUI version to manage your containers compared to using CMD Line; while having powerful functions such as replication or amending containers on the go!
Also Portainer enables centralized configuration, management and security of Kubernetes and Docker environments, allowing you to deliver ‘Containers-as-a-Service’ to your users quickly, easily and securely.
In this article, we will install Portainer with Docker in CentOS 8
Installation
- Update your system
dnf update -y- Enable Docker CE Repository
dnf config-manager --add-repo=https://download.docker.com/linux/centos/docker-ce.repo
- Install Docker CE
dnf install docker-ce -y- Start Docker Service
systemctl start docker && systemctl enable docker- Verify and Test Docker CE
docker run hello-world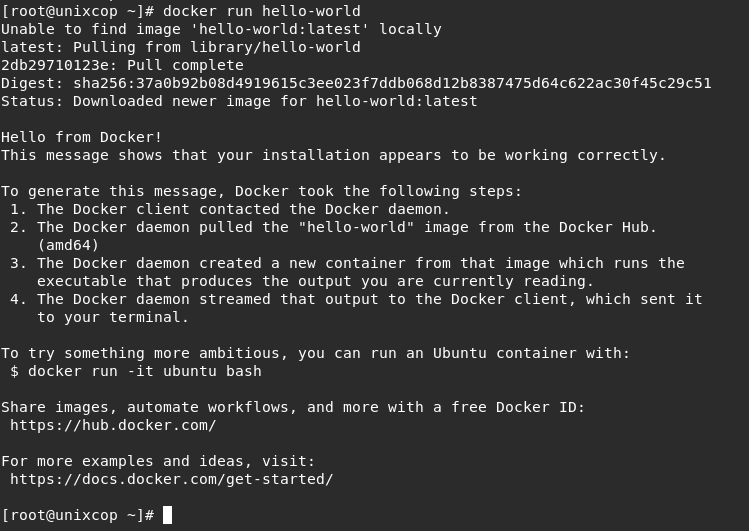
- Create the volume and name it portainer-data
sudo docker volume create portainer-data- Then Pull the Portainer image from Docker hub with running the command below.
sudo docker run -d --name portainer -p 8090:9000 -v /var/run/docker.sock:/var/run/docker.sock -v portainer-data:/data portainer/portainer- “-d” : Detached to start a container in detached mode
- “-p”: refers to port to make the port maping inside the container listening on port 9000 and for outside the container connection on port 8090
- “-v” : refers to mount volume /var/run/docker.sock on the container into /var/run/docker.sock on the native shell. and portainer-data and data are the same mount points.
- “portainer/portainer” : the image name.
- Start Portainer
docker start portainerAccess the Portainer
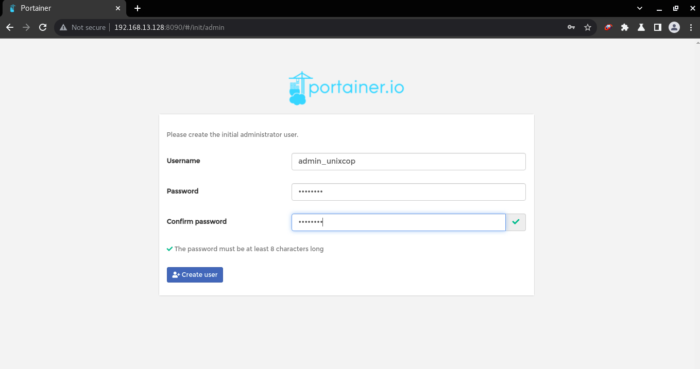
- Navigate to your browser and access the Portainer by using http://server_IP:8090 and set admin password and finish the installation as shown below.
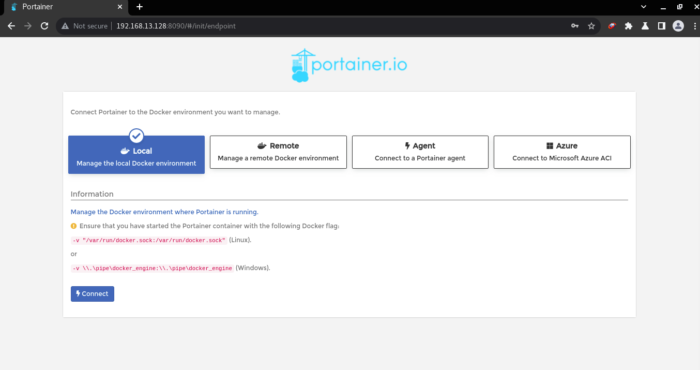
- We will configure Portainer to “manage the local Docker environment” select Local Docker environment and click on the Connect button as shown below
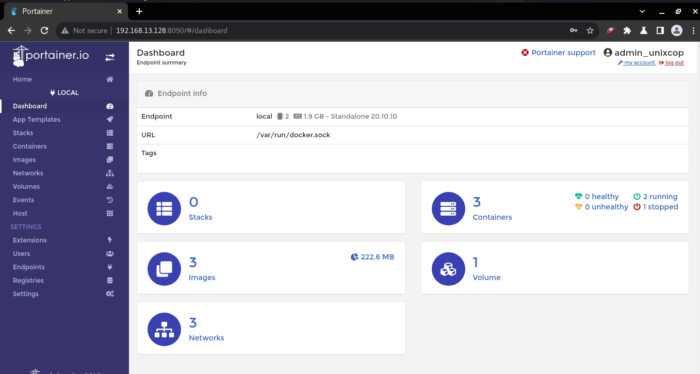
- You will be redirected to the Portainer dashboard, select the “local docker” as shown below
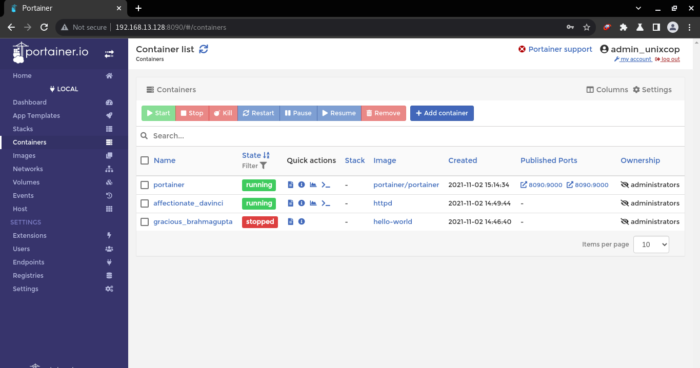
- Now you can access your container or control, remove and create a containers within GUI through Portainer.
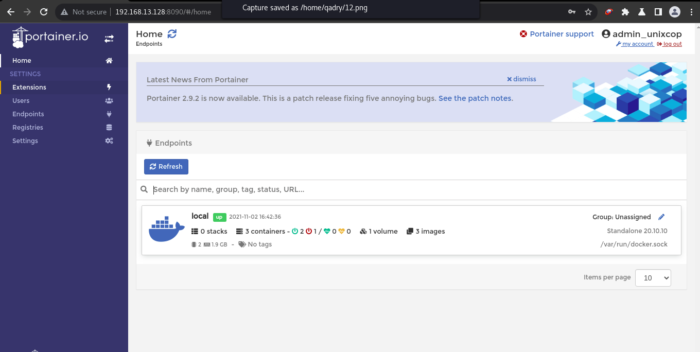
- You can see all info about your containers, images, networks, volumes and Templates.
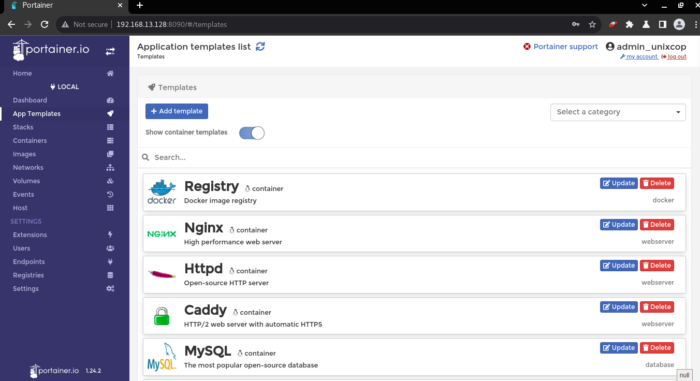
- Create a Container Using Portainer GUI (Optional)
Under Add Templates option, Click on “nginx” template as shown
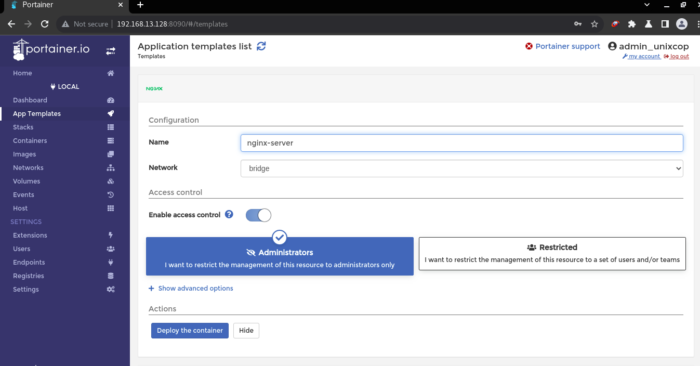
- Set the name for container then configure its ports and click on “Deploy the container” button as shown
for my example i will choose nginx image
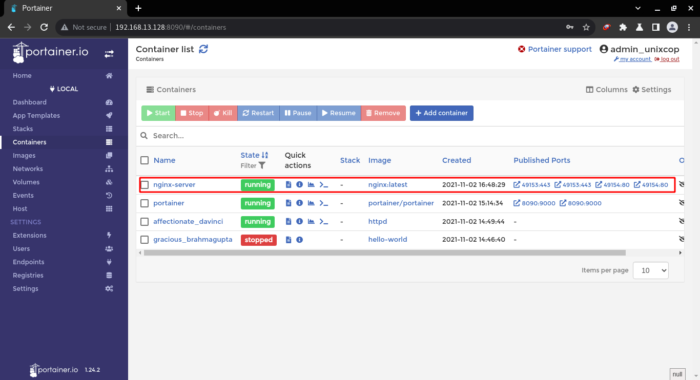
- Now you can see the created container from “Containers” option. you can see in image below that container named “nginx-server” is running as shown below
Conclusion
So In this installation guide, we illustrated how to install Portainer with Docker on CentOS 8
Also To install Portainer with Docker on Ubuntu 20.04 please visit this article Install Portainer in Ubuntu
Thanks !!!