
In the previous post, we explained how to create Apache virtualhost on CentOS 8. This time it is the turn to do the same with Nginx. So, this post is about Setup Nginx Virtualhosts on CentOS 8.
The only caution we have to make is that the term Virtualhost is used for Apache and instead as Nginx is Server Blocks. Although in theory it is the same, it is good to know this.
Install Nginx Web Server on CentOS 8 / Rocky Linux 8
We start with a clean installation of CentOS 8, so the first step is to upgrade the server.
sudo dnf updateThen, install Nginx from the official repositories by running the following command
sudo dnf install nginxWhen the installation is complete, you can start the service.
sudo systemctl start nginxIt is also advisable to start nginx together with the system.
sudo systemctl enable nginxAfter this, you can check the status of the service
sudo systemctl status nginxWe only need to open the necessary ports in the firewall, which are 80 and 443.
sudo firewall-cmd --add-port=80/tcp
sudo firewall-cmd --add-port=443/tcp
sudo firewall-cmd --reload
And open a web browser and visit http://your-server-ip and you will see this screen.
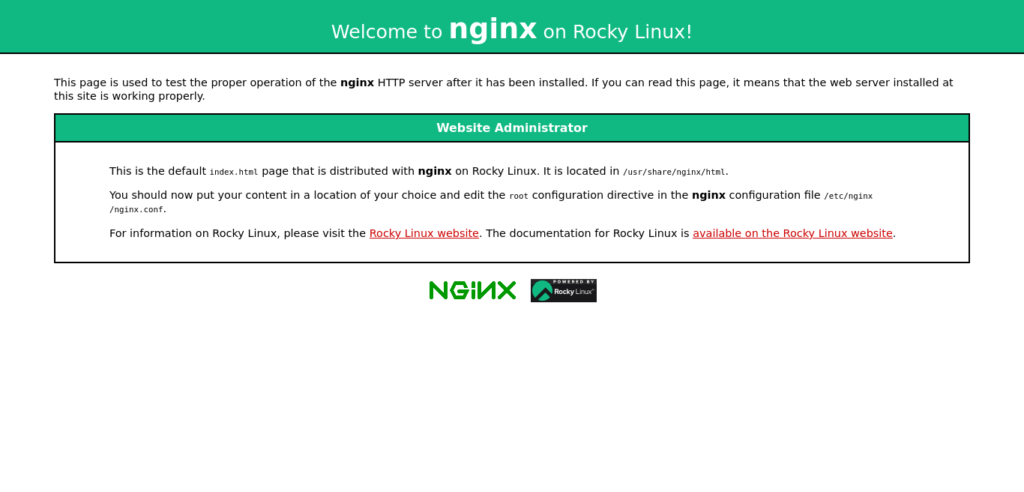
This indicates that Nginx is installed and running on the system.
Creating nginx virtualhosts on CentOS 8
For this case, we are going to use the domain cia.unixcop.com but it can be yours.
To work in a more orderly way, it is recommended that we create a folder dedicated to our site. The name of the folder does not have to do, but it is advisable that it is a reference to the site.
sudo mkdir -p /var/www/cia.unixcop.comMake Nginx the owner of the folder to avoid problems
sudo chown -R nginx: /var/www/cia.unixcop.comAfter this, add a test HTML file
sudo nano /var/www/cia.unixcop.com/index.htmlWith the following content
<!DOCTYPE html>
 <html>
 <head>
 <meta charset="utf-8">
 <title>Welcome</title>
 </head>
 <body>
 <h1>Hello, welcome to this site!!!!</h1>
 </body>
 </html>
Save the changes and close the editor.
Each Virtualhost or Server Block has a configuration file that we have to create. These configurations vary from site to site, and it is up to the admin.
These configuration files have to be in the directory /etc/nginx/conf.d/ Again the name does not matter much, but make it descriptive.
sudo nano /etc/nginx/conf.d/cia.unixcop.com.confand add the following:
server {
 listen 80;
 listen [::]:80;

 root /var/www/cia.unixcop.com;

 index index.html;

 server_name cia.unixcop.com;

 access_log /var/log/nginx/cia.unixcop.com.access.log;
 error_log /var/log/nginx/cia.unixcop.com.error.log;

 }
Remember to modify server_name to your domain name. Also modify whatever you see fit.
Save the changes and close the editor.
You can check for errors with the command line.
sudo nginx -t
nginx: the configuration file /etc/nginx/nginx.conf syntax is ok
nginx: configuration file /etc/nginx/nginx.conf test is successful
If all goes well, we can apply the changes by restarting the service.
sudo systemctl restart nginxIt only remains to open a web browser and visit your domain to view the file.

So, everything is fine. That’s all for today.
Conclusion
In this post, you learned how to create Nginx Virtualhosts on CentOS 8 / Rocky Linux 8 in a simple process that will make us have several sites running on our server.