
So, today in this tutorial we will learn to install the MailCow server with Debian11. MailCow is an open-source mailing script developed on top of Dovecot, Postfix, SoGo, and other open-source applications. In addition, it has a modern web-based user interface for administering users as well as the server. Refer to this link for other email service articles.
Key Features
So, some of the key features of the server are:
- Sahred namedspace.
- Per user quota can be defined.
- Autoconfig for Thunderbird and autosync support.
- In addition, a Web UI to manage users, domain, accounts etc.
- Apache, NGINEX both web servers supported.
- MySQL/MongoDB database as backend.
- Spam protection using FuGlu and deault anti spam function.
Prerequisites and installation of MailCow
An updated Debian 11 machine. A server with 4 GB RAM, 40 GB Storage, Min Ci3 conf will work well.
So, update server, first.
# apt update
Then, define hostname, our example will have mail.unixcop.local as the hostname.
After that, install git
# apt install git -y
So, change directory to opt and get the package.
# cd /opt
Then, install curl.
# apt install curl
After that, you need to define the hostname
# hostnamectl set-hostname mail.unixcop.local
Change directory to /opt
# cd /opt/
Download required package for Server installation, have a look.
# git clone https://github.com/mailcow/mailcow-dockerized
Change directory to downloaded package.
# cd mailcow-dockerized/
So, we need to install the docker package first, only after the mail server is installed.
# apt install docker-compose
Then, run installation script, download with Git.
# ./generate_config.sh
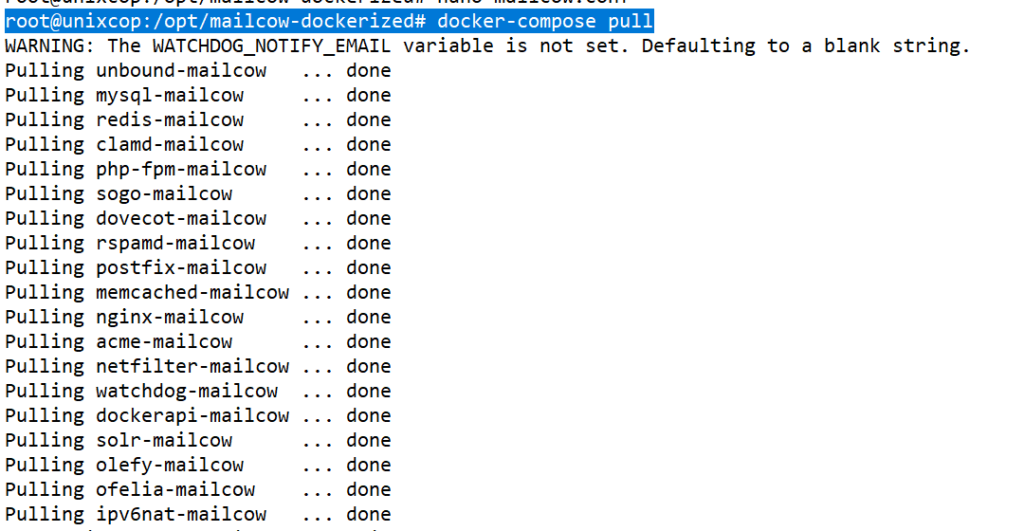
Pull mailcow image. Use command below
# docker-compose pull
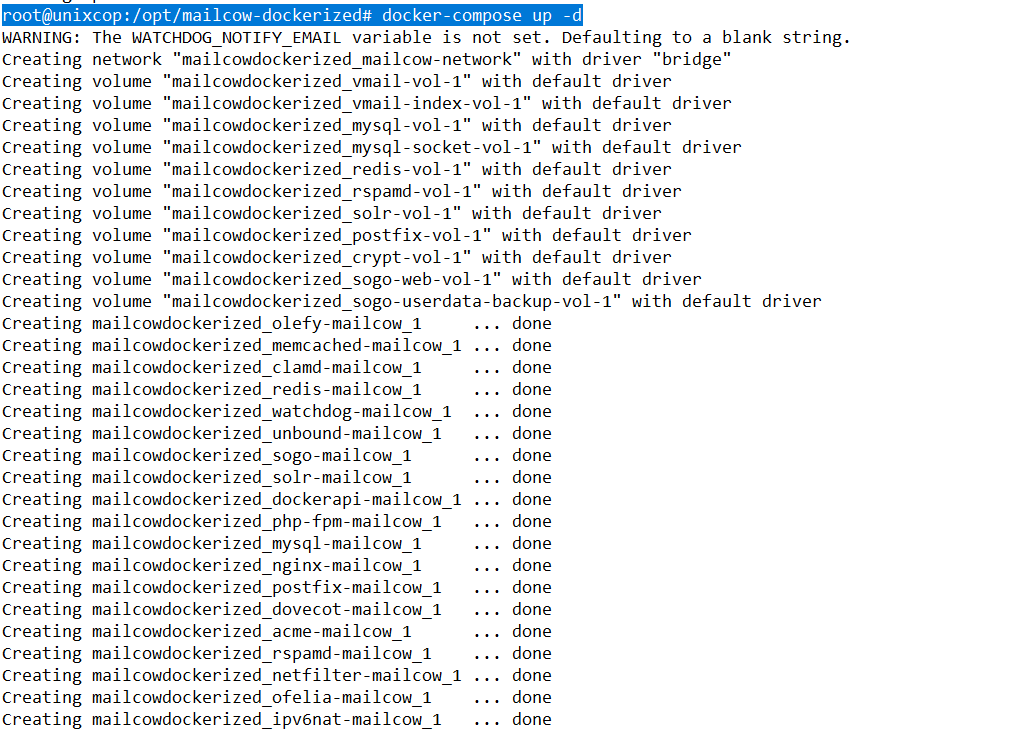
Now, we require to run the compose. Have a look.
# docker-compose up -d
Now the server is installed successfully, check your current IP address.
# ip addr | grep inet
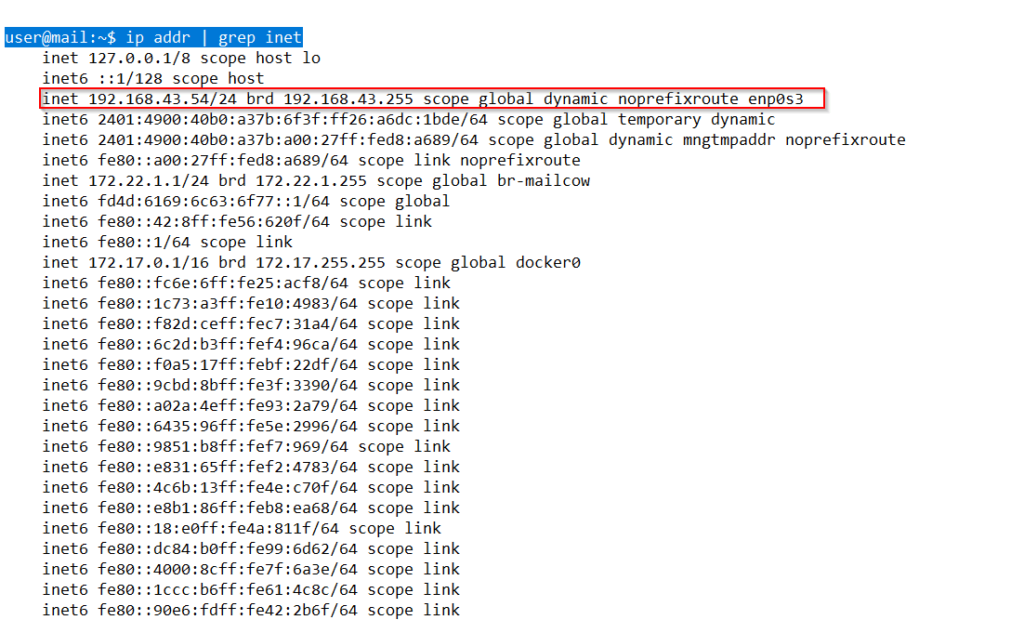
So, in our example scenario, the IP address is 192.168.43.54, browse server using https://<IP_ADDR>
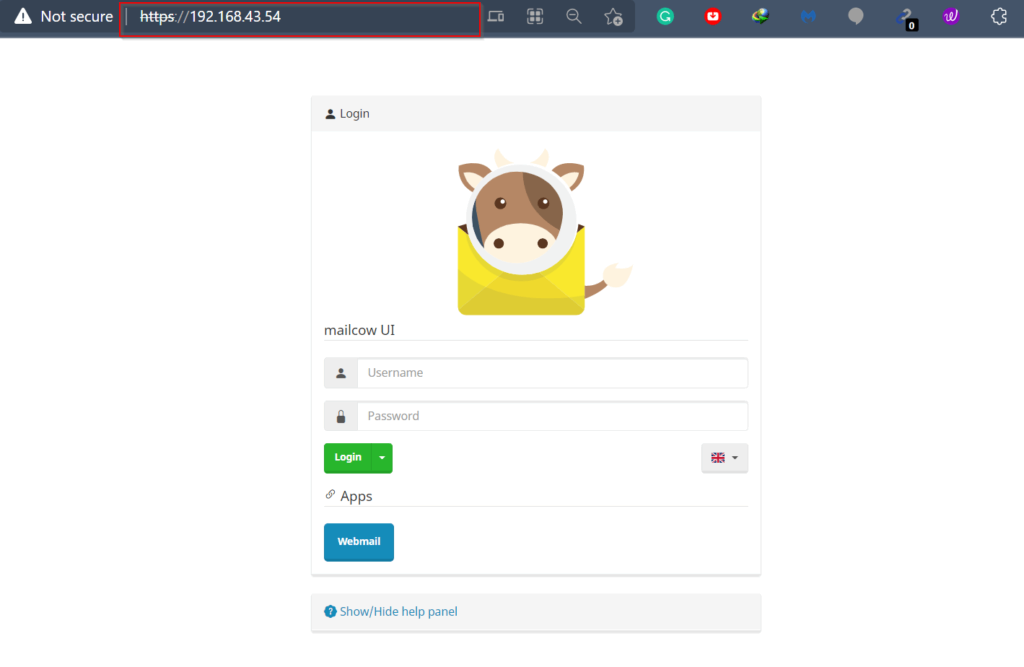
The default username is admin and the password is moohoo
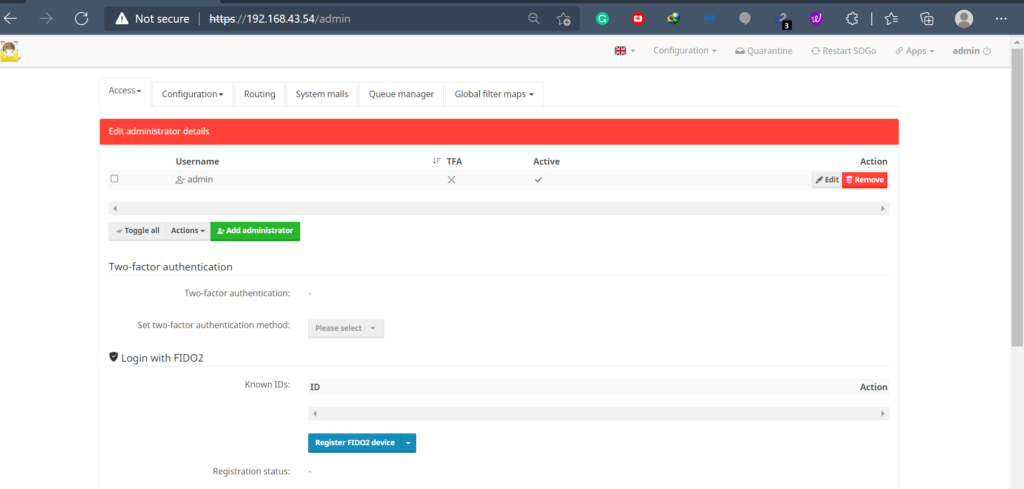
So, multiple settings can be managed here. Settings like Domains, Mailboxes are managed from this section.
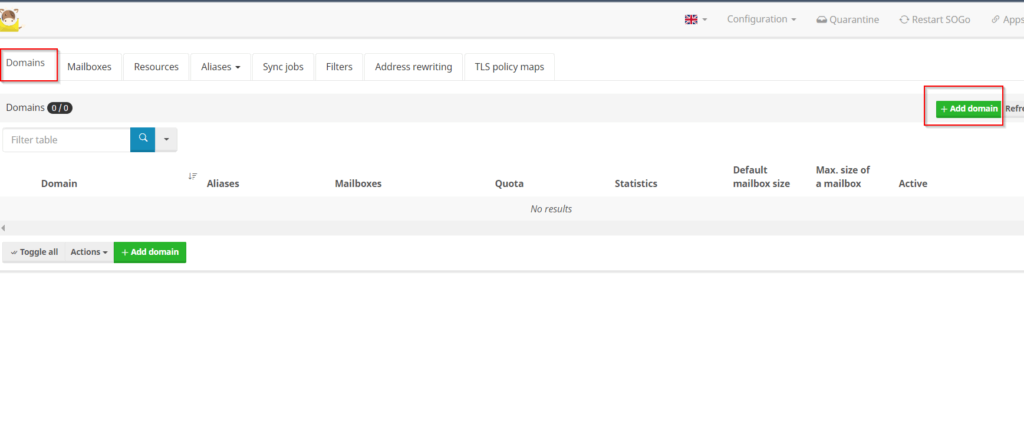
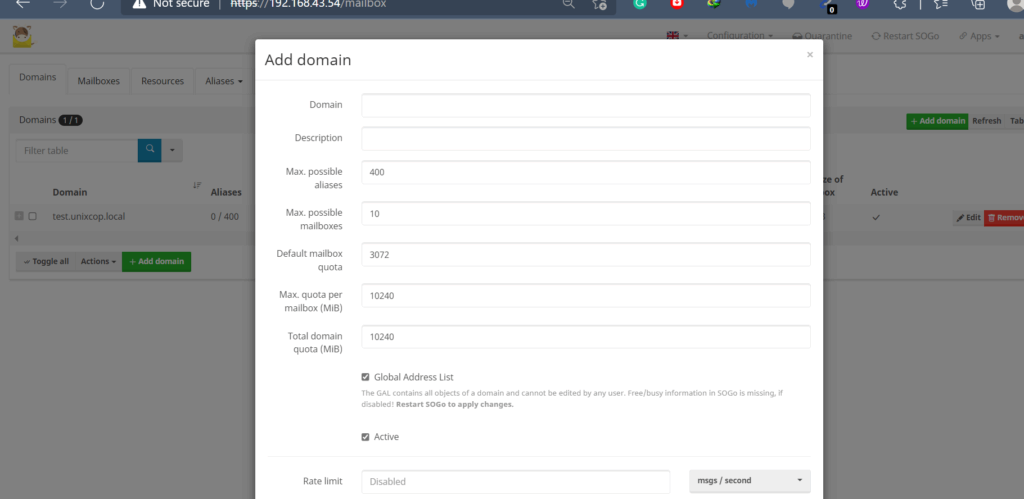
Add domain first, for our example let’s assume FQDN will be mail.unixcop.local
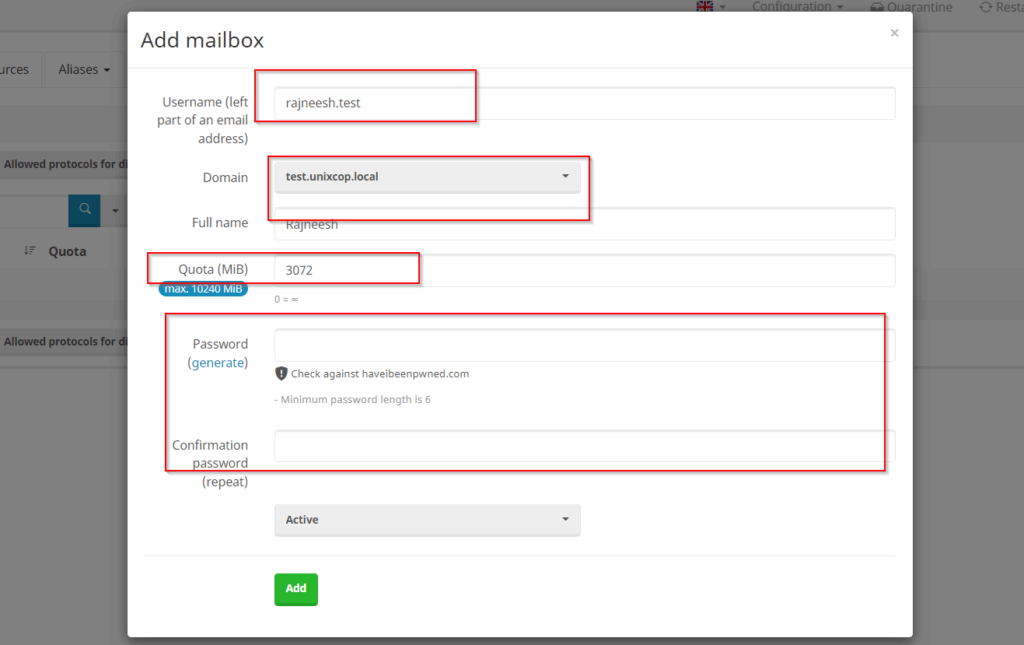
After adding domain, move to the mail setup section. Add mailbox for the newly created domain name.
Define user’s email paraments, user quota, and password.
After the email address is created, time to log in to that email. For our example scenario URL is https://192.168.43.54/SOGo/so/ (Replace IP address with your own)
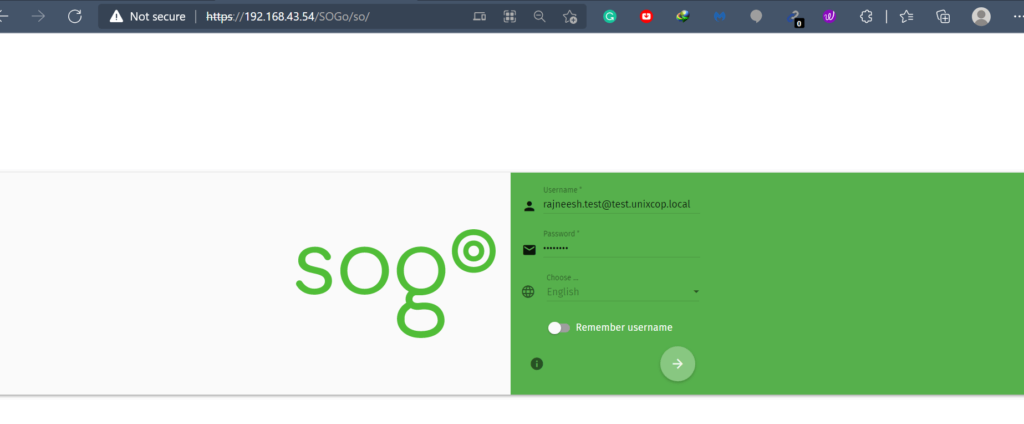
Finally, assign provided credentials and log in.
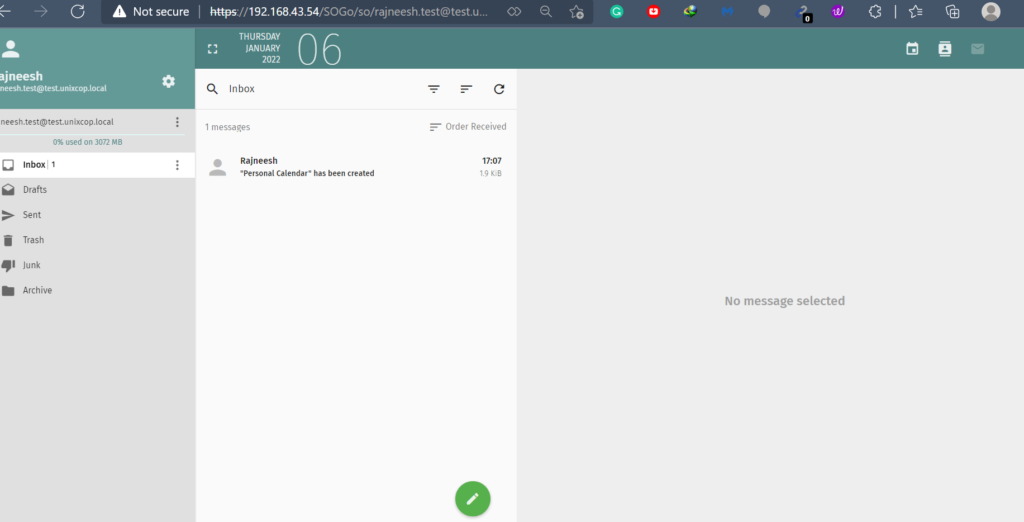
Congratulations, you have a fully functional Email server.
Conclusion
Considering lots of in-house mail servers, MailCow is perhaps the best Mail server for small enterprises. Here, admins can easily add domains, define mail accounts along with user quota.
For several applications like the printer email setup, Automated email generation for servers MailCow server can be useful. Email accounts are easy to configure for Thunderbird. Reports generation, automated alerts for some IoT projects can be a few examples of real-life applications of the server. Stay tuned for the next topic, have a great day.
Now try your own manual.
After # ./generate_config.sh you will get an error Cannot find Docker Compose.
Please install it regarding to this doc site: https://mailcow.github.io/mailcow-dockerized-docs/i_u_m/i_u_m_install/
And this is how you should fix it:
sudo curl -L “https://github.com/docker/compose/releases/download/$(curl -s https://api.github.com/repos/docker/compose/releases/latest | grep ‘\”tag_name\”:’ | sed -E ‘s/.*\”([^\”]+)\”.*/\1/’)/docker-compose-$(uname -s)-$(uname -m)” -o /usr/local/bin/docker-compose
sudo chmod +x /usr/local/bin/docker-compose
reboot