In this post you will use Apache Bench To Test FastCGI Cache
Introduction
Apache Bench (ab), developed by the Apache organization, is a command-line utility to benchmark the performance of web servers. In this article we’re going to test our installation of Nginx (from previous articles) and its configuration. Apache Bench serves as a great tool to measure the requests that our servers can handle and thus determine the effect of our configurations.
We’ve been using OpenBSD for our Nginx series, however I’m going to give FreeBSD a try for this time. I’ve aliased the machine’s IP with a local domain name of freebsd.local.
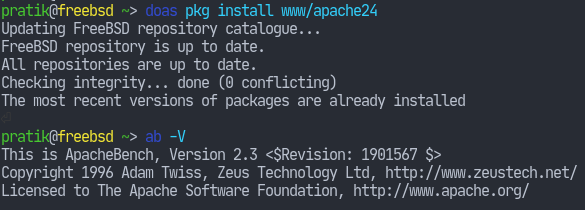
I’m using my Arch Linux machine as a client. Apache Bench comes by default with the standard installation of the apache package. So to install ab, we have to run the following command:
# pacman -Sy apache
On FreeBSD, the package name is slightly different: it includes the version number.
Test FastCGI
Now that we have ab on our system, let’s take an initial test of our nginx configuration. Our configuration, by the way, is currently the following:
user www;

events { }

http {
    include mime.types;

    server {
        listen 80;
        server_name freebsd.local;
        root /var/www/html;

        index index.php index.html;

        location / {
            try_files $uri $uri/ =404;
        }

        location ~* \.php$ {
            include fastcgi.conf;
            fastcgi_pass unix:/var/run/php-fpm.sock;
        }
    }
}
Now I’ve put a small PHP script within the server root:
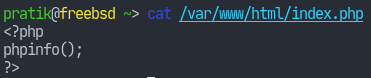
We’ll test this by creating 100 requests within 10 connections. To do that with ab, run the following command:
ab -n 100 -c 10 freebsd.local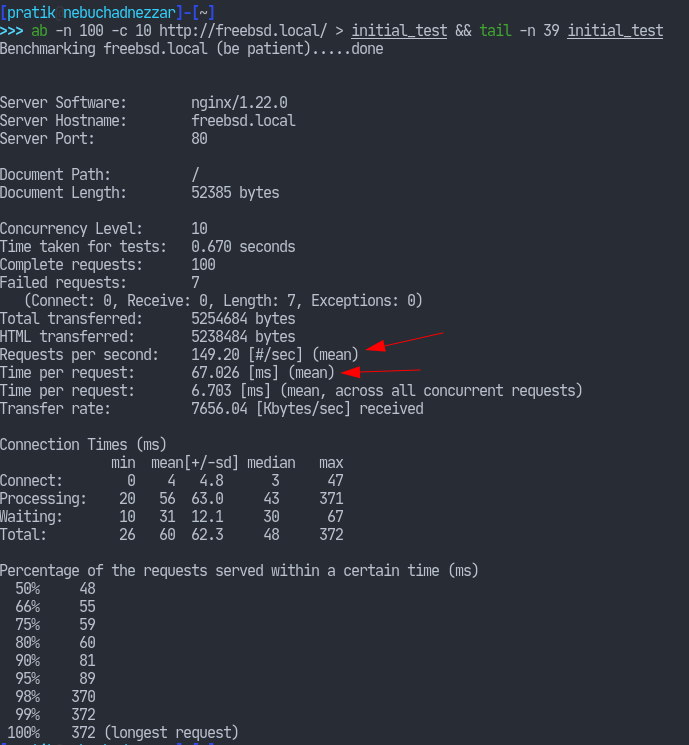
The meaning of those output rows can be found in the ab(1) manual page. I have highlighted two that we can look into: Requests per second – number of requests per second, Time per request – average time per request.
Enabling FastCGI Cache
A fastCGI cache is a server-side cache that allows us to store dynamically generated responses in disk so that the server doesn’t have to process the same request again. We can start by defining a few directives in our nginx
configuration. I’m doing this in the http context so that it’s inherited by other blocks.
The first directive shall be the fastcgi_cache_path which defines the location in our filesystem to store the cache. I’m going with the /tmp directory.
fastcgi_cache_path /tmp/nginx_cache keys_zone=PHP_CACHE:100M;The keys_zone parameter is simply a name for our cache entry. As we’re primarily going to use this for caching php requests, I’ve given it such a name. That parameter is followed by a colon character which specifies how large the
caches can go. I have determined that 100M will suffice. After defining this path, we can use it in our location blocks.
The second one is the fastcgi_cache_key directive, which takes a string as the parameter. The way nginx stores the cache entries is by producing a (MD5) hash of whatever the value of this key is and using that to identify an entry within the stored caches.
# request_method: POST/GET, etc.
# host: domain
# request_uri: the URI after the host
fastcgi_cache_key "$request_method$host$request_uri";
Now we have to enable this wherever we want dynamic content to be cached. For example:
location ~* \.php$ {
    include fastcgi.conf;
    fastcgi_pass unix:/var/run/php-fpm.sock;

    # Use the cache with the name PHP_CACHE
    fastcgi_cache PHP_CACHE;

    # set 202 response caches to be valid for an hour
    fastcgi_cache_valid 200 60m;
    # 404 response caches are valid for 10 minutes
    fastcgi_cache_valid 400 10m;
}
Nginx has a variable called upstream_cache_status which will help us determine if a request was served from cache. We can simply include it in the headers like so:
add_header X-Cache $upstream_cache_status;Let’s finish our configuration with what we’ve learned previously. We’re going to include configurations for worker processes, buffers, timeout, and enabling compression.
Let’s first check if the headers we added show anything.

In the first request, the X-Cache header shows that nginx couldn’t find a cache entry for the request. Whereas in all of the subsequent requests, the X-Cache headers shows a HIT.

Let’s now test our server with ab.
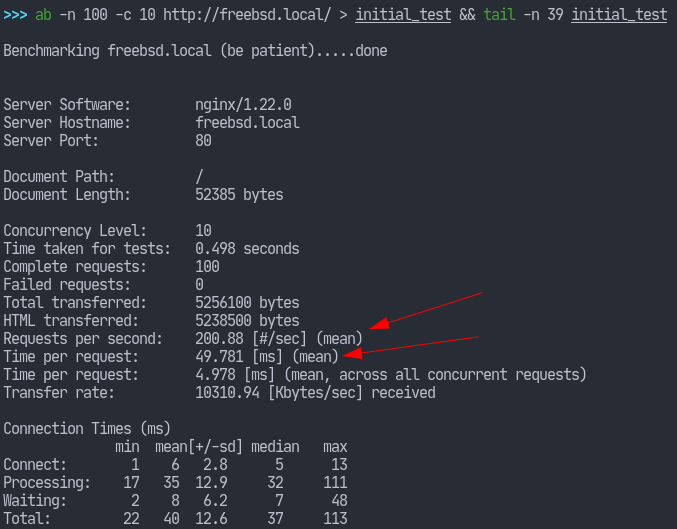
We see that our server’s performance has improved quite a bit (less request time with more requests per second) than the previous one.
This concludes the article. Hope you learned something and thank you for reading.