This post is about Nagios Core installation on Ubuntu 22.04
Nagios XI provides monitoring of all mission-critical infrastructure components including applications, services, operating systems, network protocols, systems metrics, and network infrastructure. Hundreds of third-party addons provide for monitoring of virtually all in-house and external applications, services, and systems.
![]()
Nagios Log Server greatly simplifies the process of searching your log data. Set up alerts to notify you when potential threats arise, or simply query your log data to quickly audit any system. With Nagios Log Server, you get all of your log data in one location, with high availability and fail-over built right in. Did we mention no data limits?
![]()
Nagios Fusion offers your network a high degree of visibility and scalability, helping solve problems that come with multiple networks and geographical separation. By allowing you to visualize multiple Nagios XI and Core servers in one location, network management becomes simplified by centralization.
Nagios X1 Installation
Security-Enhanced Linux
This guide is based on SELinux being disabled or in permissive mode. SELinux is not enabled by default on Ubuntu. If you would like to see if it is installed run the following command:
sudo dpkg -l selinux*
Prerequisites
Perform these steps to install the pre-requisite packages.
===== Ubuntu 14.x / 15.x =====
sudo apt-get update
sudo apt-get install -y autoconf gcc libc6 make wget unzip apache2 apache2-utils php5 libgd2-xpm-dev
===== Ubuntu 16.x / 17.x =====
sudo apt-get update
sudo apt-get install -y autoconf gcc libc6 make wget unzip apache2 php libapache2-mod-php7.0 libgd2-xpm-dev
===== Ubuntu 18.x =====
sudo apt-get update
sudo apt-get install -y autoconf gcc libc6 make wget unzip apache2 php libapache2-mod-php7.2 libgd-dev
===== Ubuntu 20.x =====
sudo apt-get update
sudo apt-get install -y autoconf gcc libc6 make wget unzip apache2 php libapache2-mod-php7.4 libgd-dev
sudo apt-get install openssl libssl-dev
===== Ubuntu 22.x =====
sudo apt-get update
sudo apt-get install -y autoconf gcc libc6 make wget unzip apache2 php libapache2-mod-php7.4 libgd-dev
sudo apt-get install openssl libssl-dev
Downloading the Source
cd /tmp
wget -O nagioscore.tar.gz https://github.com/NagiosEnterprises/nagioscore/archive/nagios-4.4.6.tar.gz
tar xzf nagioscore.tar.gz
Compile
cd /tmp/nagioscore-nagios-4.4.6/
sudo ./configure --with-httpd-conf=/etc/apache2/sites-enabled
sudo make all
Create User And Group
This creates the nagios user and group. The www-data user is also added to the nagios group.
sudo make install-groups-users
sudo usermod -a -G nagios www-data
Install Binaries
This step installs the binary files, CGIs, and HTML files.
sudo make install
Install Service / Daemon
This installs the service or daemon files and also configures them to start on boot.
sudo make install-daemoninit
Information on starting and stopping services will be explained further on.
Install Command Mode
This installs and configures the external command file.
sudo make install-commandmode
Install Configuration Files
This installs the *SAMPLE* configuration files. These are required as Nagios needs some configuration files to allow it to start.
sudo make install-config
Install Apache Config Files
This installs the Apache web server configuration files and configures Apache settings.
sudo make install-webconf
sudo a2enmod rewrite
sudo a2enmod cgi
Configure Firewall
You need to allow port 80 inbound traffic on the local firewall so you can reach the Nagios Core web interface.
sudo ufw allow Apache
sudo ufw reload
Create nagiosadmin User Account
You’ll need to create an Apache user account to be able to log into Nagios.
The following command will create a user account called nagiosadmin and you will be prompted to provide a password for the account.
sudo htpasswd -c /usr/local/nagios/etc/htpasswd.users nagiosadmin
Start Apache Web Server
===== Ubuntu 14.x =====
Need to restart it because it is already running.
sudo service apache2 restart
===== Ubuntu 15.x / 16.x / 17.x / 18.x / 20.x =====
Need to restart it because it is already running.
sudo systemctl restart apache2.service
Start Service / Daemon
This command starts Nagios Core.
===== Ubuntu 14.x =====
sudo start nagios
===== Ubuntu 15.x / 16.x / 17.x / 18.x / 20.x =====
sudo systemctl start nagios.service
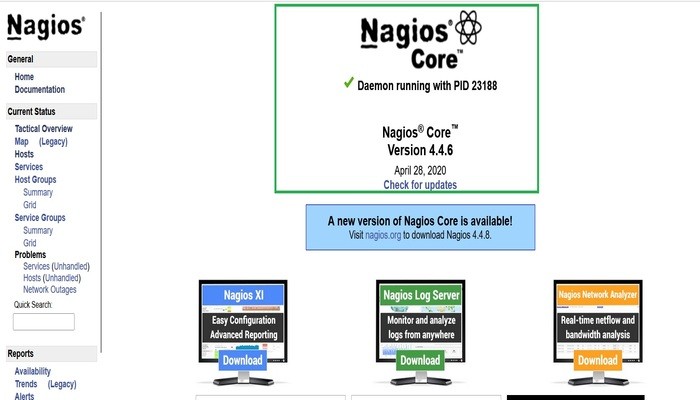
Test Nagios
Nagios is now running, to confirm this you need to log into the Nagios Web Interface.
Point your web browser to the ip address or FQDN of your Nagios Core server, for example:
http://10.25.5.143/nagios
http://unixcop.com/nagios