
Hello, friends. In this post, you will learn how to install Matomo on Debian 11. Let’s start.
What is Matomo?
Matomo is an application that is installed on the server that allows us to analyze and track our website to obtain various statistics.
Thanks to Matomo, anyy people who own websites in the world, can know the number of visitors, site performance, Google Ads behavior and so on.
So if you own a blog or a website, you should learn how to install and use Matomo.
Installing LAMP on Debian 11
As Matomo has a web interface to access it, it is necessary to have a working web server along with a database manager such as MariaDB.
To install LAMP in Debian 11, it is enough to execute this command, where we will be able to install each one of the components of the same one.
sudo apt install apache2 mariadb-server php libapache2-mod-php php-cli php-fpm php-fpm php-json php-json php-common php-mysql php-zip php-gd php-mbstring php-curl php-xml php-pear php-bcmathAs in this post we will not deal with a detailed installation of LAMP, it is enough with the default configuration. Remember to open ports 443 and 80 in the firewall.
Creating the database for Matomo
With MariaDB installed and running, we need to create a new database and a new user. First, define a root password
sudo mysql_secure_installationAs there is no password defined, just press Enter to start the script. Then, you can create one that has to be strong and private. You will then be asked a few configuration questions that you have to answer Y.
Now access the MariaDB console
sudo mysql -u root -pCreate the database for Matomo. Name it whatever you want.
CREATE DATABASE matomodb;Then, create the user and its password. At once, assign it sufficient permissions on the new database.
CREATE USER 'user'@'localhost' IDENTIFIED BY
pss';
GRANT ALL ON matomodb.* TO 'user'@'localhost' WITH GRANT OPTION;
Use a stronger password than pss 🙂 and the username can be whatever you want. Now, refresh the permissions and exit the console.
FLUSH PRIVILEGES;
exit;
Download Matomo on Debian 11
Thanks to the wget command, download the latest stable version of Matomo.
wget http://builds.matomo.org/matomo-latest.zip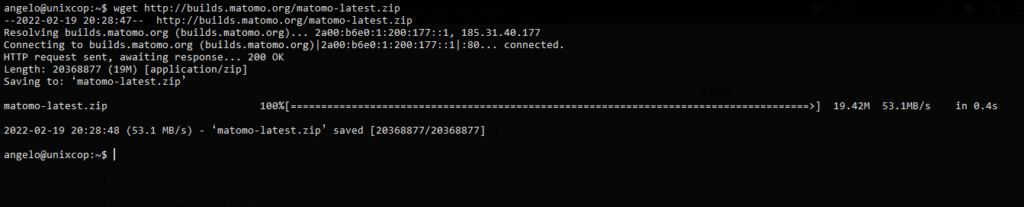
Now using the unzip command, unzip it into a folder we have to create.
sudo mkdir -p /var/www/matomo
sudo unzip matomo-latest.zip
In case you do not have the command available, then you can install it by
sudo apt install unzipNow move the resulting folder to the Apache root.
sudo mv matomo/* /var/www/matomoMake Apache the owner of the folder and give it permissions on it at once,
sudo chown -R www-data:www-data /var/www/matomo
sudo chmod -R 755 /var/www/matomo
After this, we have to create a new virtualhost for our Matomo site.
sudo nano /etc/apache2/sites-available/matomo.confAdd the following
<VirtualHost *:80>

ServerAdmin [email protected]
ServerName your-domain.com
DocumentRoot /var/www/matomo/

<Directory /var/www/matomo>
DirectoryIndex index.php
Options FollowSymLinks
AllowOverride All
Require all granted
</Directory>

<Files "console">
Options None
Require all denied
</Files>

<Directory /var/www/matomo/misc/user>
Options None
Require all granted
</Directory>

<Directory /var/www/matomo/misc>
Options None
Require all denied
</Directory>

<Directory /var/www/matomo/vendor>
Options None
Require all denied
</Directory>

ErrorLog ${APACHE_LOG_DIR}/matomo_error.log
CustomLog ${APACHE_LOG_DIR}/matomo_access.log combined

</VirtualHost>
Don’t forget to modify the ServerName value and match it with your domain.
Save the changes and close the editor you are using.
Then, enable the new site.
sudo a2ensite matomo.confAnd the rewrite module and apply the changes by restarting Apache.
sudo a2enmod rewrite
sudo systemctl restart apache2
Install Matomo from the web interface
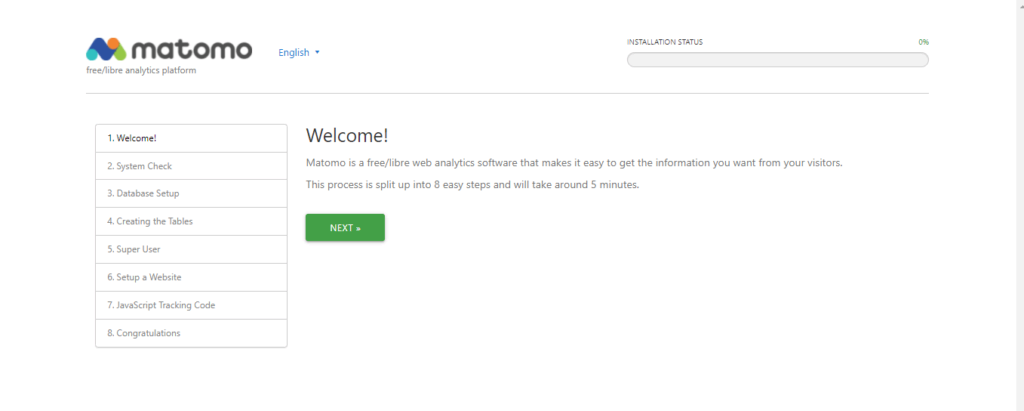
Now open a web browser and visit your domain to start the installation.
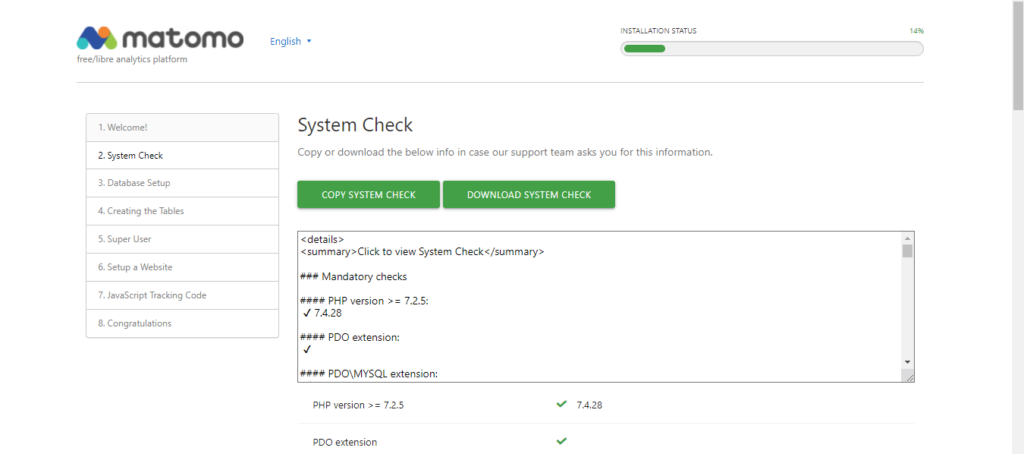
On the next screen, the installer will check if the server meets the complete requirements.
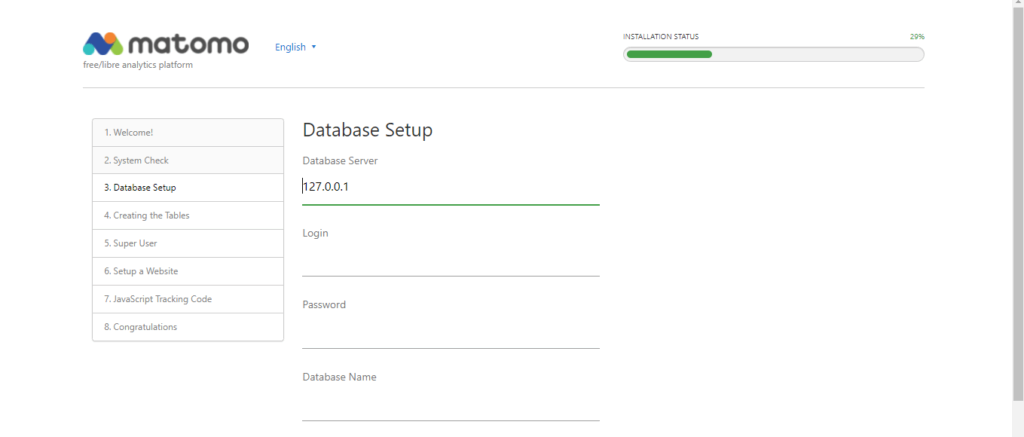
Next, it is time to configure the database.
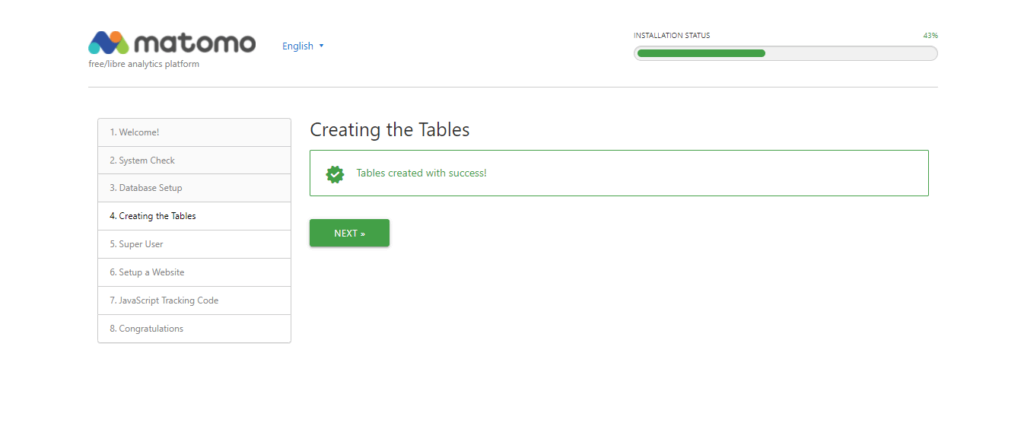
If everything goes well, you will see this image.
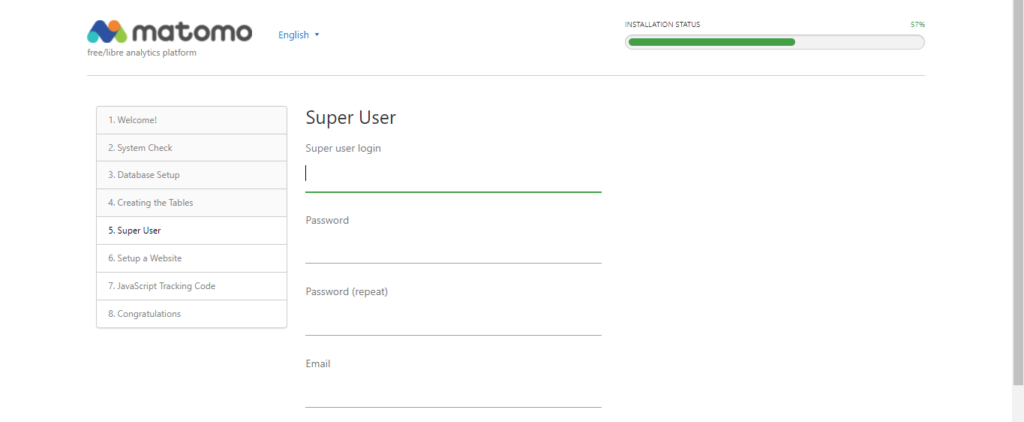
Now create the admin account, with which we will access the dashboard.
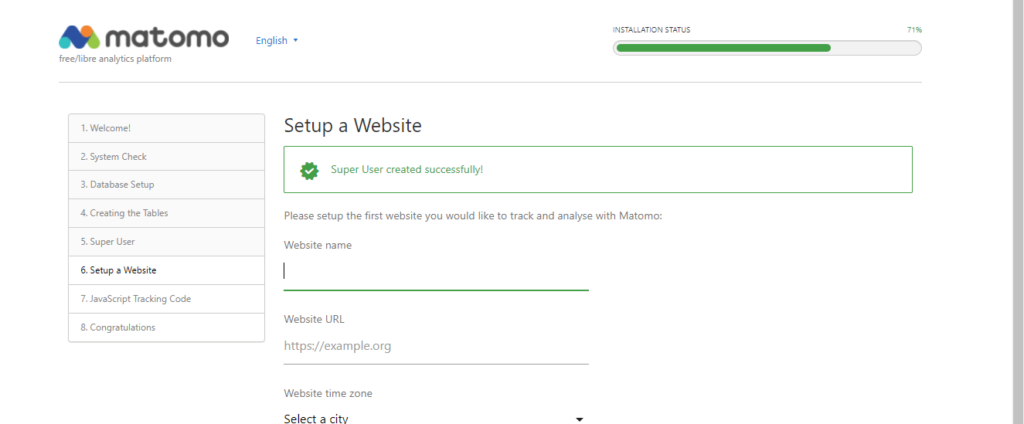
Then, create a new site for Matomo.
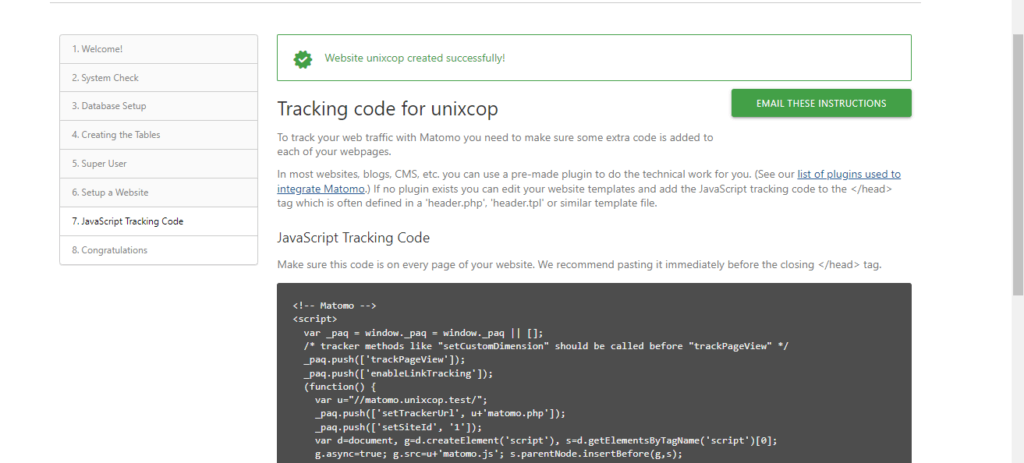
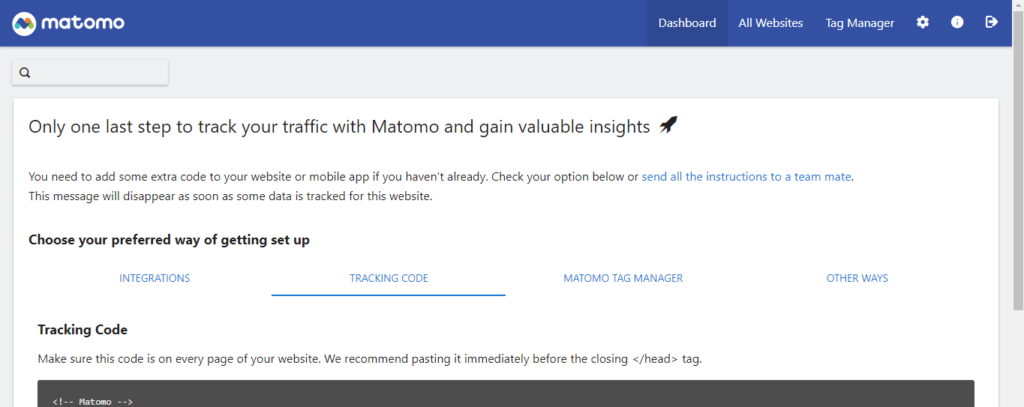
Then you will see the code that you have to copy in each file of your page. We are also informed that if you use WordPress or any CMS, it is possible to use plugins that integrate it with Matomo.
Then you will see a message indicating that the installation has been successful.
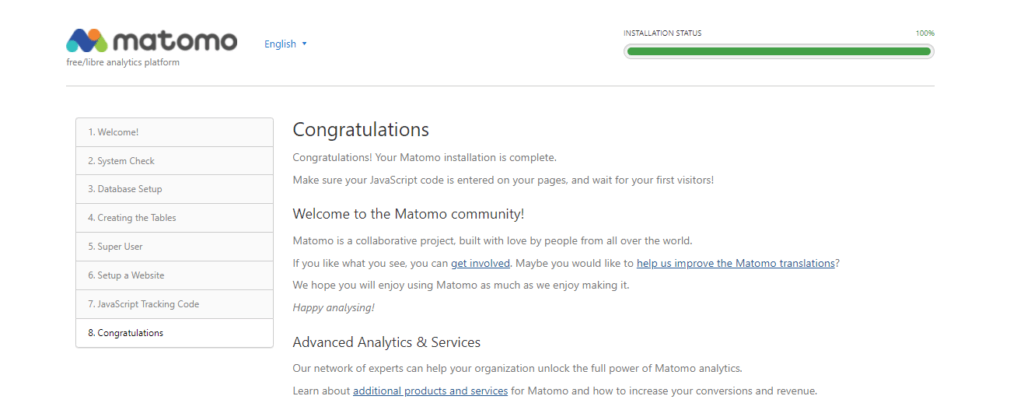
Log in with your admin user, and now you will see the dashboard.
You are done.
Conclusion
In this post, you have learned how to install Matomo on your Debian 11 server. Thanks to this software, you will be able to quickly monitor your website and have advanced statistics.
hello angelo.
I wanted to see if you could help me with a doubt.
I installed the server but when creating the courses I get a 404 not found error, I wanted to know if you could help me.
I already read the documentation of chamilo as soon as the apache and the .htacces I have been making modifications but I can’t get the courses to be lifted.
If you could help me, I would really appreciate it.
regards