")
Vtiger is an open source CRM which includes inventory, email, project management, and other tools that provides a complete business management suite. Using vTiger CRM you can ensure premium support, sales management and for marketing teams to work smoothly to boost business growth and improve customer experience.
Some top features of vTiger CRM include but not limited to:
- Support automation using a customer portal and support tickets.
- Has a role-based access control.
- Provides End to end sales cycle management from campaigns, leads, potentials, quotes, invoices.
- Gives you Outlook, Thunderbird, Firefox, & Gmail plugins.
- Workflows, tasks, and project management.
- Support Data import & export via CSV files, web-to-lead forms, reports & customizable user dashboards.
Apache web server, PHP, and MariaDB database server are required for vTiger CRM installation and proper working.
Install PHP:
Use the following commands to install PHP.
dnf -y install yum-utils
dnf -y install https://dl.fedoraproject.org/pub/epel/epel-release-latest-8.noarch.rpm
dnf -y install https://rpms.remirepo.net/enterprise/remi-release-8.rpm
dnf module reset php
dnf module -y install php:remi-7.4
dnf -y install vim php php-{pear,cli,cgi,common,curl,mbstring,gd,mysqlnd,gettext,bcmath,json,xml,fpm,intl,zip,imap,ldap,soap,xmlrpc}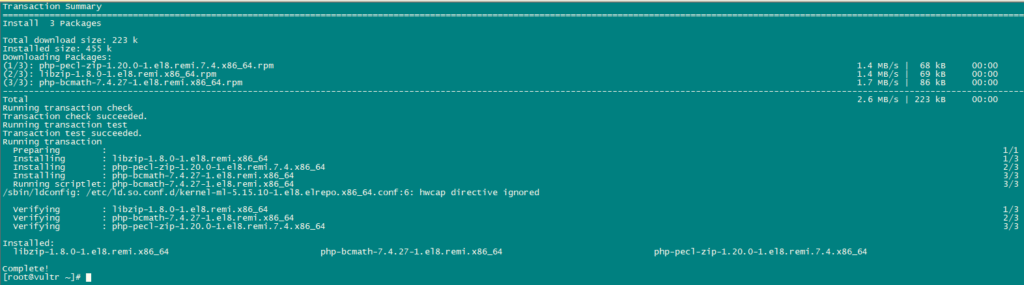
Now, Configure PHP.
nano /etc/php.iniReplace the current values of following variable with the mentioned values:
date.timezone = Africa/Nairobi
memory_limit = 256M
upload_max_filesize = 64M
display_errors = On
log_errors = Off
Install MariaDB and Create Database:
vTiger CRM needs a database store for its data. We will use mariaDB as its database.
Install mariaDB using the following command:
dnf install mariadb-serverUse the following command for MariaDB configuration.
mysql_secure_installationset the configurations as below:
NOTE: RUNNING ALL PARTS OF THIS SCRIPT IS RECOMMENDED FOR ALL MariaDB
      SERVERS IN PRODUCTION USE!  PLEASE READ EACH STEP CAREFULLY!

In order to log into MariaDB to secure it, we'll need the current
password for the root user.  If you've just installed MariaDB, and
you haven't set the root password yet, the password will be blank,
so you should just press enter here.

Enter current password for root (enter for none):
OK, successfully used password, moving on...

Setting the root password ensures that nobody can log into the MariaDB
root user without the proper authorisation.

Set root password? [Y/n] y
New password:
Re-enter new password:
Password updated successfully!
Reloading privilege tables..
 ... Success!


By default, a MariaDB installation has an anonymous user, allowing anyone
to log into MariaDB without having to have a user account created for
them.  This is intended only for testing, and to make the installation
go a bit smoother.  You should remove them before moving into a
production environment.

Remove anonymous users? [Y/n] y
 ... Success!

Normally, root should only be allowed to connect from 'localhost'.  This
ensures that someone cannot guess at the root password from the network.

Disallow root login remotely? [Y/n] y
 ... Success!

By default, MariaDB comes with a database named 'test' that anyone can
access.  This is also intended only for testing, and should be removed
before moving into a production environment.

Remove test database and access to it? [Y/n] y
 - Dropping test database...
 ... Success!
 - Removing privileges on test database...
 ... Success!

Reloading the privilege tables will ensure that all changes made so far
will take effect immediately.

Reload privilege tables now? [Y/n] y
 ... Success!

Cleaning up...

All done!  If you've completed all of the above steps, your MariaDB
installation should now be secure.

Thanks for using MariaDB!
Now set SQL Mode as follows:
nano /etc/my.cnf.d/server.cnf

[mysqld]
sql_mode = ERROR_FOR_DIVISION_BY_ZERO,NO_AUTO_CREATE_USER,NO_ENGINE_SUBSTITUTION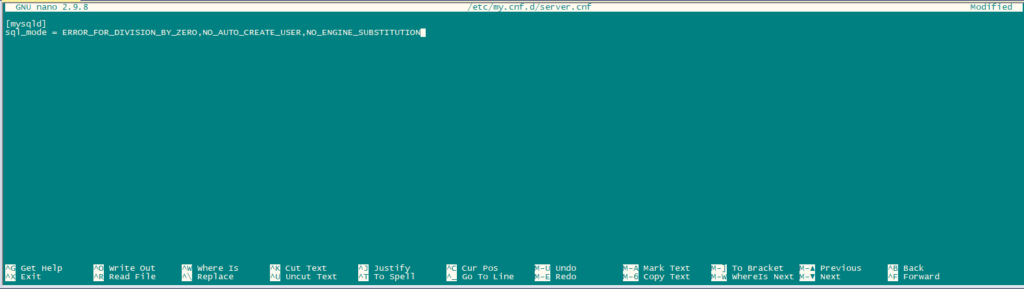
Restart MariaDB.
systemctl restart mariadb.serviceAfter the database server is installed, login to MariaDB cli as root user and create a Database for vTiger CRM.
mysql -u root -pCreate a database and user as follows:
CREATE USER 'vtiger'@'localhost' IDENTIFIED BY 'w';
CREATE DATABASE vtiger CHARACTER SET utf8 COLLATE utf8_general_ci;
GRANT ALL PRIVILEGES ON vtiger.* TO 'vtiger'@'localhost';
FLUSH PRIVILEGES;
QUIT
Download Vtiger:
Download vTiger Latest version.
dnf -y install wget
wget https://sourceforge.net/projects/vtigercrm/files/vtiger%20CRM%207.2.0/Core%20Product/vtigercrm7.2.0.tar.g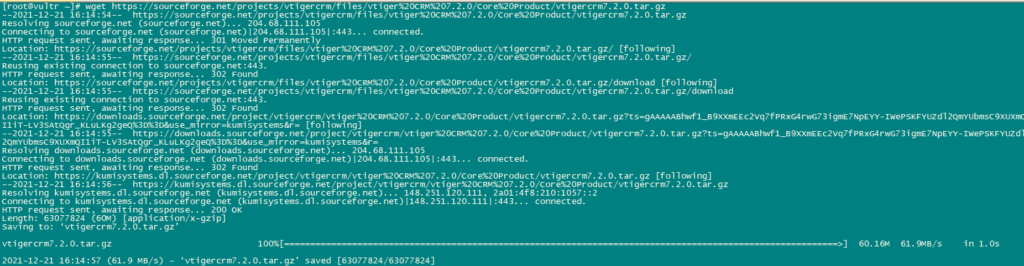
Extract the tar file.
tar xvf vtigercrm7.2.0.tar.gzInstall Apache httpd server:
dnf -y install httpdMove vTiger folder with its content to /var/www/html.
mv vtigercrm /var/www/html/Configure Apache:
set proper directory permissions using the following command:
chown -R apache:apache /var/www/html/vtigercrmNow create a Virtual Host file for vTiger:
nano /etc/httpd/conf.d/vtigercrm.confAdd the following content in the file.
<VirtualHost *:80>
     ServerAdmin lab1.unixcop.com
     ServerName lab1.unixcop.com
     ServerAlias lab1.unixcop.com
     DocumentRoot /var/www/html/vtigercrm/

     <Directory /var/www/html/vtigercrm/>
        Options +FollowSymlinks
        AllowOverride All
        Require all granted
     </Directory>

     ErrorLog /var/log/httpd/vtigercrm_error.log
     CustomLog /var/log/httpd/vtigercrm_access.log combined
</VirtualHost>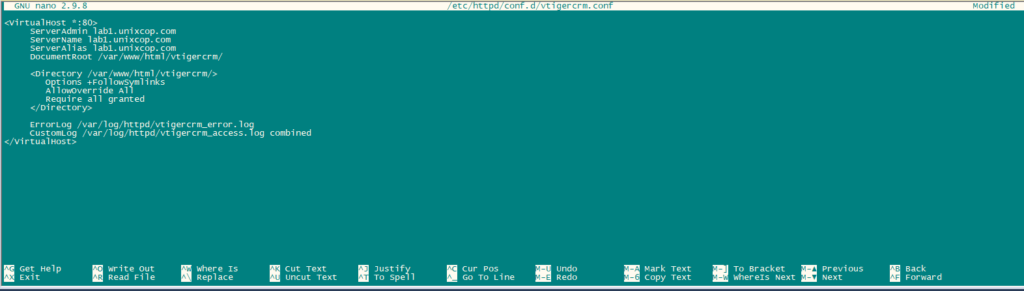
Verify the syntax of above file using following commands:
apachectl -tRestart httpd service.
systemctl restart httpdOpen http port in the firewall using the following command:
firewall-cmd --add-service=http --permanent
firewall-cmd --reload
Disable SELinux if not disabled.
sudo setenforce 0
sudo sed -i 's/^SELINUX=.*/SELINUX=disabled/g' /etc/selinux/config
Finish the installation by opening http://Your_IPAddress in your browser. The first page to show up will be Installation Wizard.
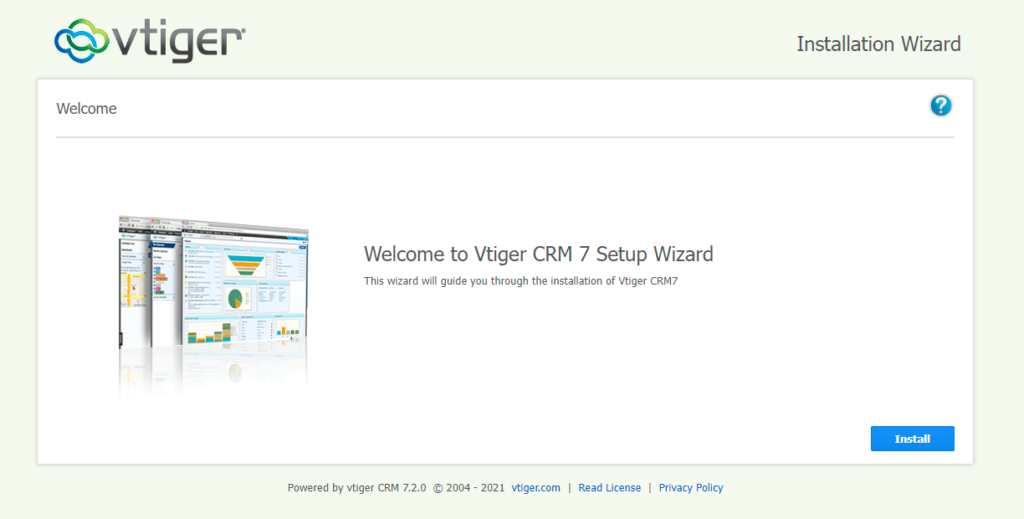
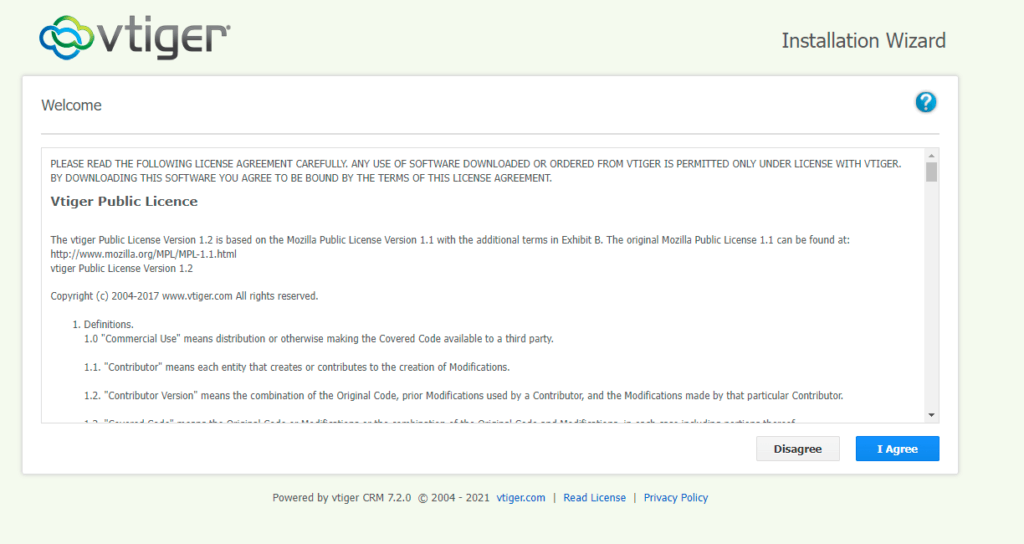
Click on Install and then Click on “I Agree”
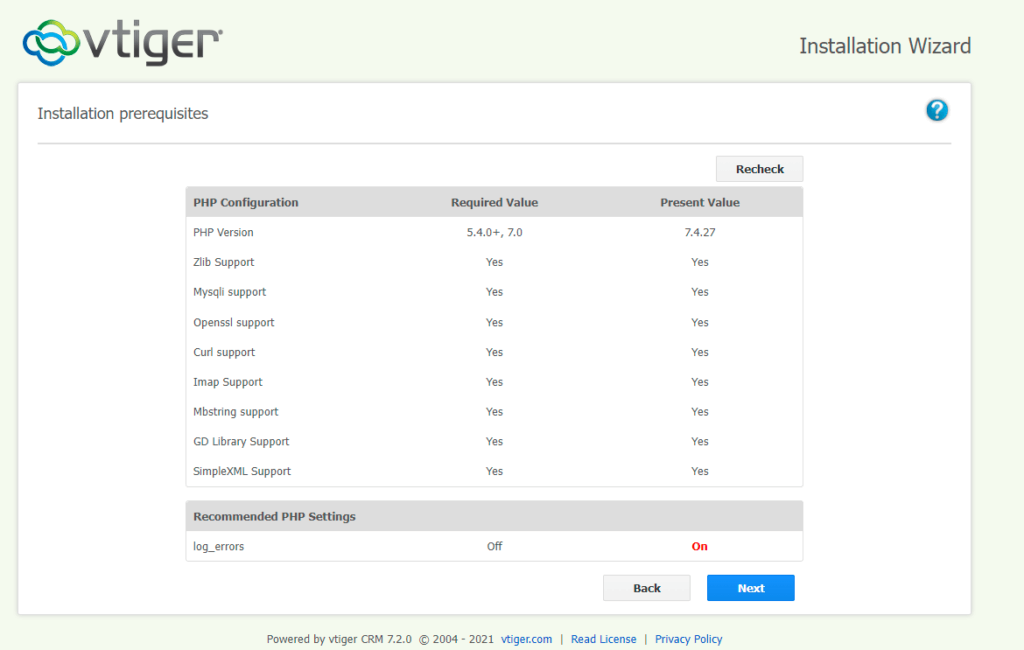
Now verify the configuration as mentioned in below picture and click on Next.
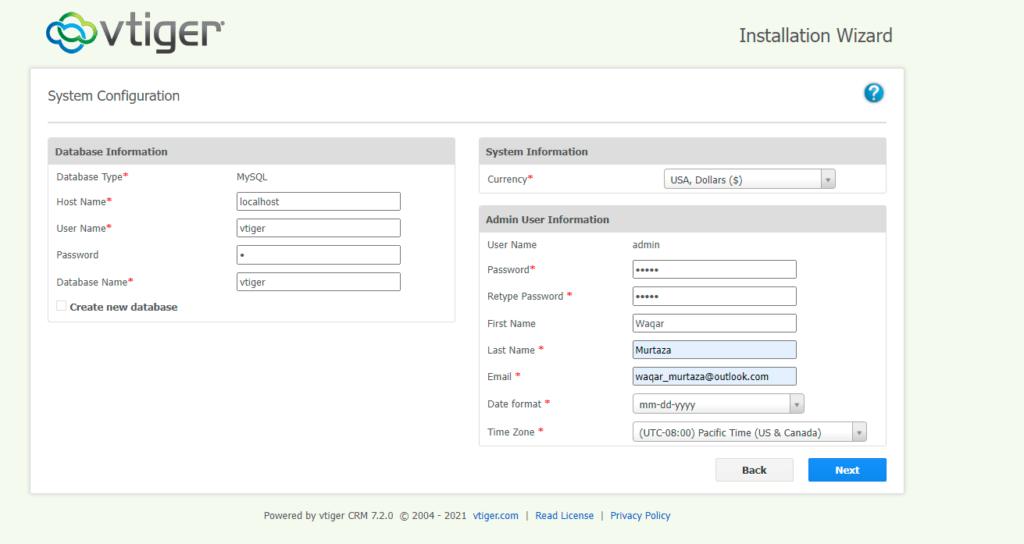
Provide Database details as seen in the below picture and set the password and provide the asked details.
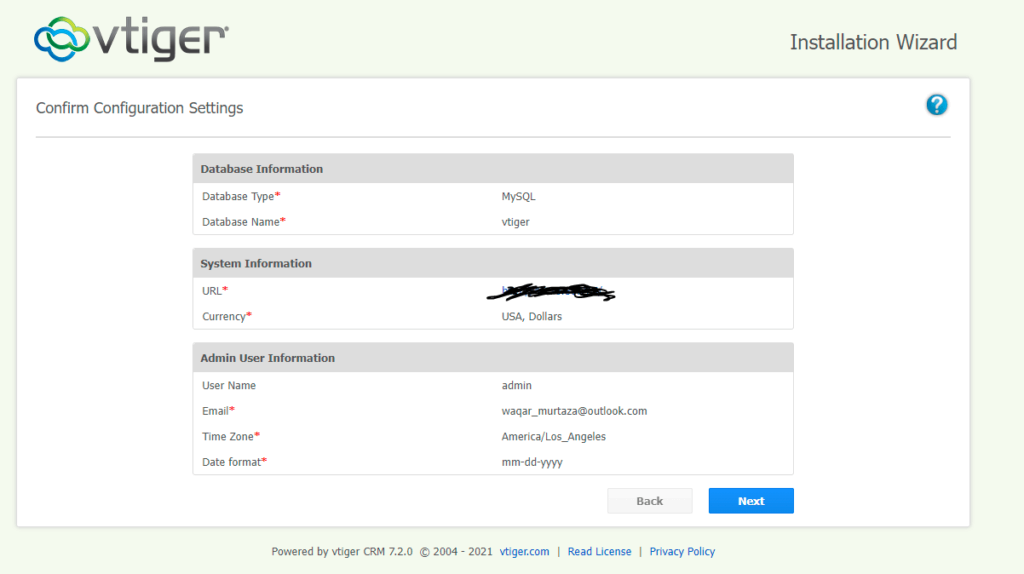
Confirm the settings and click on next.
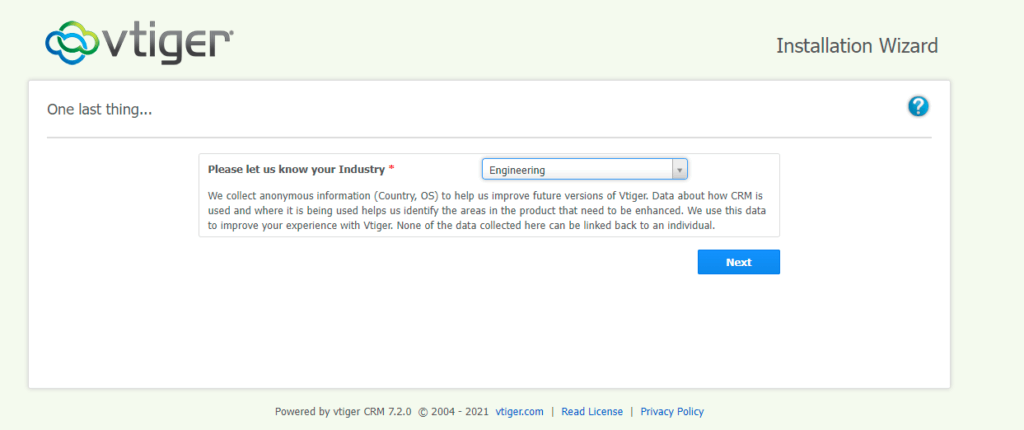
Confirm Your Industry and click on Next.
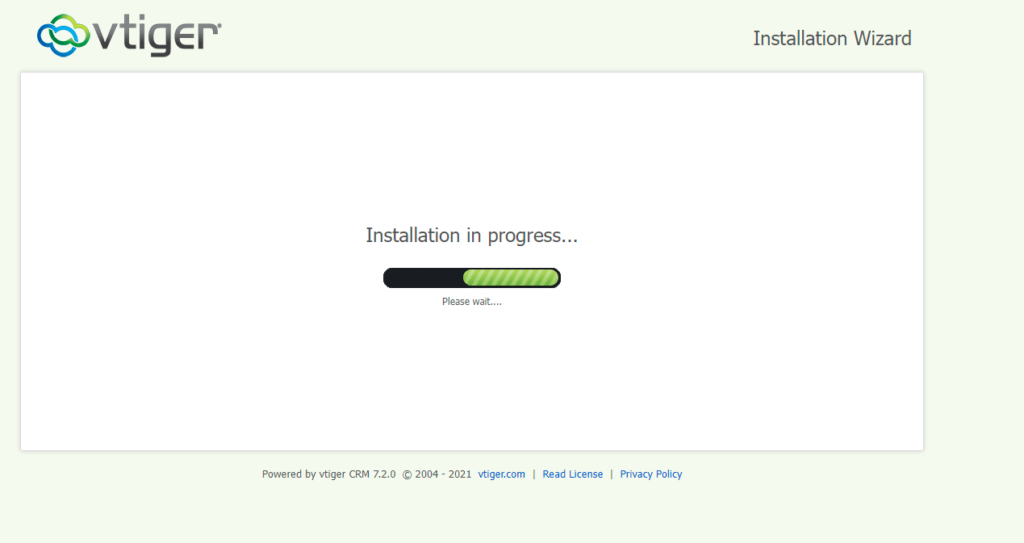
Then wait for the installation to complete.
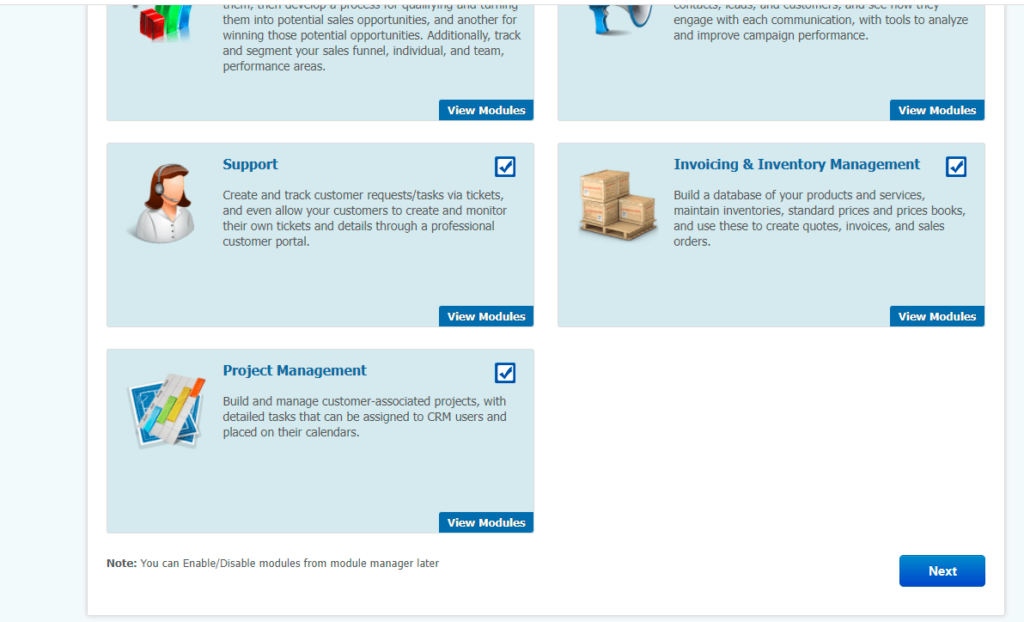
Now select your Modules that you want to use in vTiger CRM and Click Next.
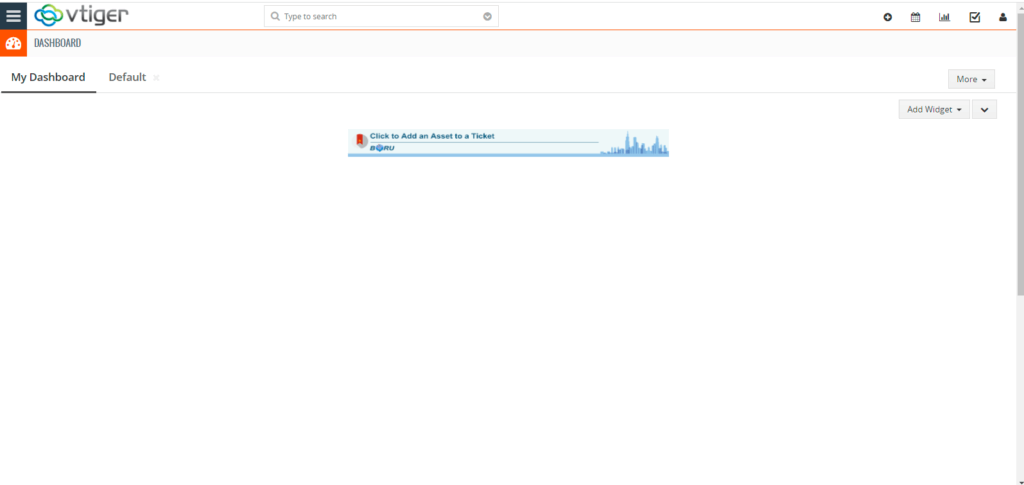
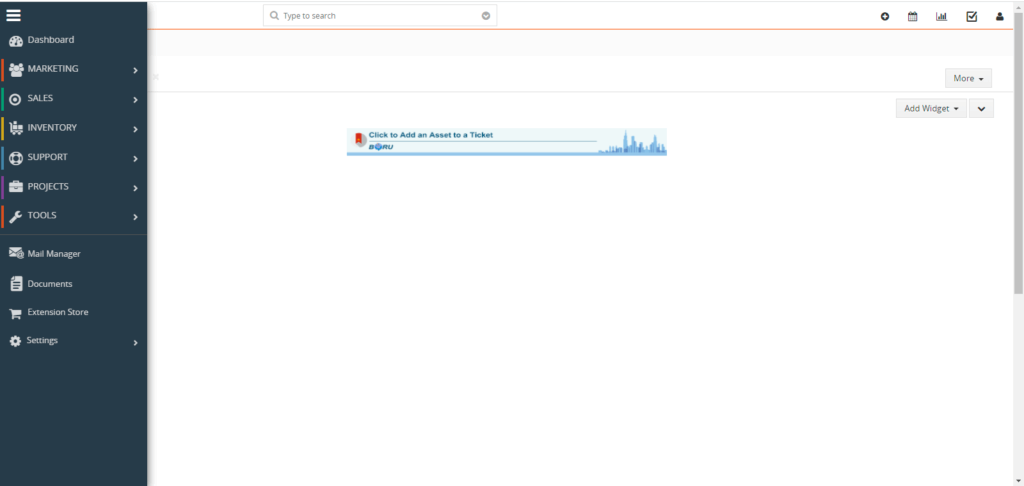
Now vTIGER CRM is installed and ready for use.
Test Mail Status : Mail could not be sent to the admin user. Please check the admin emailid/Server settings while trying to add gmail or office365.
tls://smtp.office365.com:587 uses even gmail also used. No luck
any solution.