")
In this tutorial we will learn How to Install Seafile to Sync and Share Files on CentOS 8. Seafile is an open-source, high-performance, secure and enterprise-ready file synchronization and sharing solution built using Python. It features simple data organization using libraries, fast, reliable and efficient synchronization between devices.
Seafile enables you to put files on your own server and allow your different devices to sync and access it. You can as well access all the files as a virtual disk. The Seafile Drive client lets you extend the local disk space with the massive storage capacity on the Seafile server by simply mapping storage space on the Seafile server as a virtual drive on the local machine.
We will first put SELinux in Permissive mode to ensure that it does not prevent any installation we are going to perform.
setenforce 0
sed -i 's/^SELINUX=.*/SELINUX=permissive/g' /etc/selinux/config
reboot
cat /etc/selinux/config | grep SELINUX=
Now that SELinux is in permissive mode update CentOS 8 using the following command:
dnf -y update
Now configure hosts file and set server hostname using the following command:
hostnamectl set-hostname seafile.vultr.comUpdate IP and hostname set in /etc/hosts file as follows:
nano /etc/hostsAdd the following line:
10.0.2.15 seafile.vultr.com #example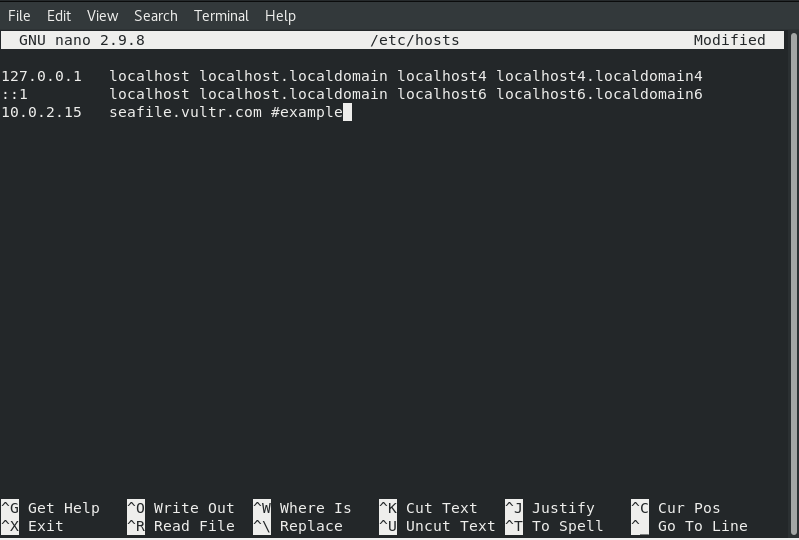
Now reboot to apply configurations.
Add EPEL repo and install dependencies:
First, we will install Seafile dependencies and required packages using below mentioned commands;
dnf -y install vim epel-release
dnf -y install python3 python3-devel python3-imaging MySQL-python3 python3-simplejson python3-setuptools mariadb mariadb-server nginx gcc mysql-devel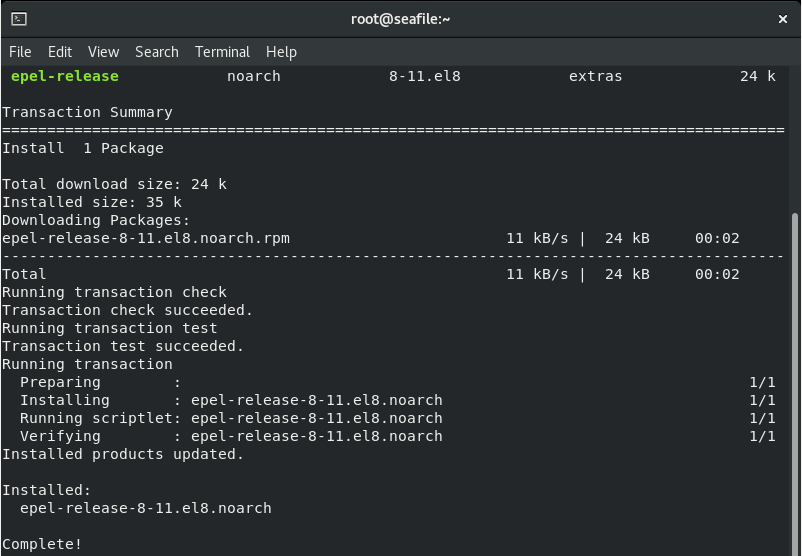
Now, We will install PIP3 modules;
pip3 install --upgrade pip
python3 -m pip install --upgrade Pillow
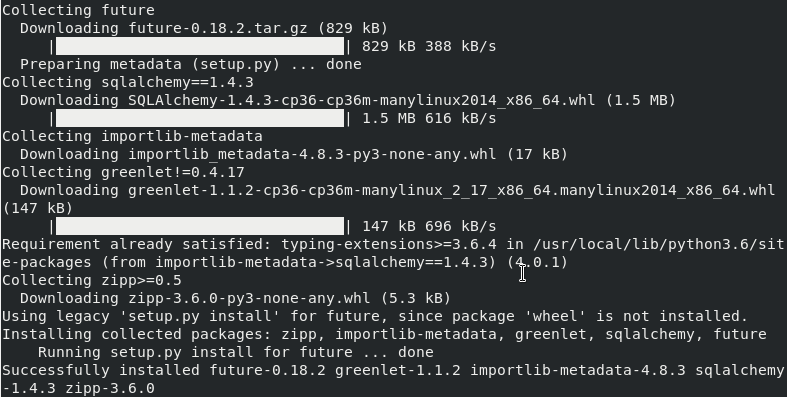
pip3 install pylibmc captcha jinja2 django-pylibmc django-simple-captcha python3-ldap mysqlclient
pip3 install future sqlalchemy==1.4.3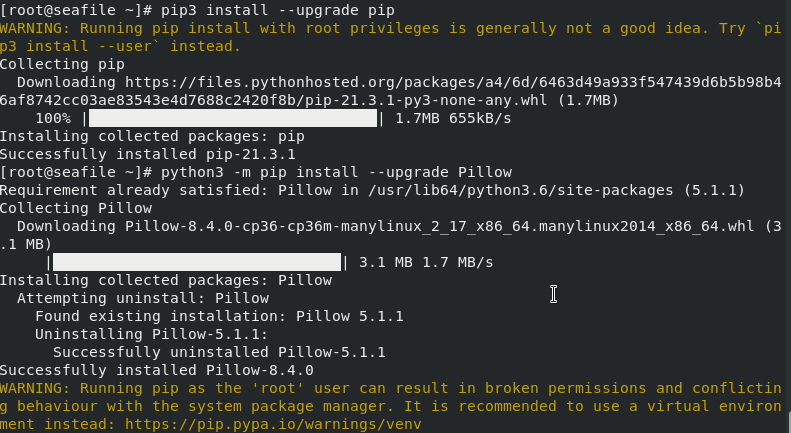
Configure MariaDB Database Server:
Start MariaDB and enable it to start on system boot.
systemctl start mariadb
systemctl enable mariadb
Secure mariadb installation and set root password using the following command:
mysql_secure_installation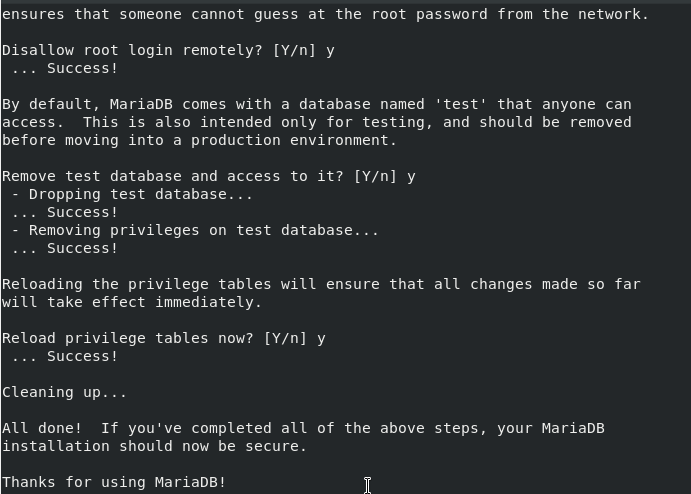
Create Seafile Databases:
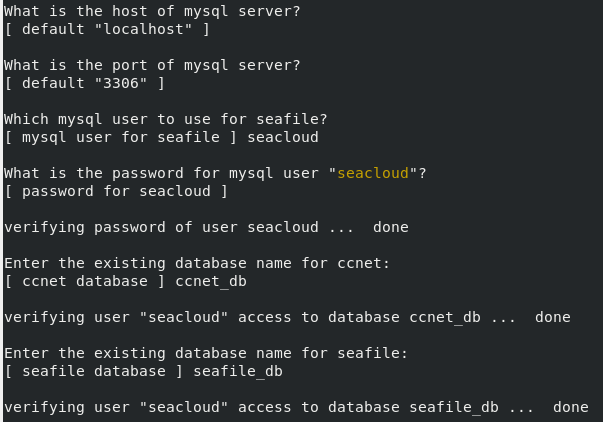
Create Seafile user and databases. Connect to MySQL using the command below and type the password you set above.
mysql -u root -pOnce you connect to MySQL, run the following commands to create the required databases:
create database ccnet_db character set = 'utf8';
create database seafile_db character set = 'utf8';
create database seahub_db character set = 'utf8';
create user seacloud@localhost identified by 'w';
grant all privileges on ccnet_db.* to seacloud@localhost identified by 'w';
grant all privileges on seafile_db.* to seacloud@localhost identified by 'w';
grant all privileges on seahub_db.* to seacloud@localhost identified by 'w';
flush privileges;
exit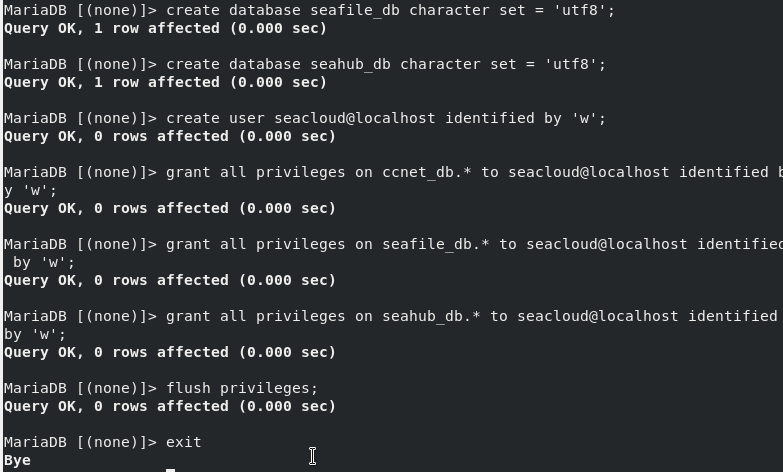
Install Seafile:
We will install Seafile in /var/www path.
mkdir -p /var/www/seafile
cd /var/www/seafile
Download Seafile with wget command, and extract the archive using the following command:
dnf install -y wget
wget https://s3.eu-central-1.amazonaws.com/download.seadrive.org/seafile-server_8.0.7_x86-64.tar.gz
tar xvf seafile-server_8.0.7_x86-64.tar.gz
Rename the directory to ‘seafile-server’ and switch to that directory.
mv seafile-server-8.0.7/ seafile-server
rm -f seafile-server_8.0.7_x86-64.tar.gz
Configure Seafile:
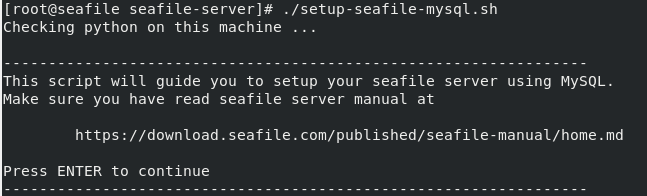
Execute the ‘setup-seafile-mysql.sh‘ file to configure the database.
cd seafile-server
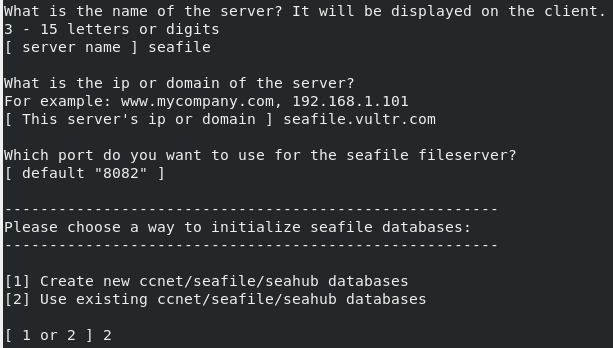
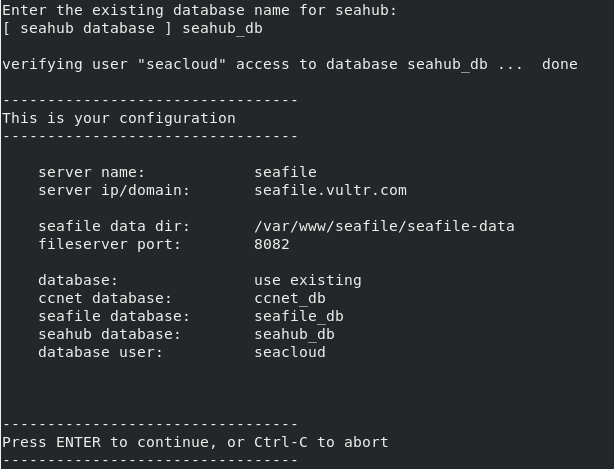
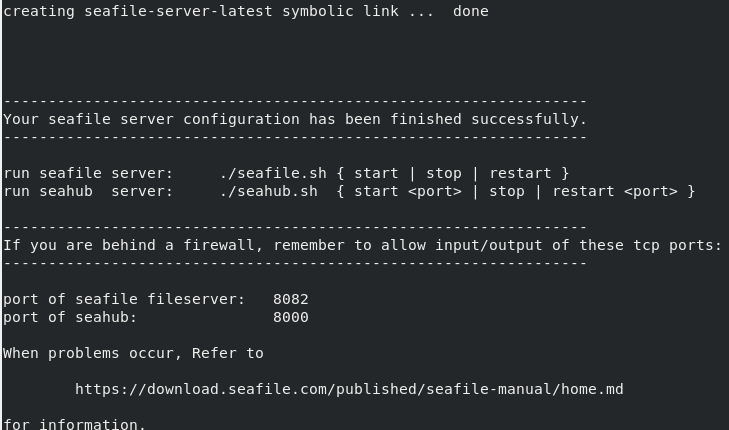
./setup-seafile-mysql.shNow, See the below pictures to configure.
Now we can start the seafile and seahub services. Start seafile with the below command:
./seafile.sh start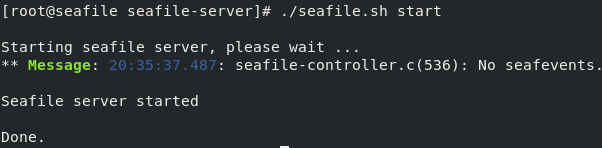
Start seahub service using teh following command:
./seahub.sh start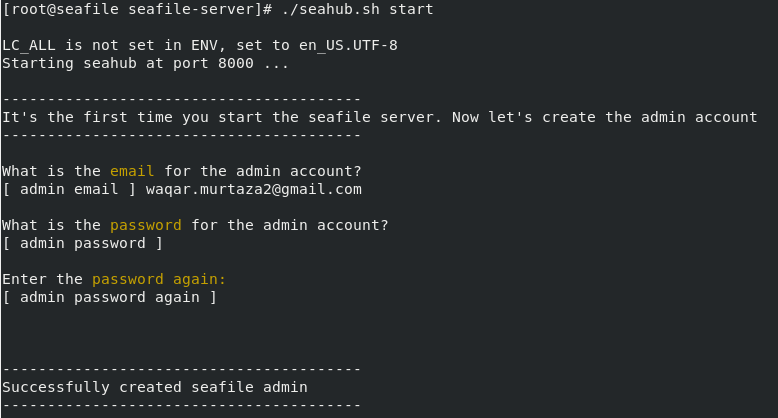
Configure Firewall:
If your filewall is active, ensure to open seafile ports through the firewall:
firewall-cmd --permanent --add-port=8000/tcp
firewall-cmd --permanent --add-port=8082/tcp
firewall-cmd --reload
Accessing Seafile on Browser:
Access seafile from your browser using your hostname/Ip address on port 8000: http://<your-hostname>:8000. If you find that your seafile is not loading on browser, check seafile gunicorn configuration. Ensure that it does not bind to local IP address as shown below:
nano /var/www/seafile/conf/gunicorn.conf.py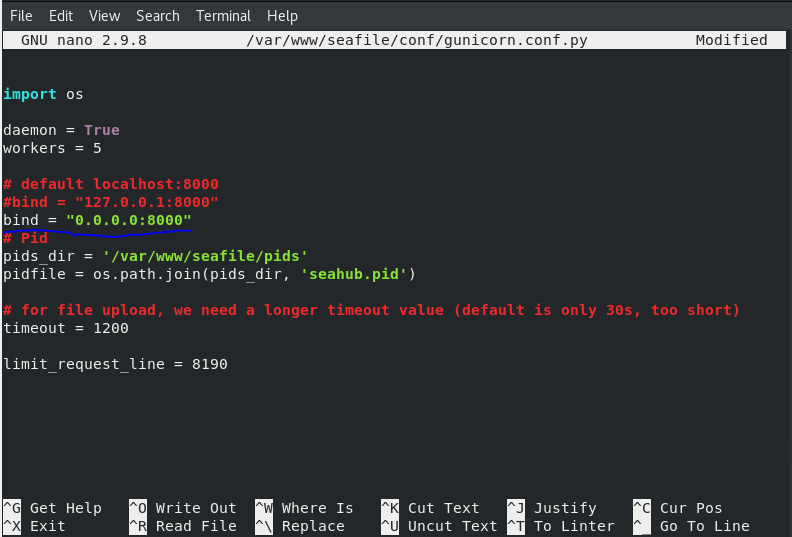
Then restart seahub service
./seahub.sh restart
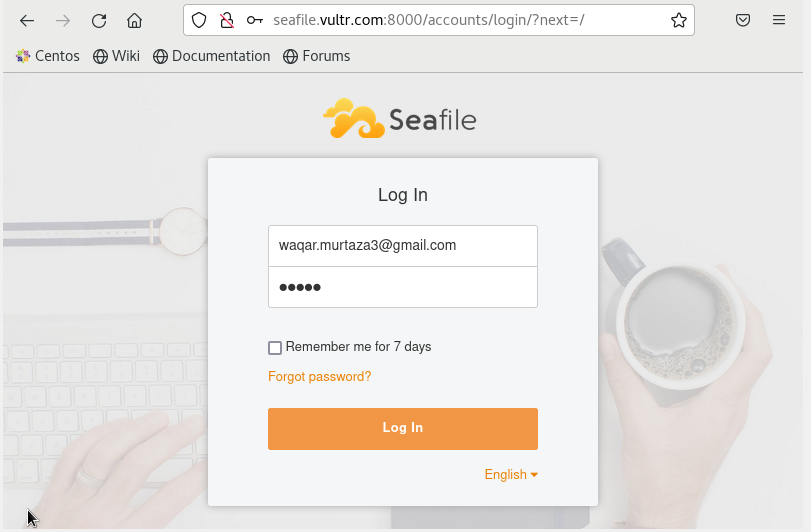
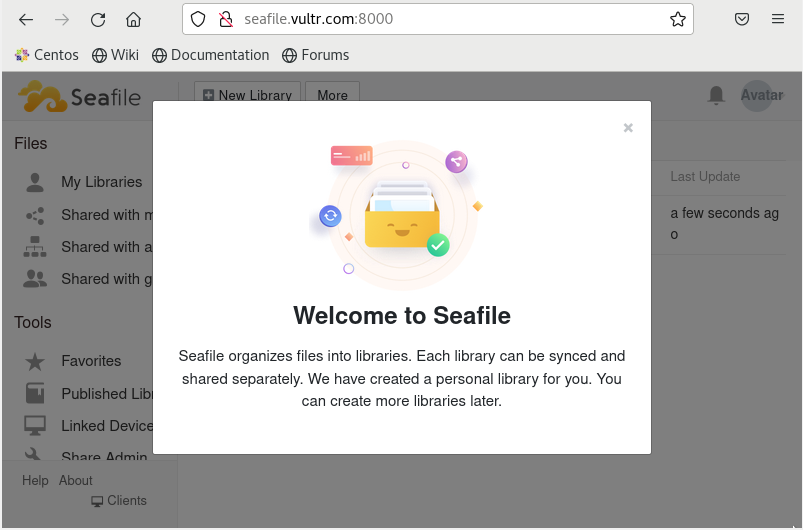
Now you will be able to login in Seafile. Enter the username and password that you have set while starting seahub service.
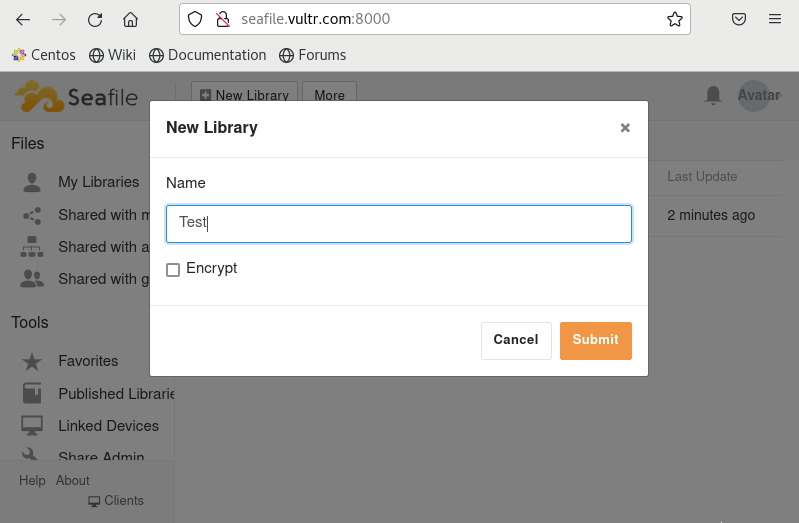
To start adding new folders/files, click on ‘New Library’ and provide a name to your new folder then click ‘submit’.
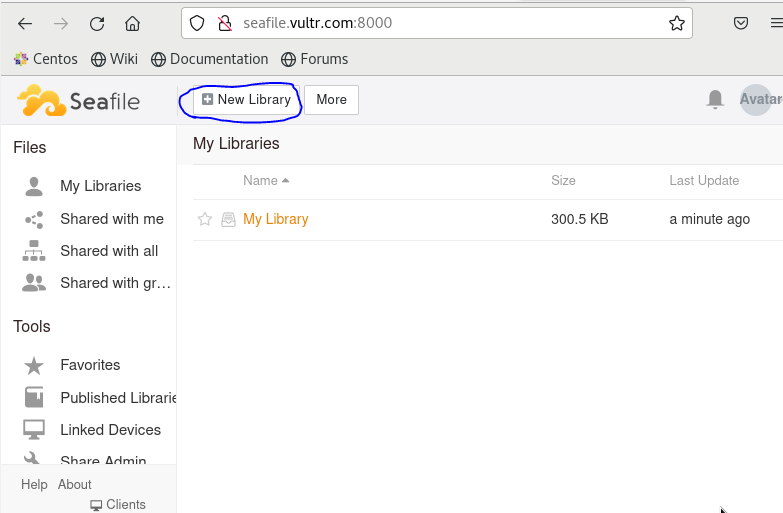
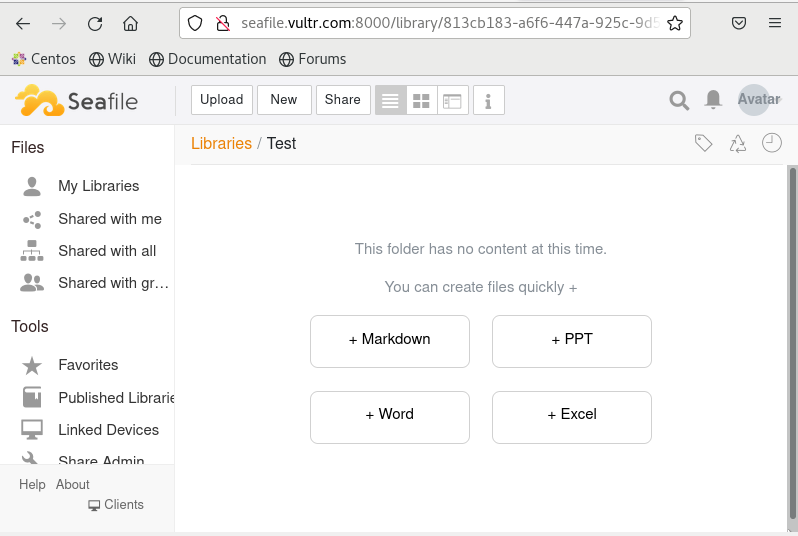
You should be able to select your new library and either create or upload a folder/file.
Seafile is now installed in your CentOS 8 system. you can now use it according to your need.