
Hello, friends. Fedora 38 is home to many novices and not so many developers who see it as the ideal system to do their jobs. Today, in this post for newbies, you’ll learn how to install MariaDB on Fedora 38 / 37.
Introduction
MariaDB is a relational database manager that is a fork of MySQL but has gone its own personality-based way.
It is well known all over the world, and we could consider it as a solid alternative to MySQL because it incorporates more engines and evolves in the right way.
Let’s go for it.
Install MariaDB on Fedora 38 / 37
Fortunately, MariaDB is present in the official Fedora 38 / 37 repositories, so the installation process becomes much easier to do.
So, first open a terminal and then, update Fedora
sudo dnf updateThis will download and install many security patches, but the system will be much more secure thanks to the bug fixes.
Now, you just need to install MariaDB from the official Fedora repositories.
To do so, just run
sudo dnf install mariadb-server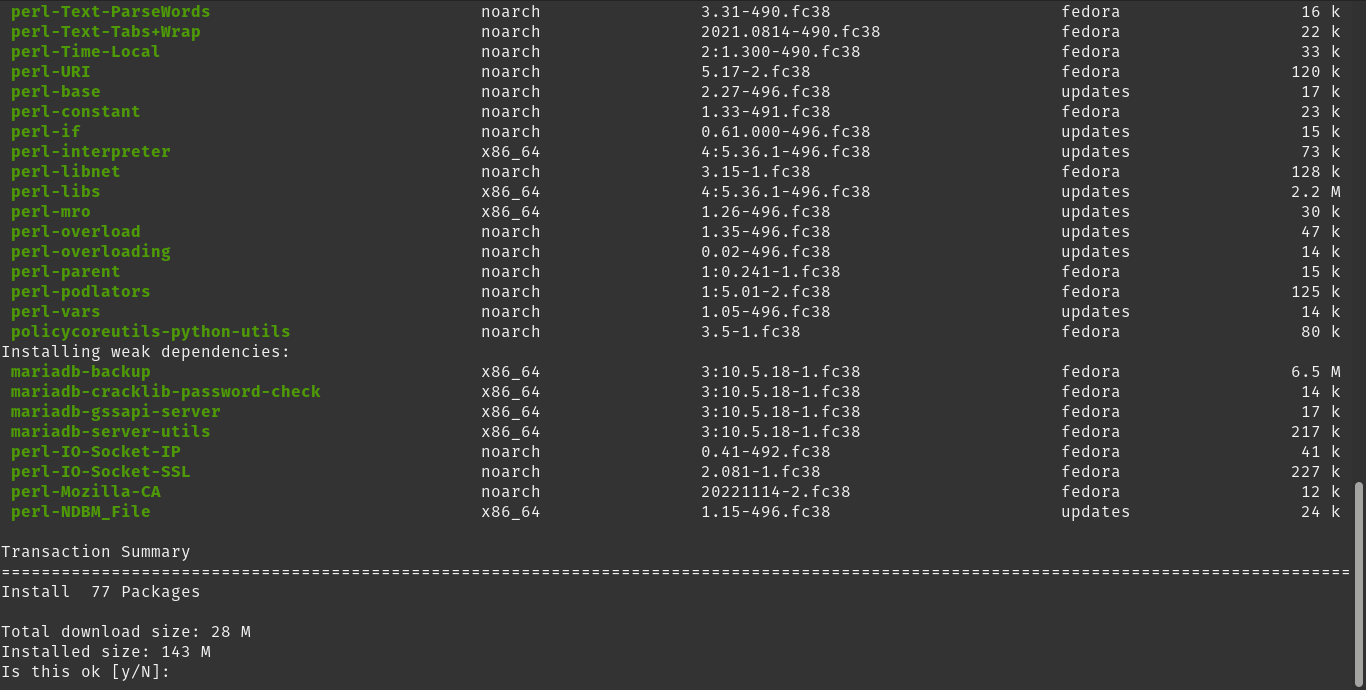
Once the package is installed, you can verify the version you have installed
mariadb --versionSample Output:
mariadb Ver 15.1 Distrib 10.5.18-MariaDB, for Linux (x86_64) using EditLine wrapperThis will install it on your system.
Starting the MariaDB service
MariaDB is managed as a service within the system. So, before using it you have to start it
sudo systemctl start mariadbYou can also make it start with the system
sudo systemctl enable mariadbThen, you can check the status of the service to see if everything is working fine.
systemctl status mariadb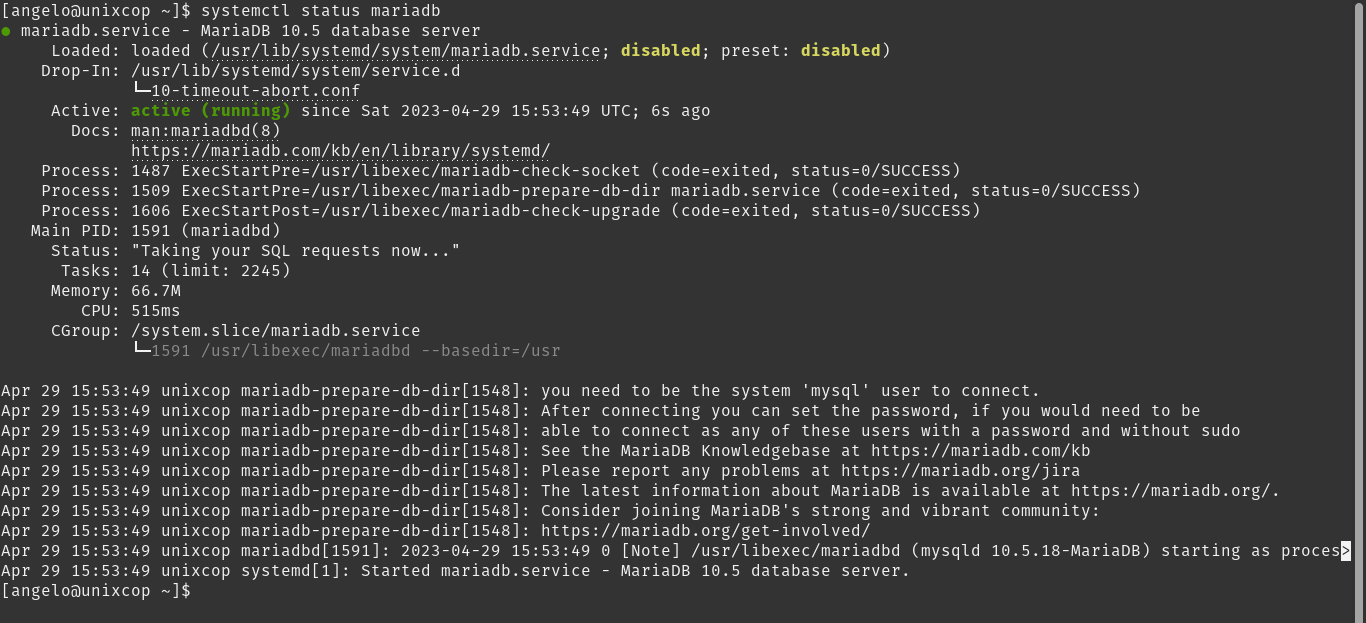
A screen output like this indicates that all is well.
Securing MariaDB on Fedora 38 / 37
So, you can now run the configuration script
sudo mariadb-secure-installationThe first thing you will be asked for is the password.
NOTE: RUNNING ALL PARTS OF THIS SCRIPT IS RECOMMENDED FOR ALL MariaDB
      SERVERS IN PRODUCTION USE!  PLEASE READ EACH STEP CAREFULLY!

In order to log into MariaDB to secure it, we'll need the current
password for the root user. If you've just installed MariaDB, and
haven't set the root password yet, you should just press enter here.

Enter current password for root (enter for none):
OK, successfully used password, moving on...

Setting the root password or using the unix_socket ensures that nobody
can log into the MariaDB root user without the proper authorisation.

You already have your root account protected, so you can safely answer 'n'.

Switch to unix_socket authentication [Y/n] Y
Enabled successfully!
Reloading privilege tables..
 ... Success!


You already have your root account protected, so you can safely answer 'n'.

Change the root password? [Y/n]
Once you enter it, you will then be given the option to change it to one of your choice.
Then, some questions will be asked: answer to them as you prefer; answering yes to all of them is perfectly fine.
By default, a MariaDB installation has an anonymous user, allowing anyone
to log into MariaDB without having to have a user account created for
them.  This is intended only for testing, and to make the installation
go a bit smoother.  You should remove them before moving into a
production environment.

Remove anonymous users? [Y/n] Y
 ... Success!

Normally, root should only be allowed to connect from 'localhost'.  This
ensures that someone cannot guess at the root password from the network.

Disallow root login remotely? [Y/n] Y
 ... Success!

By default, MariaDB comes with a database named 'test' that anyone can
access.  This is also intended only for testing, and should be removed
before moving into a production environment.

Remove test database and access to it? [Y/n] Y
 - Dropping test database...
 ... Success!
 - Removing privileges on test database...
 ... Success!

Reloading the privilege tables will ensure that all changes made so far
will take effect immediately.

Reload privilege tables now? [Y/n] Y
 ... Success!

Cleaning up...

All done!  If you've completed all of the above steps, your MariaDB
installation should now be secure.

Thanks for using MariaDB!
At the end, you will be able to use MariaDB naturally.
Accessing the MariaDB Console
To use MariaDB, just log in to its console
sudo mysql -u root -p
Enter password:
Welcome to the MariaDB monitor.  Commands end with ; or \g.
Your MariaDB connection id is 4
Server version: 10.5.18-MariaDB MariaDB Server

Copyright (c) 2000, 2018, Oracle, MariaDB Corporation Ab and others.

Type 'help;' or '\h' for help. Type '\c' to clear the current input statement.

MariaDB [(none)]>
Once you enter the root password, you will be able to start working on creating databases, tables, entering values, creating users and much more.
Conclusion
MariaDB is a basic database manager for many things, but it is still robust for all kinds of projects.