
Hello, friends. In this post, I will help you to install Hestia Control Panel on Debian 11. This control panel is dedicated to Linux, so we can take advantage of it in our distribution.
What is Hestia?
Hestia is An open-source Linux web server control panel. One of the main advantages of using Hestia is that it is easy to install, and we can take advantage of it because it includes powerful tools such as Nginx, MariaDB, and Apache as a backend.
What can we do with Hestia? Well, we can manage users, create web domains that will allow us to install powerful applications such as WordPress or NextCloud with a single click. In addition to this, we will have multiple support for PHP.
So as you can notice, it is quite useful to learn how to install it so that we can examine it. Another important feature is that it is free, so we can use it in many environments.
Let’s get started.
Some things to keep in mind
The installation process is simple, but we always have to keep in mind a few things.
The first thing is that it is advisable to do this tutorial in a clean system installation. This way, we will avoid any conflict between packages.
In addition to this, your user must have root permissions or be a user of the sudo group.
Remember that the power of the server will tell you how much you can take advantage of it. In this sense, the more powerful the better.
Installing Hestia Control Panel on Debian 11
The developers of Hestia provide us with an installation script that really makes the process easy.
So, before you start, connect via SSH to your server. Then, update it.
sudo apt update
sudo apt upgrade
After this, we need to make sure that the wget package is installed.
sudo apt install wgetNow, with wget installed, we can use it to download the script.
wget https://raw.githubusercontent.com/hestiacp/hestiacp/release/install/hst-install.shNow you need to assign the appropriate permissions to it:
chmod 755 hst-install.shWhat remains is to run the installation script with root user permissions
sudo bash hst-install.shAfter entering your password, the whole process will start.
First, it will start downloading and installing all the dependencies. During the process, you will have to enter a valid email address and FQDN.
Then you will see a screen with all the changes that the system will undergo. It is like a summary of what will be installed.
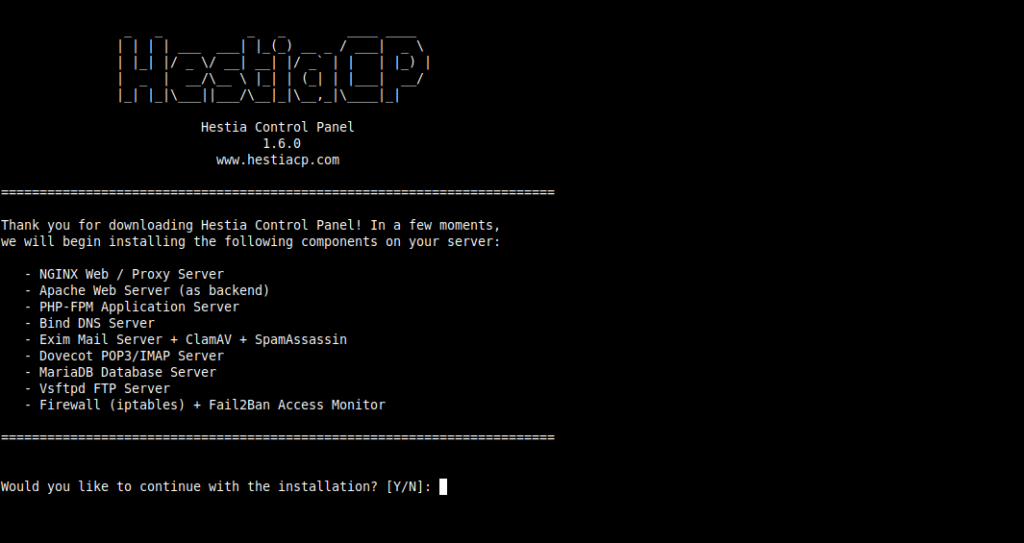
When the entire process is finished, you will see a screen like this.
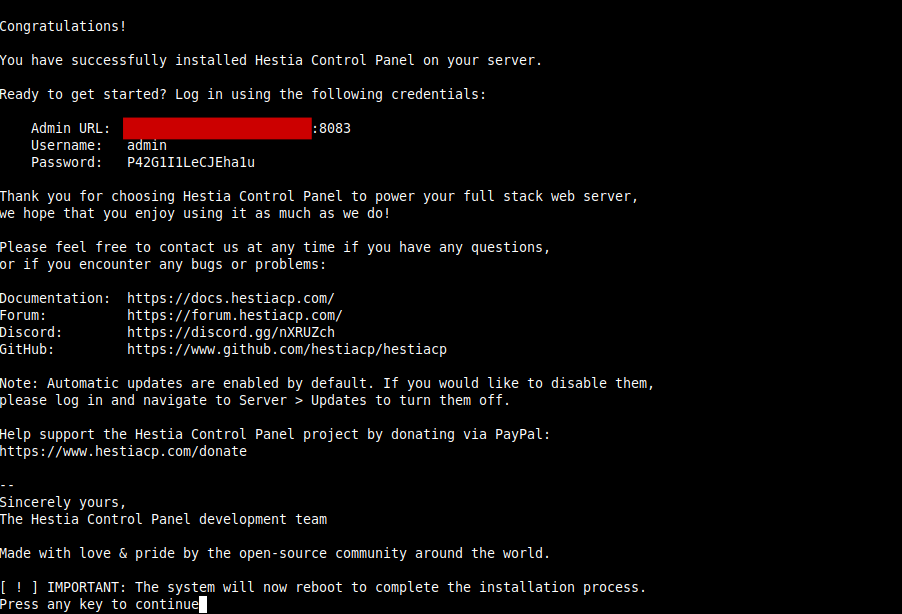
There you will have the login credentials as well as the address you have to access. Finally, you will be informed that you have to restart the system for all the changes to take effect.
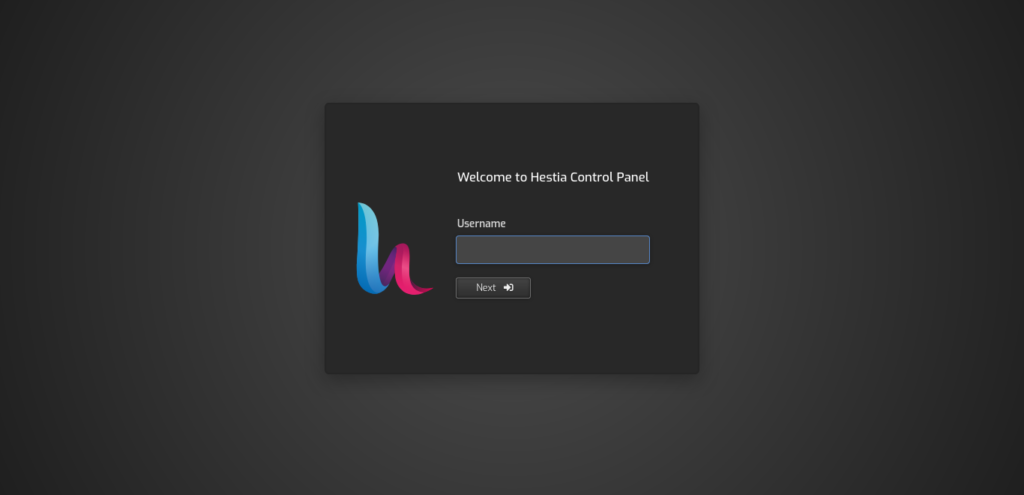
Once this is done, you will be able to open a web browser and access the Hestia login page.
When you log in, you will see the administration screen.
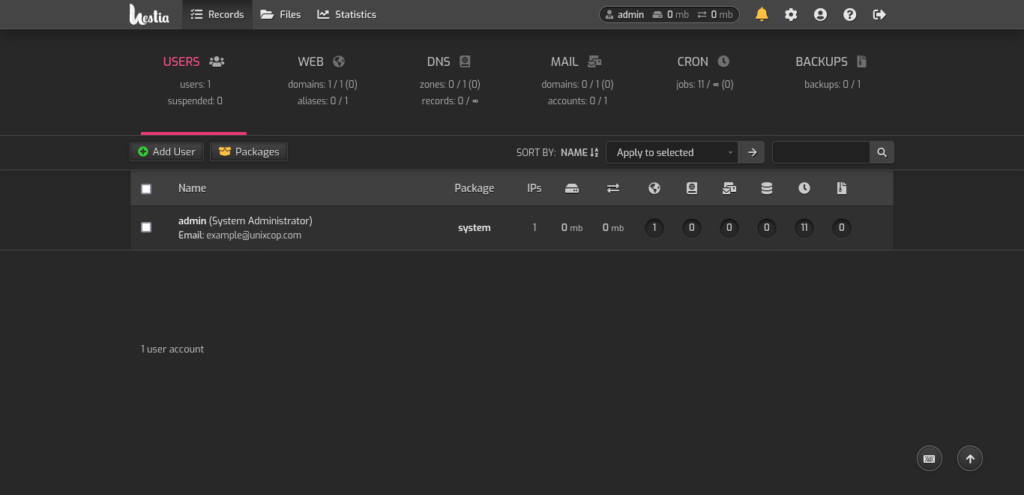
Enjoy!!!! Congratulations.
Conclusion
Thanks to this post, you learned how to install Hestia on your system. This simple and efficient control panel can be a great help for everyone.
More posts about Debian 11