
CyberPanel is a web hosting control panel provided by OpenLiteSpeed. It comes with two version CyberPanel and CyberPanel Ent. It comes with OpenLiteSpeed and is completely free for an unlimited number of domains and worker processes. In this article you will learn that how to install CyberPanel on CentOS 8
Features:
Host unlimited domains
Auto SSL
Free SSL
PowerDNS server
MriaDB
Backup Management
FTP Server
You can install it very easily just in simple steps using the script provided by CuberPanel.
First download wget package using below command
dnf install wget -y
Before CyberPanel installation it is better to disable SELINUX to avoid any confiliction with CyberPanel
vi /etc/selinux/config
and change the line from SELINUX=enforcing to SELINUX=disabled
then save changes to file and reboot the server
Install CyberPanel
Download the CyberPanel installation script using the wget command
wget https://cyberpanel.net/install.sh
Finally run below command to install CyberPanel from script
sh install.sh
Once installation start you will see similar screen and ask to perform some steps.
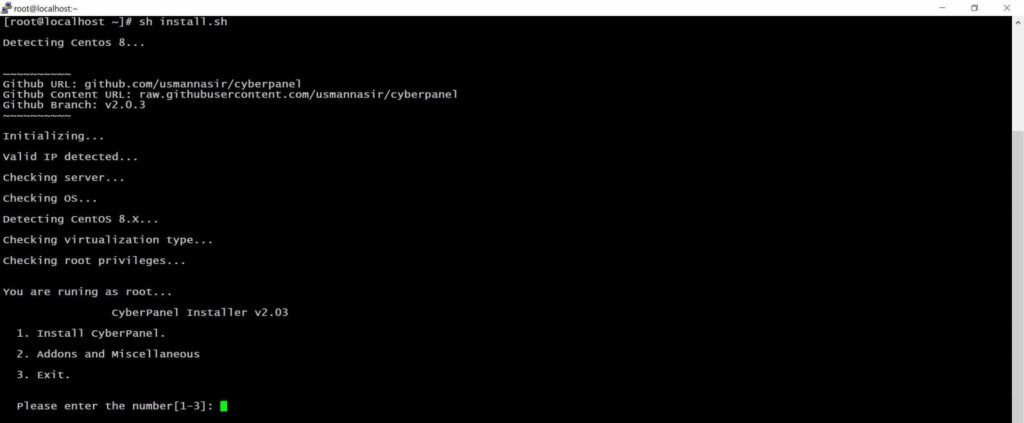
Please type the number 1 and hit ENTER key to install CyberPanel
Next press 1 if you want to install CyberPanel with OpenLiteSpeed which is free or press 2 if you want to install Cyberpanel with LiteSpeed Enterprise which is paid version. In this article we will go with free version and press 1.
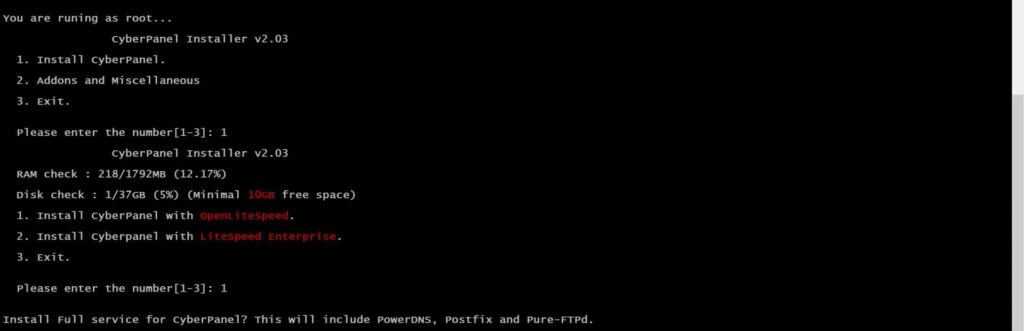
then press y and hit ENTER key for Full installation

Now press y if you want to setup Remote MySQL otherwise press N

Press Enter key to continue with latest version

Now it’s time to set the administrator password. You can manually specify, generate one or use the default credentials. Choose [d]fault, [r]andom or [s]et password

then press Y to install Memcached extension and back-end.
next press again y to install Redis extension and back-end.

press capital Y to enable watchdog for Web service and Database service.

Finally installation will start and you will see following screen once its done.
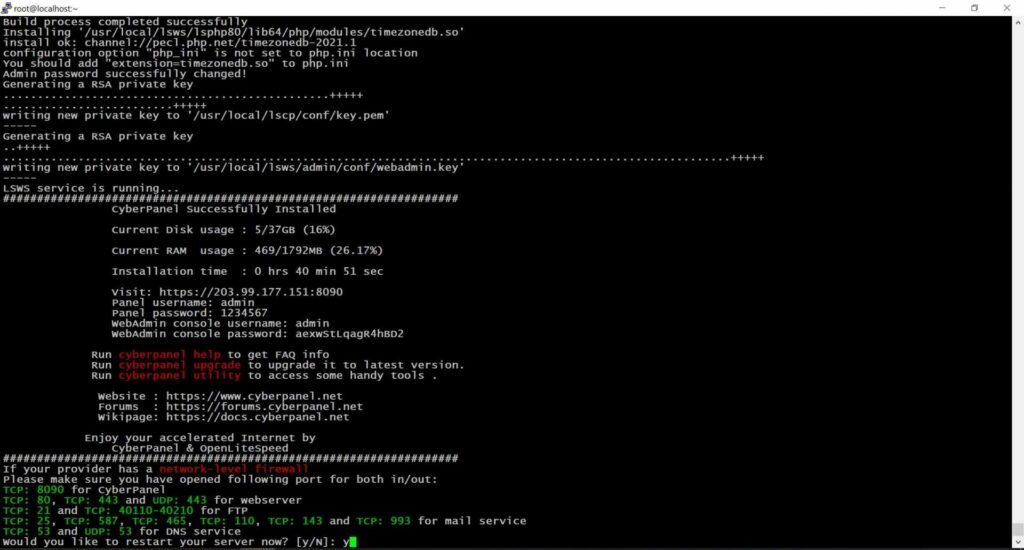
Configure Firewall and enable necessary Ports
firewall-cmd --permanent --add-port={80/tcp,443/tcp,8090/tcp,143/tcp,110/tcp,25/tcp,465/tcp,995/tcp,993/tcp,53/tcp,53/udp}
firewall-cmd --permanent --add-port=40110-40210/tcp
firewall-cmd --reload

Access CyberPanel Web User Interface
Use below URL to access login page, don’t forget to use your IP address
Now enter your login details to login CyberPanel, user name will be admin and default password will be 1234567 if you set custom password please use it to login.
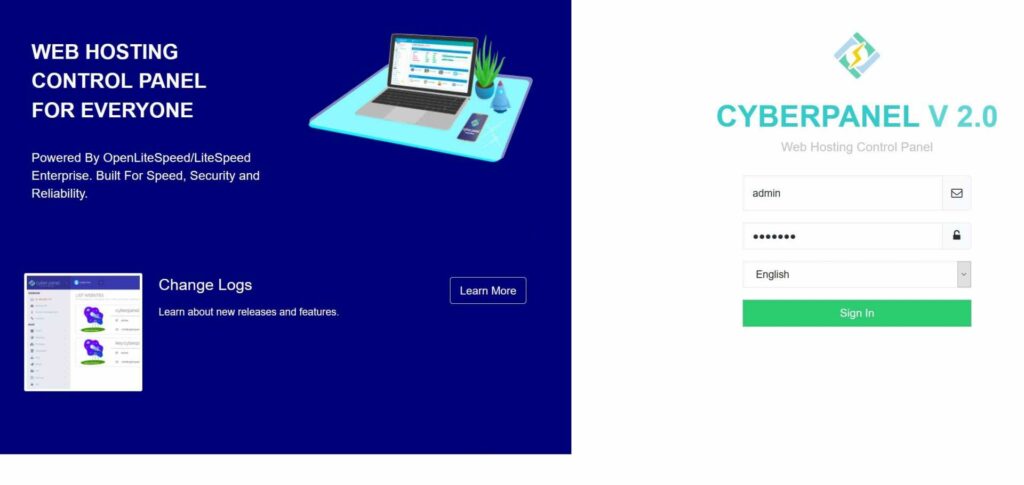
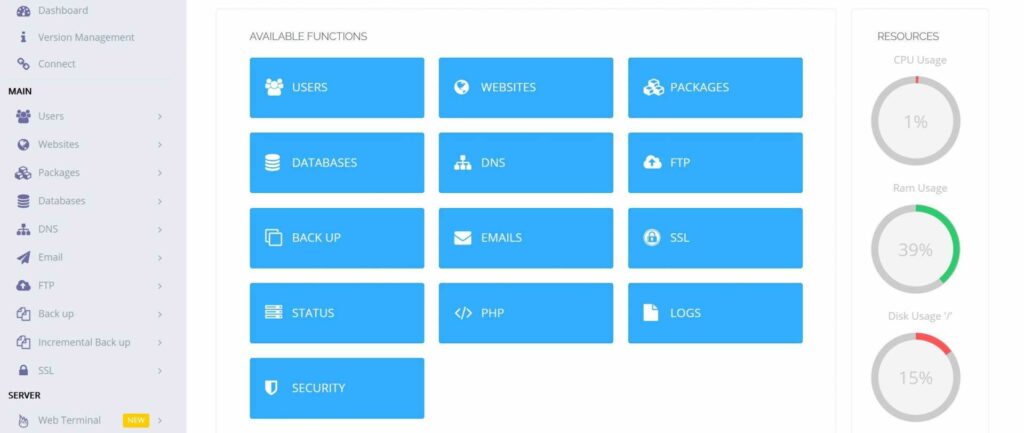
After login you will see below page.
That’s it now you have your own hosting server and can host your domains on it.