Hello, friends. In this short post, you will learn how to install Apache web server on CentOS 9 Stream.
Apache HTTPD is one of the most widely used web servers in the world. It is highly configurable, open source and well documented, which makes it strongly supported by the community.
Many novice developers prefer to use Apache as a web server for their projects. So let’s install it.
Installing Apache Web Server on CentOS 9 Stream
Thanks to the incredible support they have for Linux, Apache web server is included in the official distribution repositories, so the process is simple.
Open a terminal and update the system
sudo dnf updateNow run the following command to install Apache web server
sudo dnf install httpd httpd-toolsCheck the installed version with the following command
httpd -vSample output:
Server version: Apache/2.4.51 (CentOS Stream)
Server built:   Apr 11 2022 00:00:00
Starting the Apache web server service
Once it is installed, you need to start the Apache web server service
sudo systemctl start httpd
sudo systemctl enable httpd
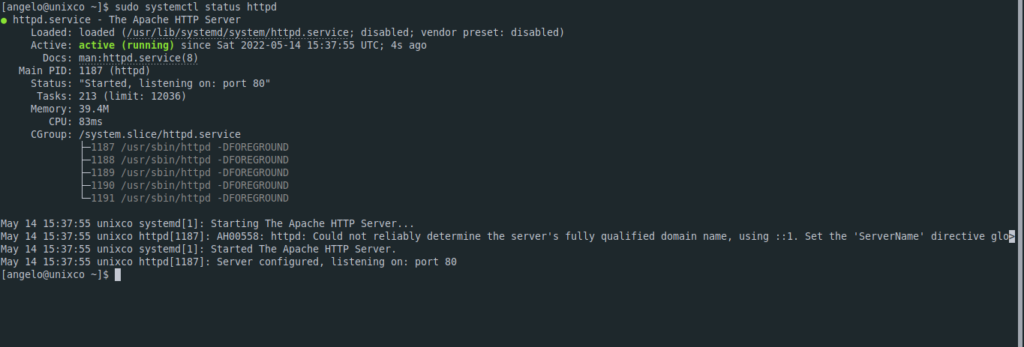
And then, you can check the status of the service:
sudo systemctl status httpd
Preparing the firewall for Apache
Next, you need to adjust the firewall so that Apache can run.
To achieve this, run in the terminal
sudo firewall-cmd --permanent --zone=public --add-service=http
sudo firewall-cmd --permanent --zone=public --add-service=https
sudo firewall-cmd --reload
This is enough.
Testing Apache web server
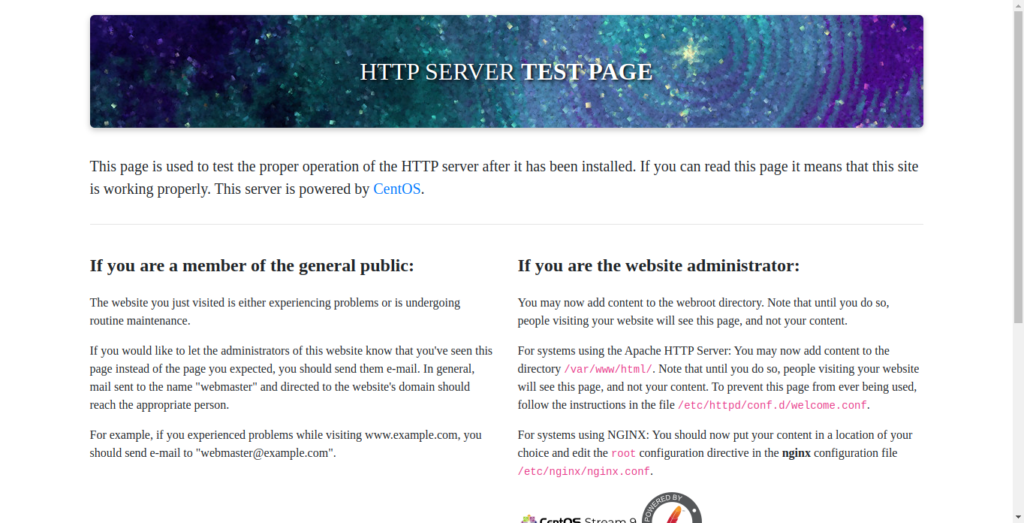
Open a web browser and go to http://localhost if you installed it on your local machine or http://server-ip and you will see this screen.

The process was successful. Enjoy Apache.
Conclusion
In this post, you learned how to install Apache web server on CentOS 9 Stream.


