
In this article we will learn how to Install Apache Cassandra in CentOS 8. Apache Cassandra was initially released in 2008 by the Apache Software Foundation. It is a free, open-source, NoSQL database management system that is designed to address large Data that can be shared across multiple servers. It provides high availability and it has excellent fault tolerances on basic hardware as well as in a larger cloud infrastructure.
Before installing Apache Cassandra you need Java 8 or 11 and also python 3.6+ in you system.
Install Java:
Use the below mentioned command to install Java 8.
dnf install java-1.8.0-openjdk-devel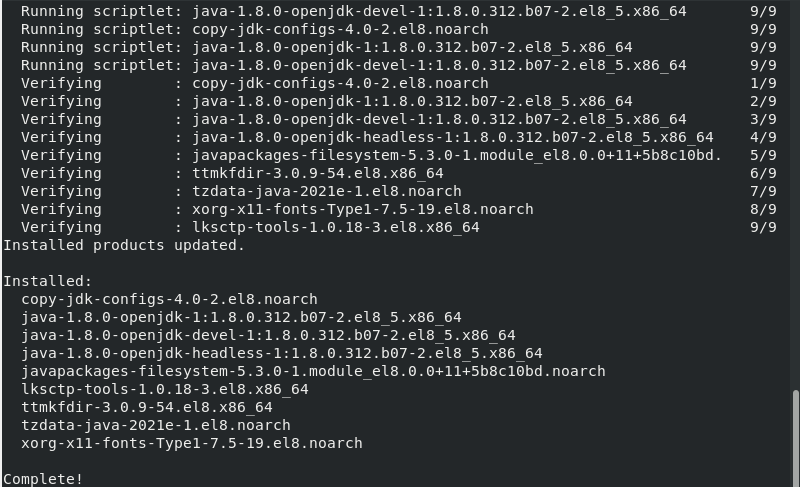
Check java installation using the following command:
java -version
Install Apache Cassandra in CentOS 8:
Now, We will move towards installation of Apache Cassandra. To do so first add Apache Cassandra Repo in /etc/yum.repos.d directory.
nano /etc/yum.repos.d/cassandra.repoAdd the following lines in the file:
[cassandra]
name=Apache Cassandra
baseurl=https://downloads.apache.org/cassandra/redhat/40x/
gpgcheck=1
repo_gpgcheck=1
gpgkey=https://downloads.apache.org/cassandra/KEYS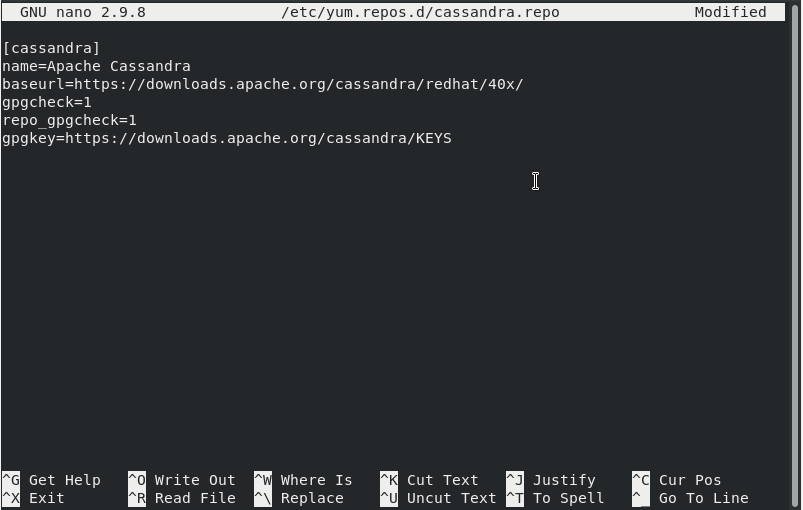
save and quit the file.
Now run the following command to add Cassandra Repo.
dnf -y update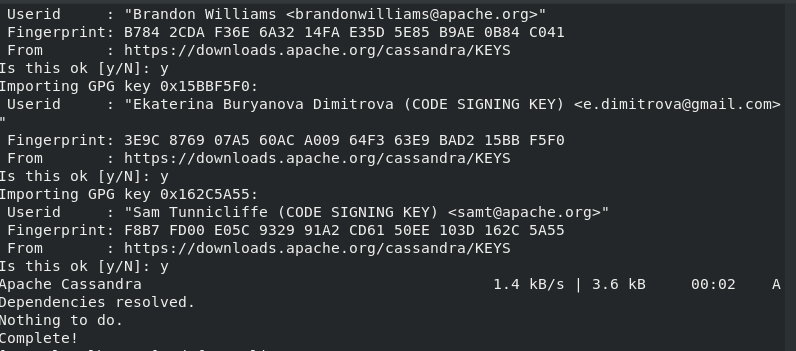
To verify that Cassandra repo run the following command:
dnf repolist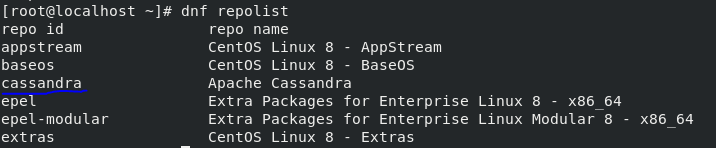
Now, Use the following command to install Apache Cassandra:
dnf install cassandra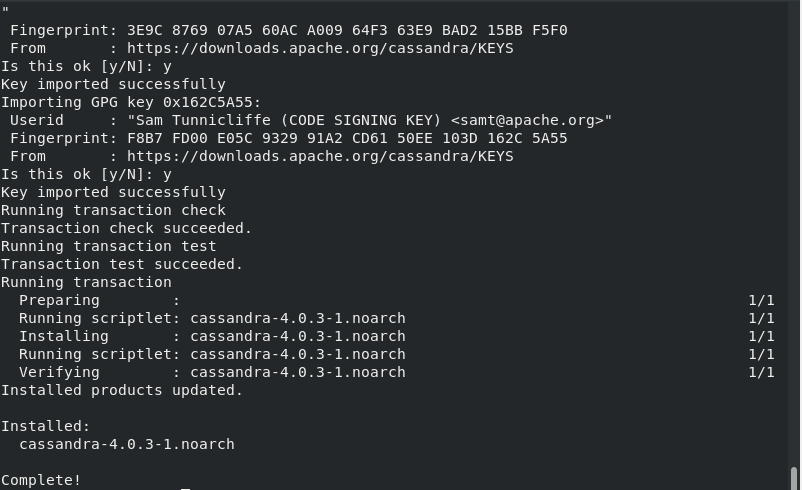
Now Enable and Start Apache Cassandra service.
systemctl enable cassandra.service
systemctl start cassandra.service
systemctl status cassandra.service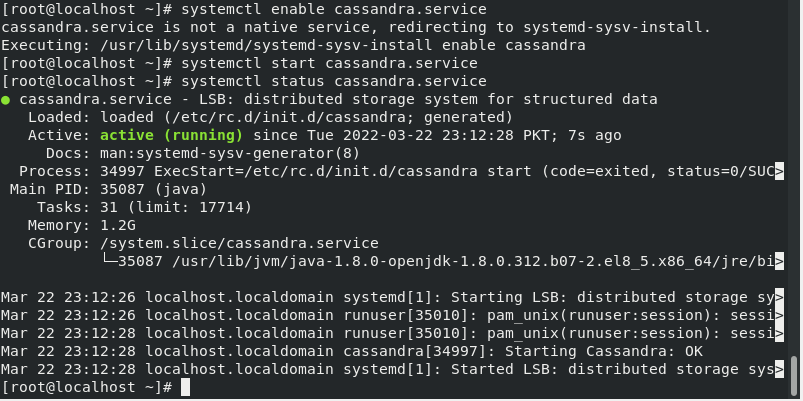
To check the detailed status of Cassandra use the following command:
nodetool status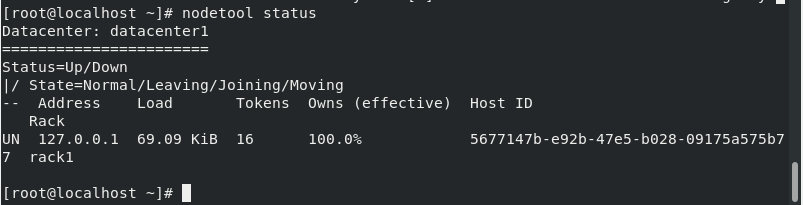
Cassandra CLI (cqlsh):
You can access Cassandra CLI using cqlsh command which is basically tells system to connect to cassandra query language shell.
cqlsh
In Cassandra, a keyspace serves as a data container, similar to a database in relational database management systems (RDMBS).
Create a keyspace (Database) using the following command:
CREATE KEYSPACE IF NOT EXISTS Unixcop WITH REPLICATION = { 'class' : 'NetworkTopologyStrategy', 'datacenter1' : 3 };
Check the keyspace using the following command:
SELECT * FROM system_schema.keyspaces;
Run the following command to list all Keyspaces:
desc keyspaces;
Similarly, to create a Table in Keyspace ‘Unixcop’ use the following command:
CREATE TABLE Unixcop.sample_table ( id UUID PRIMARY KEY, name text, birthday timestamp, nationality text, weight text, height text );
Next, Add a sample record in Table sample_table using the following command:
INSERT INTO Unixcop.sample_table (id, name, nationality) VALUES (5b6962dd-3f90-4c93-8f61-eabfa4a803e2, 'Waqar', 'Pakistani');Now to view the Table and its data that we have created above use the following command:
SELECT * FROM Unixcop.sample_table;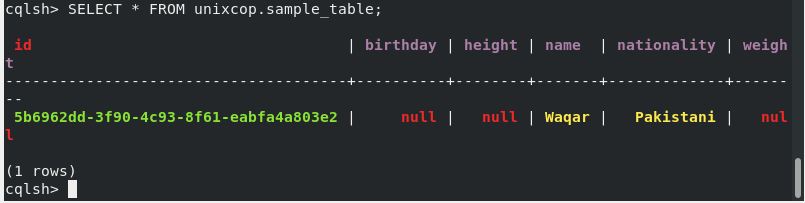
Now we have successfully perform the installation of Apache Cassandra and seen some CQL Queries. You can now use Apache Cassandra according to your use.