
Hello, friends. In this post, you will learn how to install XWiki on Ubuntu 20.04. This application allows us to deploy a powerful Wiki powered by Java and Tomcat. The whole process is worthwhile and easy to do. So, let’s go for it.
Introducing to XWiki
XWiki is a wiki platform software with professional capabilities that was released in 2003, is released under the LGPL license, and is a software through which you can deploy a simple web platform through which you can query, search and edit structured and ordered information.
Some of its most important features are:
- XWiki has a very robust WYSIWYG editor.
- Also, with XWiki you will enjoy a powerful wiki syntax
- Strong rights management
- Advanced search
Also, with XWiki there is the concept of a new generation of Wiki which makes it a powerful alternative to MediaWiki and Confluence. This so-called new generation also includes a file manager, blogs, and the possibility to organize meetings.
So, all this leads us to think that XWiki is ideal for large organizations and educational projects. Moreover, it is open source and we can take advantage of this license to analyze the source code and the technologies used.
So, let’s install it on a server with a clean install of Ubuntu 20.04.
Installing XWiki on Ubuntu 20.04
XWiki provides great support for Linux but unfortunately, it is not present in the official repositories. In addition to this, we have to first install some dependencies for everything to work properly.
So, let’s take it one step at a time.
Install Java on Ubuntu 20.04
Before we start, you must update the system completely
sudo apt update
sudo apt upgrade
After that, you need to install Java on Ubuntu 20.04. This can be done without any problems, by executing the following command
sudo apt install default-jdk gnupg2
Note that I have also added the gnupg2 package because we will need it later.
You can check that everything has gone well with Java by running the following command
java --version
Add the XWiki repository and install the XWiki package on Ubuntu 20.04
After Java is installed, you can add the application repository.
To do this, the first download and add the GPG key for it.
wget https://maven.xwiki.org/xwiki-keyring.gpg -P /usr/share/keyrings/
After that, you can add the repository by downloading a prepared file and copying it to the system repository folder.
wget "https://maven.xwiki.org/stable/xwiki-stable.list" -P /etc/apt/sources.list.d/
Refresh APT so that the new repository is recognized by the system.
sudo apt update
Now we can install XWiki. Also, we need to install Tomcat and a database handler like MariaDB. All this can be done with the following command
sudo apt install xwiki-tomcat9-common xwiki-tomcat9-mariadb
Reading package lists... Done
Building dependency tree
Reading state information... Done
The following additional packages will be installed:
  dbconfig-common galera-3 libapr1 libcgi-fast-perl libcgi-pm-perl libconfig-inifiles-perl libdbd-mysql-perl libdbi-perl libeclipse-jdt-core-java
  libencode-locale-perl libfcgi-perl libhtml-parser-perl libhtml-tagset-perl libhtml-template-perl libhttp-date-perl libhttp-message-perl libio-html-perl
  liblwp-mediatypes-perl libmysqlclient21 libsnappy1v5 libtcnative-1 libterm-readkey-perl libtimedate-perl libtomcat9-java liburi-perl mariadb-client-10.3
  mariadb-client-core-10.3 mariadb-common mariadb-server mariadb-server-10.3 mariadb-server-core-10.3 mysql-common socat tomcat9 tomcat9-common xwiki-common
  xwiki-mariadb-common
Suggested packages:
  dbconfig-mysql | dbconfig-pgsql | dbconfig-sqlite | dbconfig-sqlite3 | dbconfig-no-thanks libclone-perl libmldbm-perl libnet-daemon-perl libsql-statement-perl
  libdata-dump-perl libipc-sharedcache-perl libwww-perl mailx mariadb-test tinyca tomcat9-admin tomcat9-docs tomcat9-examples tomcat9-user
The following NEW packages will be installed:
  dbconfig-common galera-3 libapr1 libcgi-fast-perl libcgi-pm-perl libconfig-inifiles-perl libdbd-mysql-perl libdbi-perl libeclipse-jdt-core-java
  libencode-locale-perl libfcgi-perl libhtml-parser-perl libhtml-tagset-perl libhtml-template-perl libhttp-date-perl libhttp-message-perl libio-html-perl
  liblwp-mediatypes-perl libmysqlclient21 libsnappy1v5 libtcnative-1 libterm-readkey-perl libtimedate-perl libtomcat9-java liburi-perl mariadb-client-10.3
  mariadb-client-core-10.3 mariadb-common mariadb-server mariadb-server-10.3 mariadb-server-core-10.3 mysql-common socat tomcat9 tomcat9-common xwiki-common
  xwiki-mariadb-common xwiki-tomcat9-common xwiki-tomcat9-mariadb
0 upgraded, 39 newly installed, 0 to remove and 2 not upgraded.
Need to get 325 MB of archives.
After this operation, 559 MB of additional disk space will be used.
Do you want to continue? [Y/n]
While the installation is running, you will get a screen asking if you want to configure the XWiki database automatically. Say YES.
You will then be asked to set and confirm a password for MariaDB.
After this, the installation will continue as normal.
Using Nginx as the reverse proxy for XWiki
At the moment XWiki is running on http://127.0.0.1:8080 but this is not recommended for internet access. So, let’s install Nginx and use it as the Reverse Proxy.
So, install Nginx running
sudo apt install nginx
Now create a new configuration file for XWiki
sudo nano /etc/nginx/conf.d/xwiki.conf
And add the following content
server {
 listen 80;

 server_name domain;

 access_log /var/log/nginx/xwiki-access.log;
 error_log /var/log/nginx/xwiki-error.log;

 location / {
 proxy_set_header   X-Real-IP $remote_addr;
 proxy_set_header   Host      $host;
 proxy_http_version 1.1;
 proxy_set_header   Upgrade $http_upgrade;
 proxy_set_header   Connection 'upgrade';
 proxy_cache_bypass $http_upgrade;
 proxy_pass         http://127.0.0.1:8080;
 }
 }
Remember to replace the server_name value with the value of your domain.
Save your changes and close the editor.
Before using XWiki you need to modify something in the Nginx configuration file.
So, open the configuration file
sudo nano /etc/nginx/nginx.conf
And uncomment the following line
server_names_hash_bucket_size 64;
In case it is not present, you have to add it. Again, save the changes and close the editor.
To apply the changes restart Nginx
sudo systemctl restart nginx
So, now we can complete the installation of XWiki via the web interface.
Install XWiki on Ubuntu 20.04 from the web interface
Now open a web browser and go to the address http://your-domain/xwiki and you will see the following screen
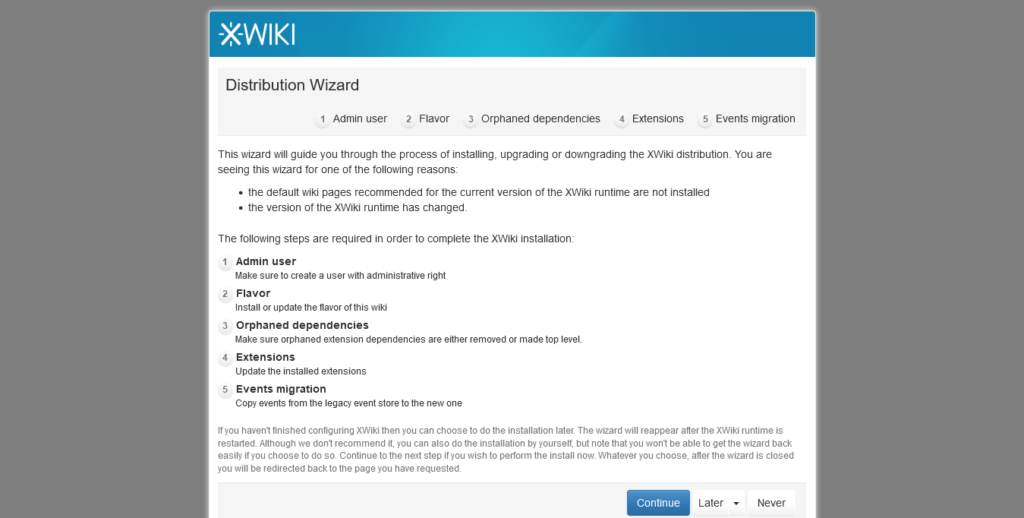
This screen shows you all the steps you need to complete to get XWiki installed. Click Continue.
Now it is time to create the admin user.

You will then be informed that the user has been successfully created.

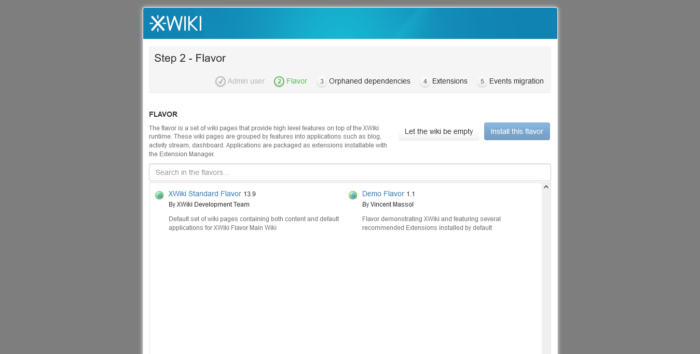
Now you can create a Wiki from scratch or install a test flavor. In this chaos, I have chosen to install Demo Flavor Click on it and then click on Install this Flavor.
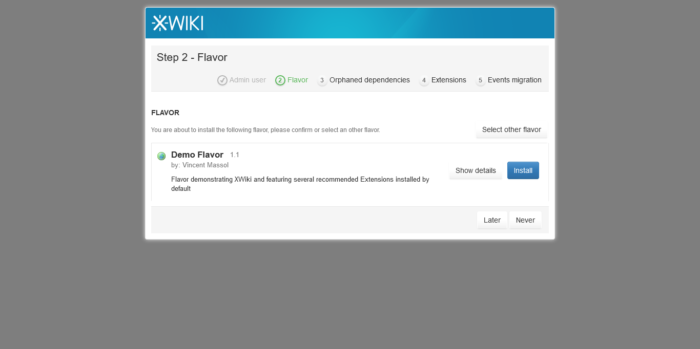
You will be asked to confirm the installation.
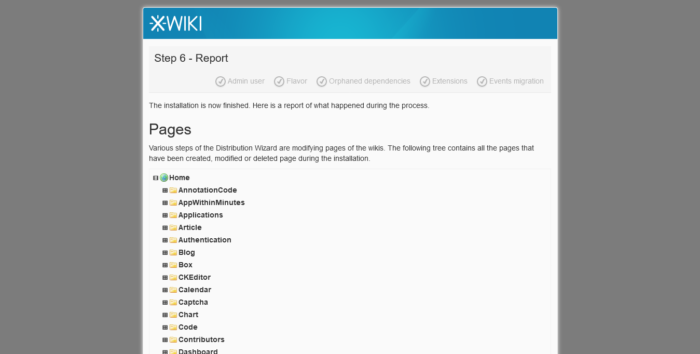
Then the whole process will start. In the end, you will see a screen like this.
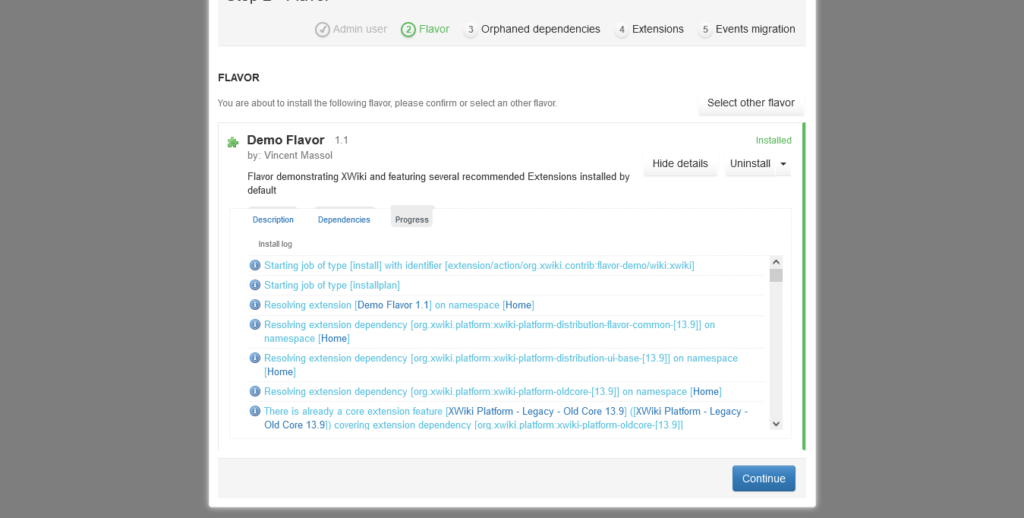
Then you will see the pages that were created, deleted, or updated during the installation.
Finally, you will see your page created and ready for you to modify and take full advantage of it.
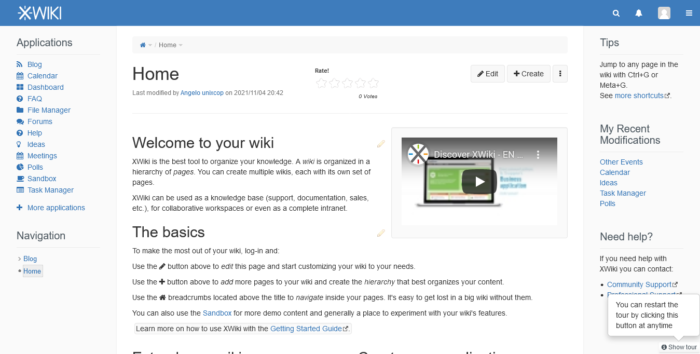
Enjoy it
Conclusion
Throughout this post, we have explained to you the process to install XWiki on UBuntu 20.04 in a simple way and thanks to the potential of this tool we will be able to get amazing results