Hello, friends. I hope you are well and safe. In this post, we will show you how to install WonderCMS on Ubuntu 20.04 but using Nginx.
WonderCMS is a CMS focused on simplicity of use without sacrificing functionality. Thanks to this it is a CMS easy to use and configure, but above all it is very fast and efficient.
One of the most important features of WonderCMS is that it does not require a database driver. So, you can use it in many circumstances.
So let’s go for it and by the way, we will use Nginx as a web server and increase the performance of the web.
Preparing the system for the installation of WonderCMS
In this tutorial, we will use the root user, but you can also do it from your user with sudo access. First, access your server via SSH.
Then, update the entire operating system.
apt update
apt upgrade
Thereafter, install some packages needed to make the post.
apt install git wget unzipNow we can continue.
Install Nginx and PHP on Ubuntu 20.04
The next step is to install Nginx and PHP on our system. To achieve this, we just need to run
apt install nginx php php-fpm php-fpm php-mbstring php-curl php-zip As we can see, few PHP modules are required by the tool, which gives us an idea of its power.
Now it is necessary to make some adjustments in PHP. Open PHP configuration file with PHP-fpm
nano /etc/php/7.4/fpm/php.iniAnd make the following changes
file_uploads = On
allow_url_fopen = On
memory_limit = 256M
post_max_size 32
Mupload_max_filesize = 64M
max_execution_time = 300
date.timezone = "your-timezone"
To make this faster, you can use the key combination CTRL + W to search inside the file.
When you have made your changes, save them and close the editor.
To apply the changes, restart the PHP-fpm service.
systemctl restart php7.4-fpmInstall WonderCMS on Ubuntu 20.04
Now thanks to Git, clone the WonderCMS repository and download it to the system.
git clone https://github.com/robiso/wondercms.git /var/www/html/wondercmsAssign the owner of the folder
chown -R www-data:www-data /var/www/html/wondercmsAnd then, create a new ServerBlocks for WonderCMS
nano /etc/nginx/conf.d/wondercms.confAdd the following
server {
    listen 80;
    server_name wondercms.unixcop.test;
    root /var/www/html/wondercms;
    index index.php;
    autoindex off;
    location / {
        if (!-e $request_filename) {
            rewrite ^/(.+)$ /index.php?page=$1 last;
        }
    }
    # prevent access to database.js
    location ~ database.js {
        return 403;
    }
    location ~ \.php(/|$) {
        include fastcgi.conf;
        fastcgi_pass unix:/run/php/php7.4-fpm.sock;
    }
}
Modify the value of server_name to the value of your domain.
Save the changes and close the editor. Apply the changes by restarting Nginx.
systemctl restart nginxYou can check the status of the service for any errors.
systemctl status nginxAccess to WonderCMS web interface
Now open a web browser to access your domain, where you will see the following screen.

You will be given the first password to use. Copy it and use it to login by clicking on the Login button.
You will see the following screen

Paste the generated password and login.
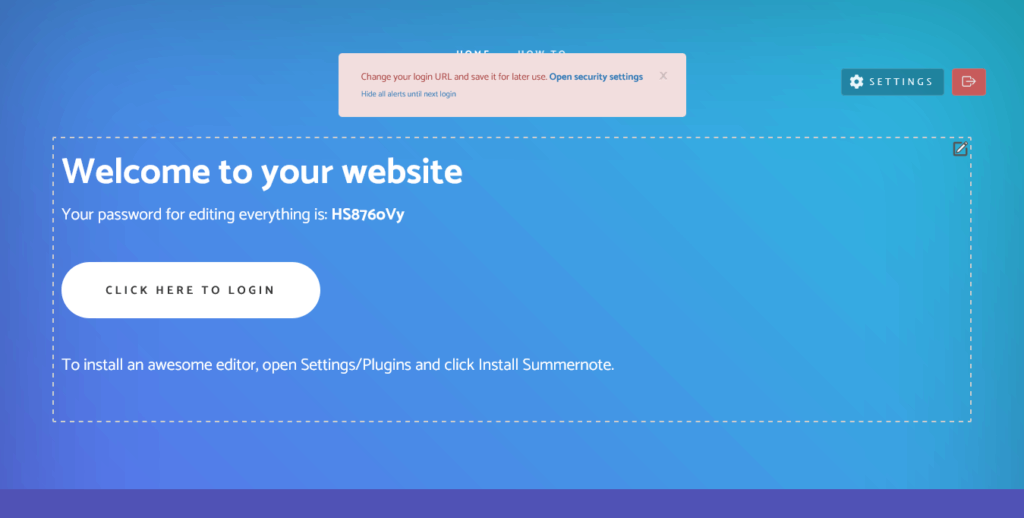
If everything went well, you will see this screen where you can click on the link shown to visit the security options screen. In that window, change the current password to your own and set a login URL. In my case, I have used http://mydomain.com/admin but use whatever you want.

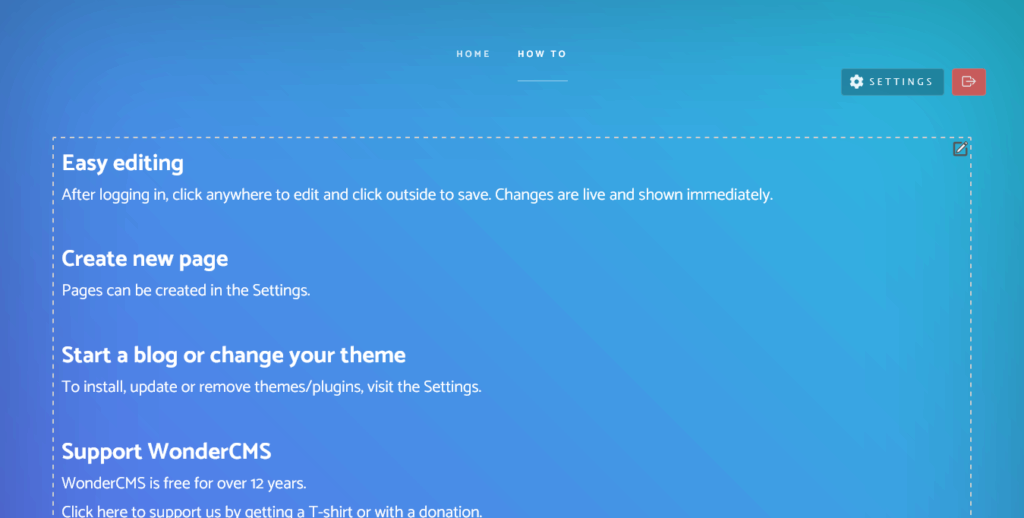
Finally, you can refer to the How to section to get started with WonderCMS.

Conclusion
In this post, you learned how to install WonderCMS. This CMS stands out for being easy and simple to use. Besides not requiring a database manager, it is quite lightweight.


