What is Nginx ?
Nginx (Engine X) is a most popular, powerful and high-performance open-source HTTP web server and reverse proxy server with a scalable event-driven (asynchronous) architecture. It can also be used as a load balancer, mail proxy, and HTTP cache due to its speed, stability, feature-rich set, easy configuration, and low resource utilization.
How To Install Nginx on Centos 8 ?
dnf install nginx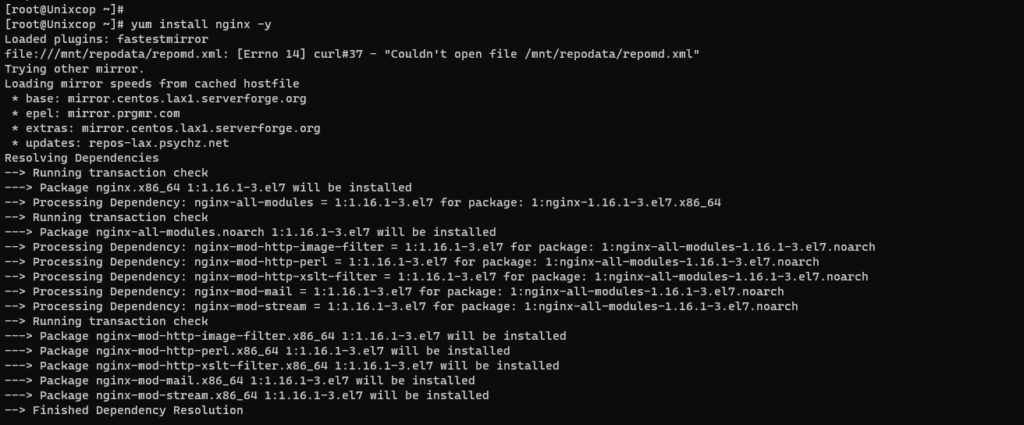
Run and enable nginx service
systemctl start nginx
systemctl enable nginx
systemctl status nginx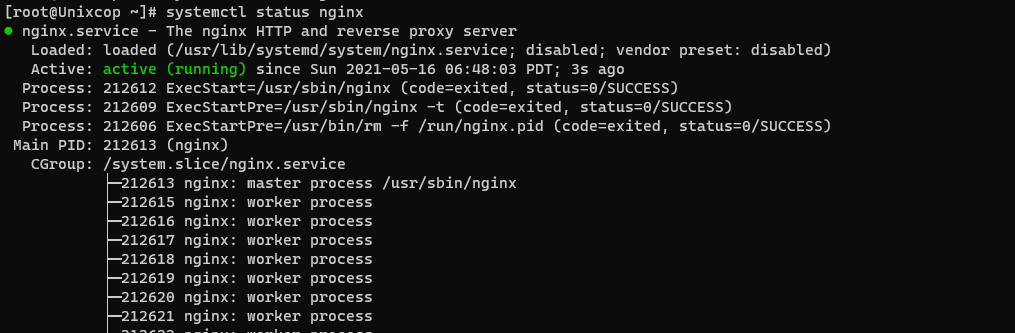
From the output, the ‘active‘ status indicates that the Apache webserver is up and running.
Setting Up Nginx Virtual Hosts:
- Create an Nginx Document Root Directory
A virtual host is a separate file that contains configurations that allow you to set up a separate domain from the default one. For this guide, we will set up a virtual host for the domain alfa.unixcop.com/
sudo mkdir -p /var/www/alfa.unixcop.com/htmlNext, edit the file permissions use the $USER environment variable as shown.
sudo chown -R $USER:$USER /var/www/alfa.unixcop.com/htmlNext, assign the right directory permissions recursively as shown:
sudo chmod -R 755 /var/www/alfa.unixcop.com/html2. Create a Sample Page for the Domain
sudo vim /var/www/alfa.unixcop.com/html/index.htmlInside the file, paste the following sample content.
<html>
<head>
<title>Welcome to Alfa.unixcop.com!</title>
</head>
<body>
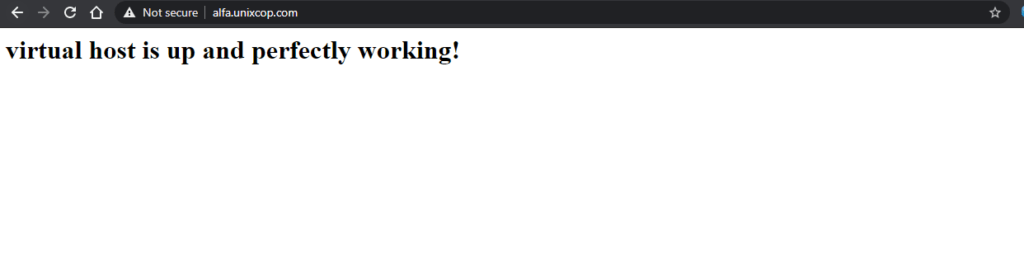
<h1>virtual host is up and perfectly working!</h1>
</body>
</html>3. Create an Nginx Virtual Host in CentOS
sudo vim /etc/nginx/conf.d/alfa.unixcop.com.confand add below
server {
        listen 80;
        listen [::]:80;

        root /var/www/alfa.unixcop.com/html;
        index index.html index.htm index.nginx-debian.html;

        server_name alfa.unixcop.com www.alfa.unixcop.com;

        location / {
                try_files $uri $uri/ =404;
        }


    access_log /var/log/nginx/alfa.unixcop.com.access.log;
    error_log /var/log/nginx/alfa.unixcop.com.error.log;

}
To confirm that all Nginx configurations are sound and error-free, execute the command:
sudo nginx -t 
4. Restart Nginx
Restart Nginx server for the changes to be applied.
sudo systemctl restart nginxLast thing , you need to open any browser and issue http://alfa.unixcop.com