
Everything Linux, A.I, IT News, DataOps, Open Source and more delivered right to you.
"The best Linux newsletter on the web"
Introduction
umami is a free, fast and simple open-source that own your website analytics.
It is a self-hosted web analytics alternative to Google Analytics that focuses on privacy.
In this guide we will show you how to install Umami on CentOS 8.
Installation
Just follow the steps below to get started with the installation from source:
Requirements
- A server with Node.js 12 or newer
- A database (MySQL or Postgresql)
- Install nodejs
curl -fsSL https://rpm.nodesource.com/setup_16.x | bash -
dnf install -y nodejs- Verify that nodejs has been installed.
[root@unixcop ~]# node -v
v16.10.0
[root@unixcop ~]# npm -v
7.24.0
[root@unixcop ~]#- Install mysql service, start and enable it.
dnf install mysql mysql-server
systemctl start mysqld
systemctl enable mysqld- Install git.
dnf install git -y- Get the source code and install packages
git clone https://github.com/mikecao/umami.git
cd umami
npm install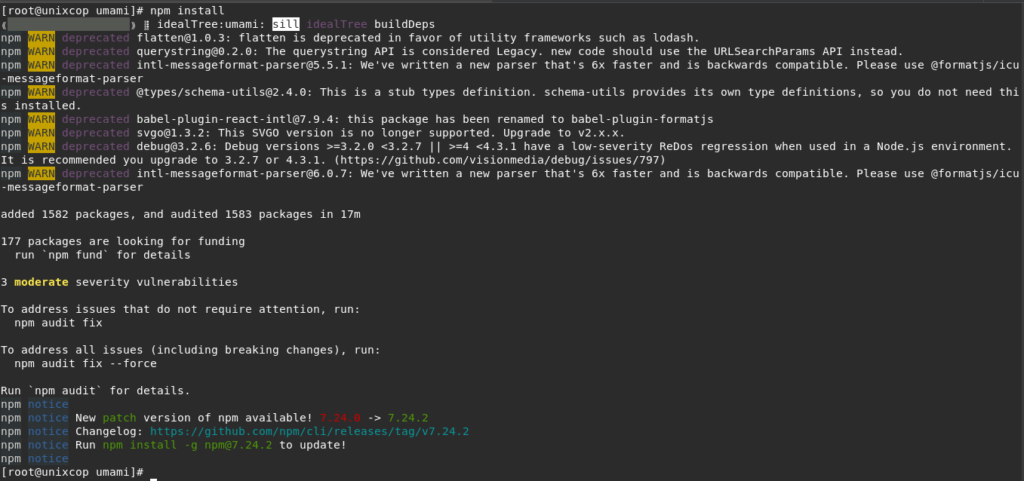
- Create database table for your Umami installation.
mysql -u root -pmysql> CREATE DATABASE umami;
mysql>CREATE USER 'unixcopp'@'localhost' IDENTIFIED WITH mysql_native_password BY 'unixcopPassword7&';
mysql> GRANT ALL PRIVILEGES ON umami.* TO 'unixcopp'@'localhost';
mysql> FLUSH PRIVILEGES;
mysql> \q;- Install the tables with the included scripts.
mysql -u unixcopp -p umami < sql/schema.mysql.sqlNote: This will also create a login account with username admin and password umami.
- Create an environment file for Umami.
vim .env- Paste the following to the file. then save and quit.
DATABASE_URL=mysql://unixcopp:unixcopPassword7&@localhost:3306/umami
HASH_SALT=5
HOSTNAME=127.0.0.1
PORT=3010- Open the 3010/tcp port on the firewall.
firewall-cmd --add-port=3010/tcp --permanent
firewall-cmd --reload- Build the application
npm run build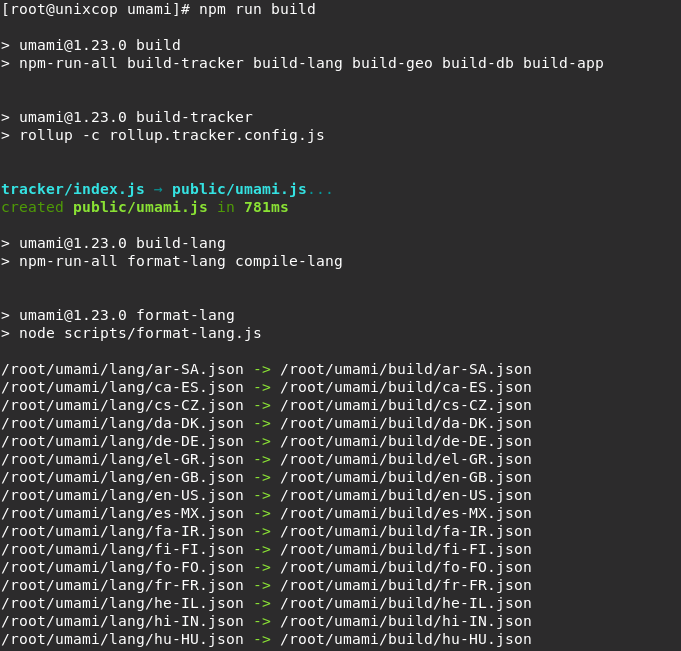
- Start the application.
npm startNote: In case you face an error or reboot install pm2 to auto restart.
- Install PM2 to automatically restart Umami in case of error or reboot.
npm install pm2 -g- Launch Umami with pm2
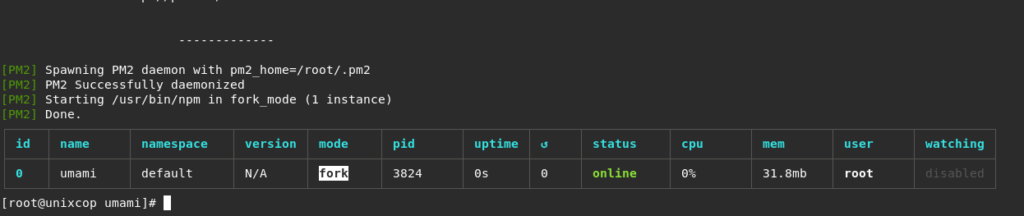
pm2 start npm --name "umami" -- run start-env
- Generate a pm2 startup script and save.
pm2 startup
pm2 save- Install caddy as a reverse proxy for Umami.
dnf install 'dnf-command(copr)'
dnf copr enable @caddy/caddy
dnf install caddy -y
systemctl start caddy
systemctl enable caddy- Edit Caddy File.
vim /etc/caddy/Caddyfile- Modify the contents of Caddyfile with the following then save and quit.
reverse_proxy localhost:3010- Start Caddy.
caddy run- Restart caddy
systemctl restart caddy- Open your web browser, navigate to your server’s domain name as shown:
http://IP_address:3010
- For example:
http://192.168.13.135:3010
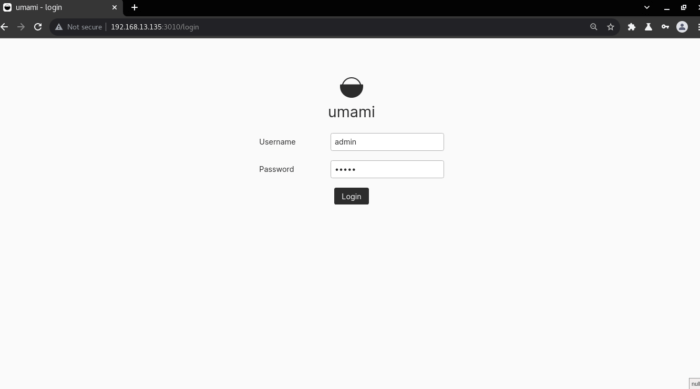
- Log in as:
- Username: admin
- Password: umami
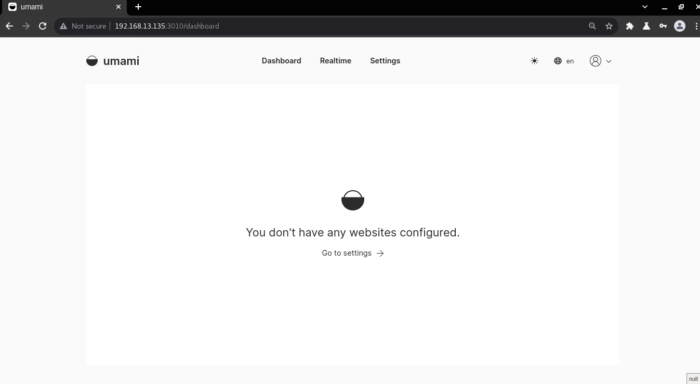
You will be redirect to the dashboard.
That’s all
Thank you.
Everything Linux, A.I, IT News, DataOps, Open Source and more delivered right to you.
"The best Linux newsletter on the web"