
Introduction
Wine is a nifty utility that allows users to run Windows applications inside a Linux environment.
Some of the key areas that have witnessed great changes include:
- Text console redesign
- Vulkan support enhancements
- Text and fonts
- Kernel objects & functions
- An array of core modules in PE format.
- DirectShow and Media Foundation support.
- Improvements in audio & video frameworks.
For a more comprehensive list of the numerous changes that have been made, check out Wine’s announcement.
Method(1): Installing Wine On Ubuntu
1. Check if you have an Ubuntu 32-bit or 64-bit system
There are different versions of Wine available for 32-bit and 64-bit flavors of Ubuntu. In order to check which version you are using so that you can install the appropriate version of wine, please follow these steps:
Open the Terminal either through Ubuntu Dash or the Ctrl+Alt+T shortcut.
Use the following command to fetch CPU details from the files sysfs and /proc/cpuinfo:
$ lscpu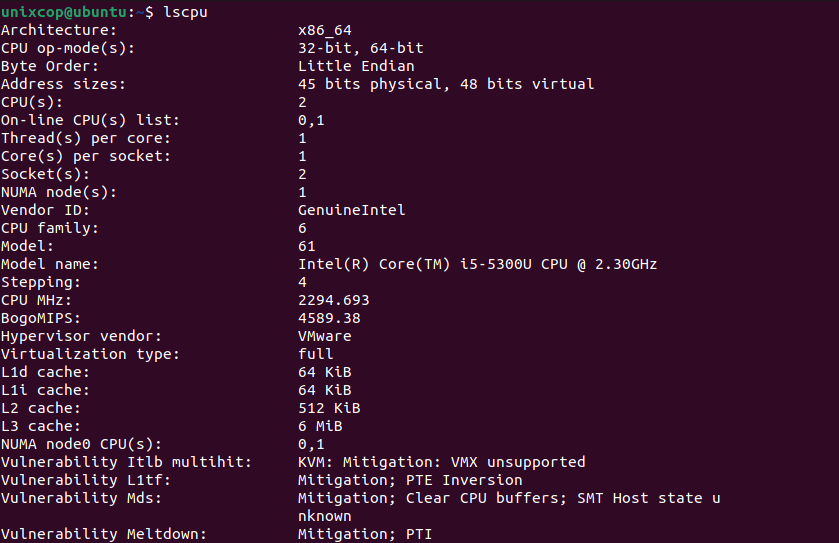
The CPU op-mode(s) entry tells you about the flavor of Ubuntu you are running on your system; 32-bit means you are running a 32-bit Linux OS, 32-bit, 64-bit signifies that you are running a 64-bit OS.
2. Installing Wine from a Standard Ubuntu Repository (recommended)
We recommend that you install Wine on your system through the standard Ubuntu repository, as this way you can have a more stable version on your system.
Run the following command in the Terminal as a root user in order to install Wine on a 64-bit version of Ubuntu:
$ sudo apt install wine64Please enter y when you are prompted with a y/n option for installation. After that, the Wine application will be installed and ready for use.
For a 32-bit Ubuntu system, you can use the following command:
$ sudo apt install wine32Method(2): Alternative: Installing Wine from the WineHQ Repository
1. Enable 32-bit Architecture
The first course of action is to enable the 32-bit architecture using dpkg command as follows:
$ sudo dpkg --add-architecture i386
2. Add Wine Repository Key
Once the 32-bit architecture is added, proceed and add the Wine repository key using the wget command as shown.
$ wget -qO - https://dl.winehq.org/wine-builds/winehq.key | sudo apt-key add -
You should get an ‘OK’ output on the terminal as seen from the screenshot above.
Then run this command to import the other key for the WineHQ Repository:
sudo apt-key adv --keyserver hkp://keyserver.ubuntu.com:80 --recv F987672F3. Enable Wine Repository
Upon adding the repository key, the next step will be to enable the Wine repository. To add the repository, invoke the command shown:
$ sudo apt-add-repository 'deb https://dl.winehq.org/wine-builds/ubuntu/ focal main'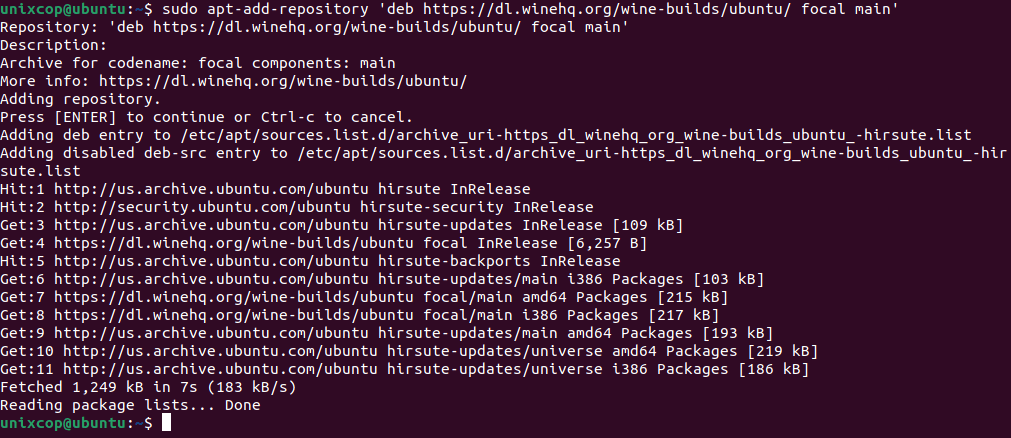
OR
run the following command in order to add the relevant repository from the WineHQ:
$ sudo apt-add-repository 'deb https://dl.winehq.org/wine-builds/ubuntu/ bionic main'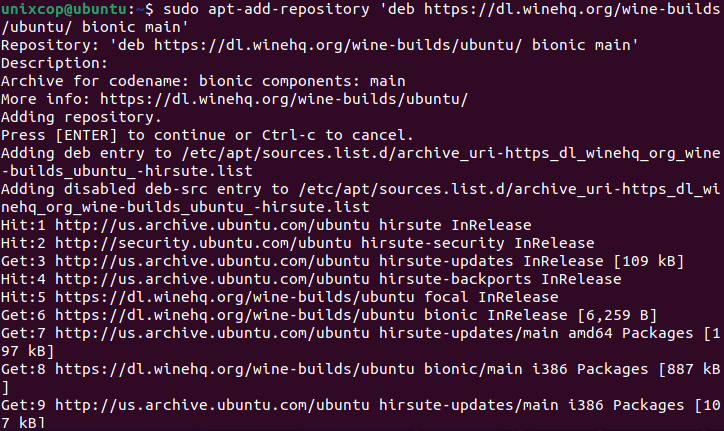
Then update the system package lists as shown.
$ sudo apt update4. Install Wine in Ubuntu
All that is left at this stage is to install Wine on Ubuntu using the APT package manager as follows.
$ sudo apt install --install-recommends winehq-stable -y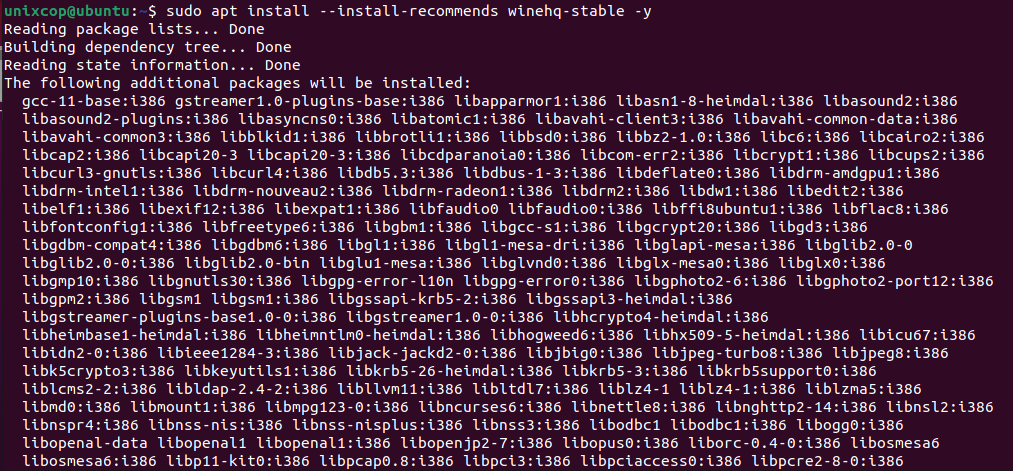
This will install an array of packages, libraries, and drivers.
NOTE:
- WineHQ Development: This is the most recent version of Wine but it might not be very stable. As a developer, you might be more interested in installing this version.
sudo apt-get install --install-recommends winehq-devel
Once the installation is complete, verify the wine version as shown.
$ wine --version
5. Using Wine to Run Windows Programs in Ubuntu
To demonstrate how you can use Wine to run a Windows program, we downloaded Rufus executable file (.exe) from the Rufus official Site.
To run the file, run the command:
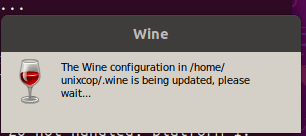
$ wine rufus-3.13.exeWine will start by creating a Wine config file in the home directory, in this case, ~/.wine as shown.
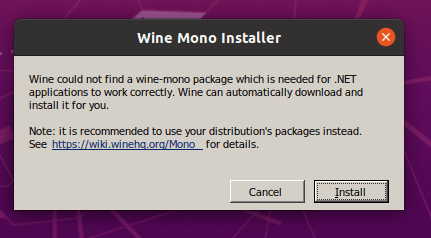
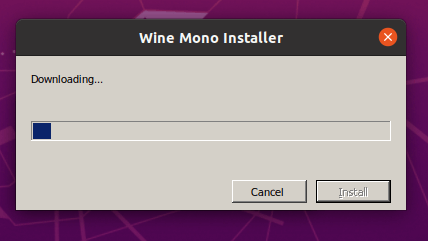
When prompted to install the wine-mono-package which is required by .NET applications, click the ‘Install’ button.
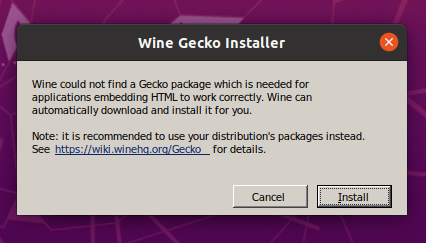
Install the Gecko package which is required by applications embedding HTML.
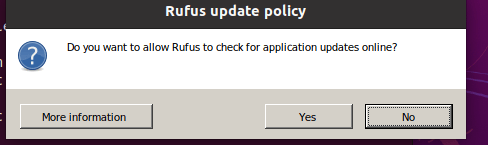
Select whether you want to check for application updates from time to time.
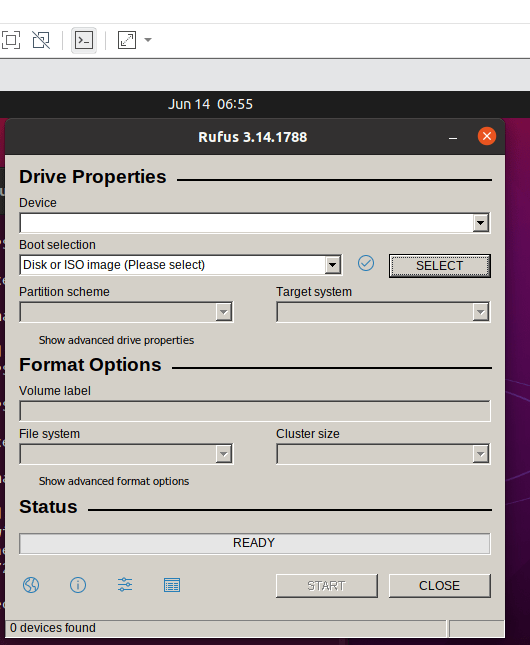
Finally, the Rufus will_be displayed as shown.
Here is the latest version of rufus-3.4.exe
Uninstalling Wine From Your System
Please enter the following command in your Ubuntu Terminal in order to uninstall Wine from your system:
$ sudo apt-get purge winehq-stableYou will also need to remove the following folders manually:
~/.config/wine/ -r

$HOME/.wine

$HOME/.config/menus/applications-merged/wine*

$HOME/.local/share/applications/wine

/.local/share/desktop-directories/wine*

/.local/share/icons/????_*.xpm
The installation will now_be completely removed from your system.
By following the steps described in this tutorial, you will be successfully able to install the useful application Wine to your system. It might be the latest release from the Ubuntu Repository or the stable/development version from the WineHQ repositories. We have also described the uninstallation process so you can easily remove Wine from your system, be it for new installation or complete removal.
We have successfully installed Wine on Ubuntu 21.04 and how you can execute Windows application in .exe format which normally wouldn’t run in a Linux environment.
Thank You so much that was helpful