Today you will learn How to install Strapi API Platform on Ubuntu/Debian Servers
Strapi is an open-source content management system which is developed on NodeJS and MongoDB which helps in creating database-driven websites, APIs and applications etc. It provides many features like a great Admin Panel, Content Management, API Generator etc. The API Endpoints created through Strapi can be adapted to your own needs. It’s a self-hosted application.
Requirements :
- 2GB of RAM (The more the better performance)
- 2vCore CPU (Recommended in the documentation)
- Minimum of 30GB or more Disk Space
- Ubuntu 16.04 or more or Debian 8 or more
Step 1 : Updating your server
First step is to update your server and look for newer packages and security releases for your distribution.
apt-get update -y
apt-get upgrade -y
Step 2 : Install NodeJS
Strapi is developed over NodeJS so we will need to install a stable release of it. Run the following command to install NodeJS
curl -sL https://deb.nodesource.com/setup_14.x | sudo -E bash –
apt-get install nodejs
Step 3 : Install Ruby & Yarn
So, NodeJS is fully installed on our server and now we can continue install Ruby and Yarn, Run the following to commad to install:
Then, Add the Yarn repository key to install:
curl -sS https://dl.yarnpkg.com/debian/pubkey.gpg | sudo apt-key add –
echo “deb https://dl.yarnpkg.com/debian/ stable main” | sudo tee /etc/apt/sources.list.d/yarn.list
Install yarn and other dependencies using the following command:
apt-get update
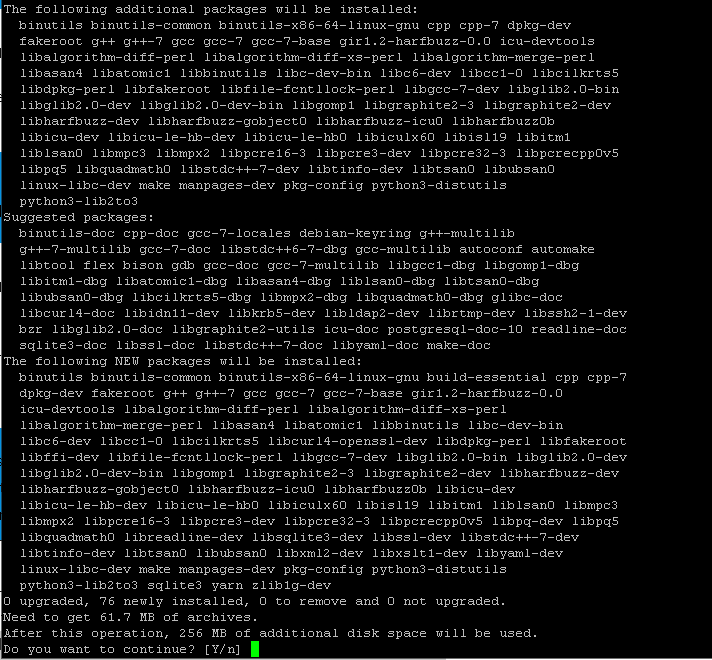
apt-get install yarn zlib1g-dev build-essential libpq-dev libssl-dev libreadline-dev libyaml-dev libsqlite3-dev sqlite3 libxml2-dev libxslt1-dev libcurl4-openssl-dev software-properties-common libffi-dev
To install Ruby using rbenv:
cd ~/
git clone https://github.com/rbenv/rbenv.git ~/.rbenv
echo 'export PATH="$HOME/.rbenv/bin:$PATH"' >> ~/.bashrc
echo 'eval "$(rbenv init -)"' >> ~/.bashrc
exec $SHELL

git clone https://github.com/rbenv/ruby-build.git ~/.rbenv/plugins/ruby-build
echo 'export PATH="$HOME/.rbenv/plugins/ruby-build/bin:$PATH"' >> ~/.bashrc
exec $SHELL
The current stable version of Ruby is 3.1.1, To install Ruby run the following command, This might take a while to to install:
rbenv –verbose install 3.1.1
rbenv global 3.1.1
Step 4 : Install MongoDB
So, We have successfully installed Ruby, Yarn & NodeJS, Now we have to install MongoDB for the database server
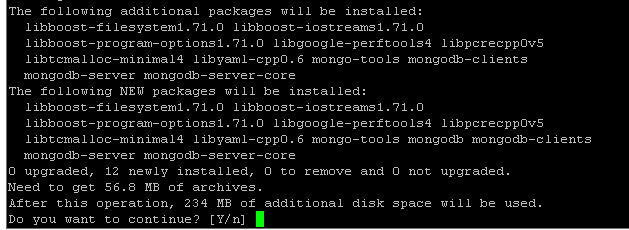
apt-get install mongodb
npm install mongodb –save
Step 5 : Install Strapi
We have everything installed required for Strapi, Using NPM we can install Strapi
npm install strapi@alpha -g
npm install pm2 -g
Create a new folder for your project or application and install Strapi
cd ~
strapi new project
cd project
npm install --production
Enter the details as follows leave the username and password field blank:

After the above step has been done, You can see the following screen:You will see a following output:
Run the following command to start strapi:
strapi start
Strapi has been completely installed:
You can now access the Strapi at : http://localhost:1337
You will see a screen like this :
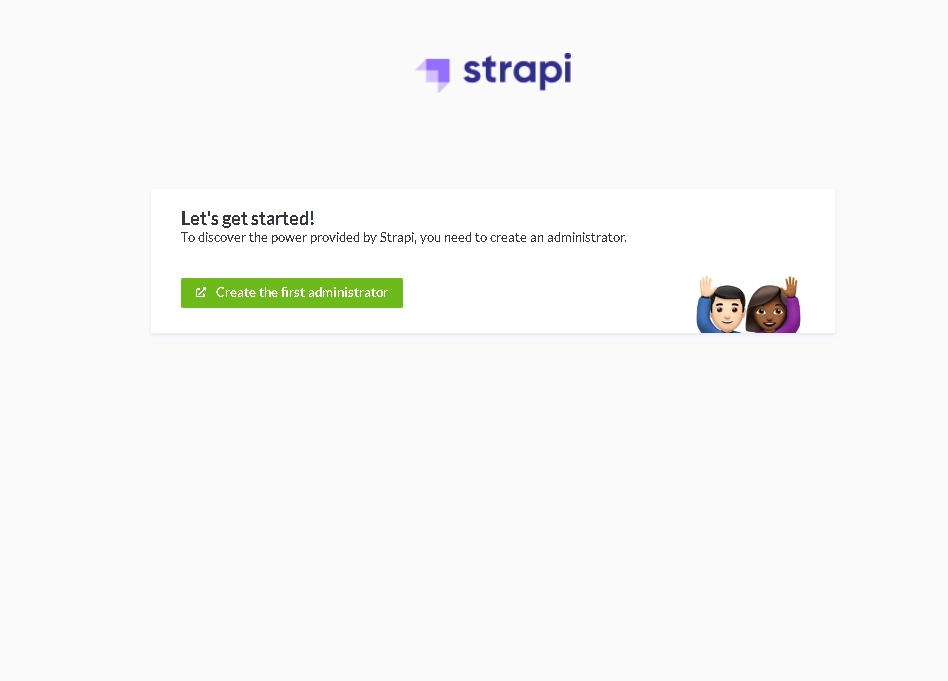
This indicates the Strapi has been successfully installed:
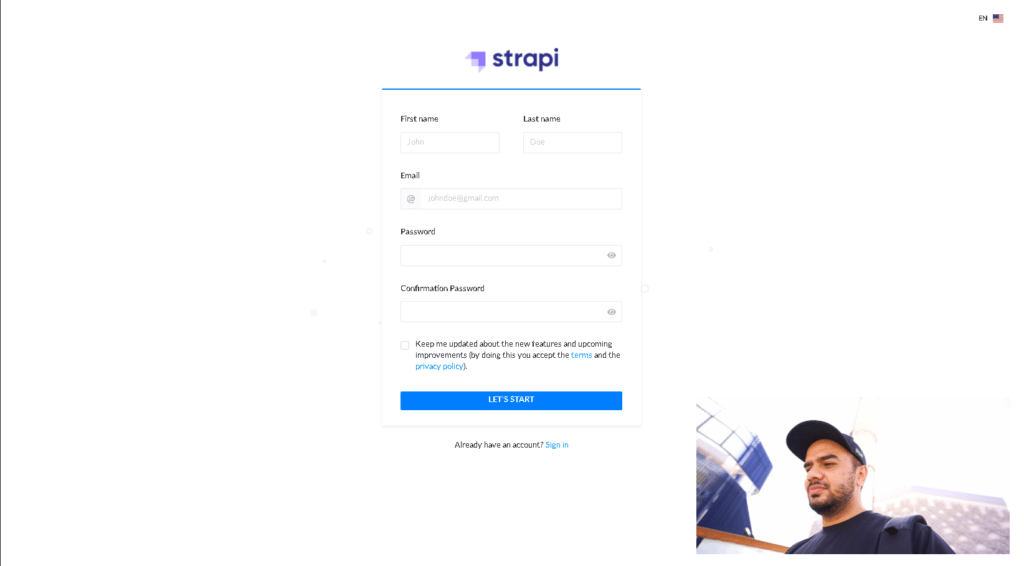
You can then create a new administrator user.
Just in case if your website does not work and you see “Not Found Issues”, Run the following command, Run this command only if you have issues.
npm run develop
Conclusion :
You have successfully installed Strapi on your Ubuntu or Debian Server. This tutorial assumes you are root!