
Hello, friends. In this post, you will learn how to install OwnCloud Server on Ubuntu 22.04
Owncloud is a web application that allows us to have a private cloud on a server that we can manage. It is completely free and open source, so we have no license limits and the capacity is set by the server.
Let’s get started.
Install Owncloud on Ubuntu 22.04
As OwnCloud is a web application made with PHP, we need the ideal environment for it to work. This environment consists of a web server, PHP and a relational database manager.
In this post, we will install OwnCloud with Apache, MariaDB and PHP, of course.
Prepare the web environment
First, update the whole system:
sudo apt update
sudo apt upgrade
Then, install Apache as a web server:
sudo apt install apache2Make sure that the 80 and 443 ports are open.
sudo ufw allow 80
sudo ufw allow 443
Then install MariaDB on Ubuntu 22.04 with the following command:
sudo apt install mariadb-serverWhen it is installed, configure it with the mysql_secure_installation script
sudo mysql_secure_installationInstall PHP 7.4 on Ubuntu 22.04
OwnCloud does not support PHP 8.1 which is the version that is present in the official repositories of the distribution.
So, we need to install PHP 7.4. For this read, our post:
How to install PHP 7.4 on Ubuntu 22.04?
In addition, we need the following modules:
sudo apt install php7.4 libapache2-mod-php7.4 php7.4-{mysql,intl,curl,json,gd,xml,mbstring,zip}Then, we can continue.
Create the database and user for Owncloud
Now with MariaDB ready, you can access the console to create the new database and user:
sudo mysql -u root -pAnd create the new database:
create database ownclouddb;You can use another name, of course. Now it is the new user’s turn:
grant all on ownclouddb.* to user@localhost identified by "pss";You can change the name to another name and of course assign a stronger password.
Refresh the permissions and exit the console:
flush privileges;
exit;
You are done.
Download and install OwnCloud on Ubuntu 22.04
Now, with all the environment ready, you can download and install OwnCloud.
First download the latest stable version:
cd /tmp
wget https://download.owncloud.com/server/stable/owncloud-complete-latest.tar.bz2
Then, unzip it:
tar -xvf owncloud-complete-latest.tar.bz2When the process is finished, move the folder to the Apache root directory:
sudo mv owncloud /var/www/html/Change the owner of the folder to Apache:
sudo chown -R www-data: /var/www/html/owncloudNext, assign appropriate permissions to it:
sudo chmod -R 755 /var/www/html/owncloudNow create a new virtualhost for Apache to handle the Owncloud site properly.
sudo nano /etc/apache2/sites-available/owncloud.confAnd add the following
<VirtualHost *:80>

ServerAdmin [email protected]
DocumentRoot /var/www/html/owncloud
ServerName own.unixcop.com

<Directory /var/www/html/owncloud>
Options FollowSymlinks
AllowOverride All
Require all granted
</Directory>

ErrorLog ${APACHE_LOG_DIR}/own.unixcop.com_error.log
CustomLog ${APACHE_LOG_DIR}/own.unixcop.com_access.log combined

</VirtualHost>
From there you have to modify the ServerName to your domain and set the log names.
Save the changes and close the editor.
Now enable the rewrite module and restart Apache to apply all the settings:
sudo a2enmod rewrite
sudo systemctl restart apache2
Enable HTTPS on the server
It is optional but highly recommended to use Let’s Encrypt for HTTPS certificates on the server. To achieve this, install the certbot client with the Apache plugin.
sudo apt install certbot python3-certbot-apacheThen, install the certificates with the command
sudo certbor -d [domain] --apache --email [your-email]Follow the instructions which are simple and at the end restart Apache and the whole process will be successful.
Installing OwnCloud on Ubuntu 22.04
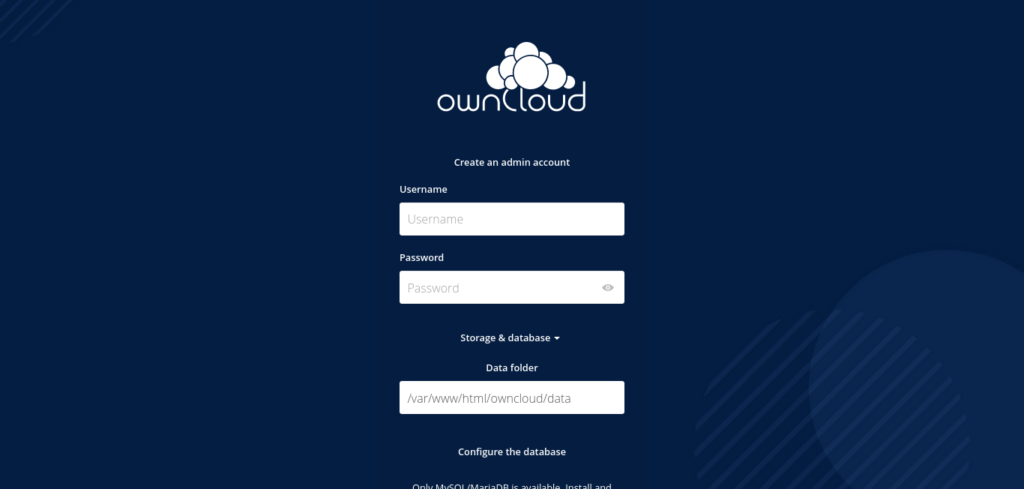
Now open a web browser and access http://your-domain/owncloud or https://your-domain/owncloud to start the final installation.
The first thing to do is to create the admin user
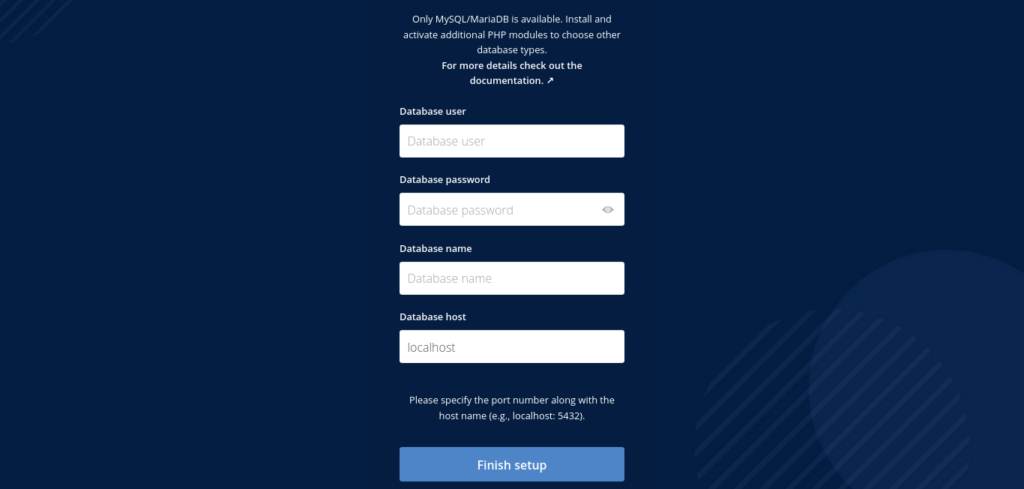
Below, you will be able to configure the database settings:
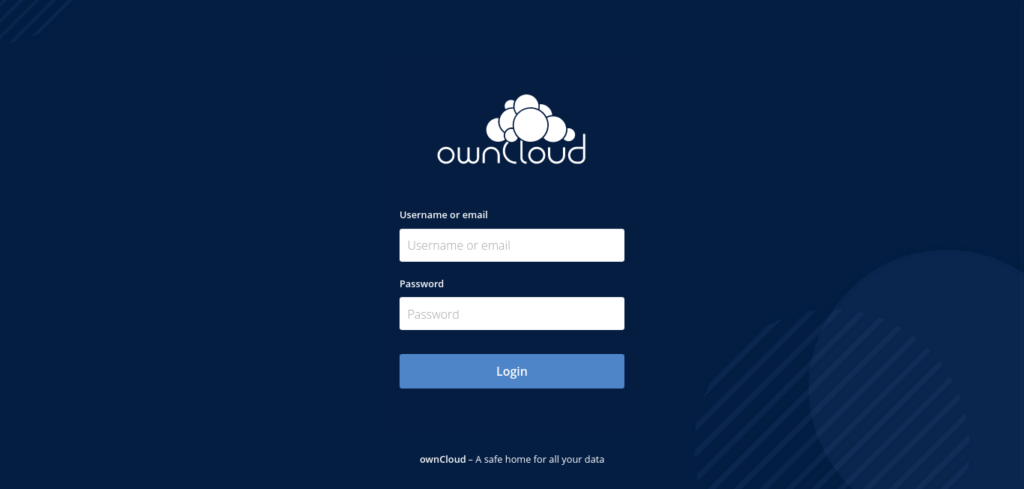
Then the installation will be done, and you will see the login page.
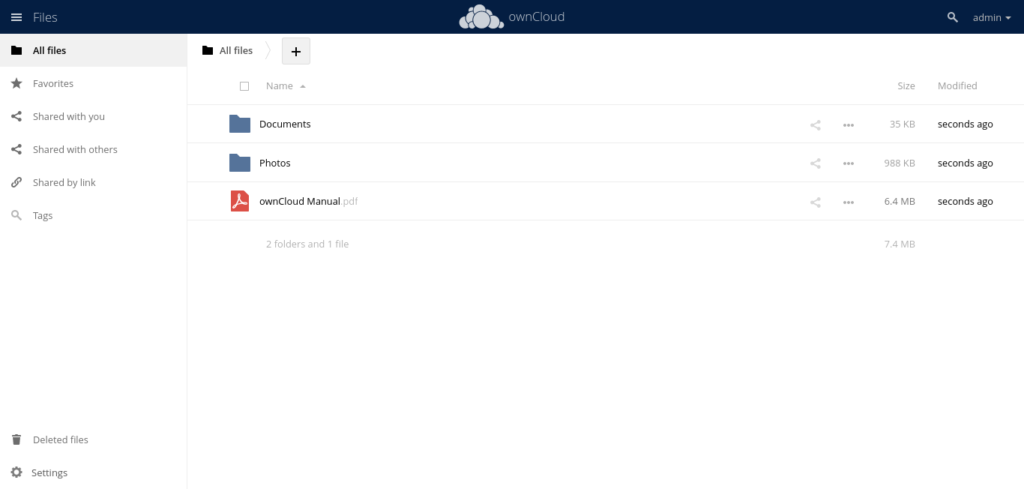
Log in and you will see the main screen.
Conclusion
Owncloud is a marvel that we can have without too much effort. It is always worth to have it at hand along with other solutions.