
In this tutorial, we will learn step by step process of installing oracle JDK 17 in OpenSuse 15 Leap system.
Java is a general-purpose, also fast, secure, reliable, and object-oriented multipurpose programming language. Java code can be run on all platforms that support Java without the need for recompilation. Also, It is one of the most widely used programming language for developing software and application.
Before starting, the installation process, make sure we logged in to the system as root and update our system, to update run the following command
zypper refresh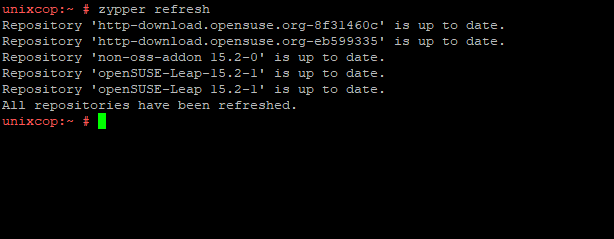
STEP 1: Download Java
Before downloading java run the following command to check os architecture
uname -m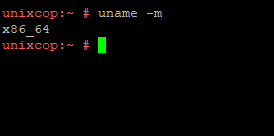
from the above image, we can see our system is a 64bit based Operating System. now download the java by running the following command on the terminal screen
wget https://download.oracle.com/java/17/latest/jdk-17_linux-x64_bin.rpm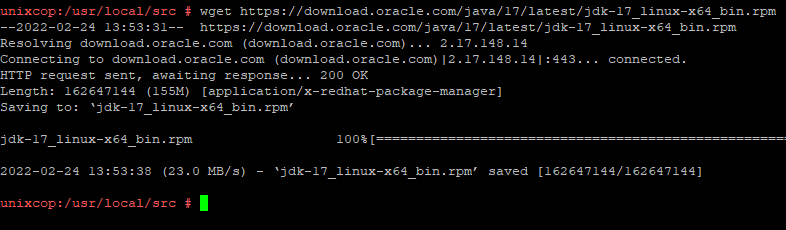
STEP 2: Install Oracle JDK 17 in OpenSuse
as we have already downloaded java on our system, now execute the following command in the terminal to install Java
rpm -ivh jdk-17_linux-x64_bin.rpm

as we can see from the above images, Java is successfully installed on our system. now let’s verify the Java by running the following command
java --version
Boom! We have successfully installed Java LTS on our system.
STEP 3: Test Java Code
To make sure that, our system is compatible with to run Java app, let’s create a demo java file using a text editor like nano or vim
vim unixcop.javanow insert the following code and save the file
public class unixcop{
  public static void main (String[] args) {
    System.out.println("Hello From UnixCop");
  }
}
after saving the file run the below command to compile it. while compiling code make sure your filename match with the class name
javac unixcop.javaHere we reached the final step. run the following command to check the output of the file we created earlier
java unixcop
As we can see, our system is compatible to run Java.
CONCLUSION
In the tutorial, you’ve learned how to install the latest version of Java (JDK 17) on OpenSuse.