
In this guide, we will show you how to install and use Nessus Scanner on AlmaLinux systems.
Nessus is a proprietary vulnerability scanner available free of charge for personal use. There are over 40,000 plugins covering a large range of both local and remote flaws.
It is a proprietary vulnerability scanner developed by Tenable, Inc.
Nessus gives you malware detection, scanning of embedded devices, configurations auditing, control systems auditing and compliance checks among other features.
The results of the scan can_be reported in various formats, such as plain text, XML, HTML and LaTeX. The results can also b saved in a knowledge base for debugging.
On UNIX, scanning can be automated through the use of a command-line client. There exist many different commercial, free and open source tools for both UNIX and Windows to manage individual or distributed Nessus scanners.
Nessus provides additional functionality beyond testing for known network vulnerabilities.Nessus can also support configuration and compliance audits, SCADA audits, and PCI compliance.
Install Nessus Scanner on AlmaLinux:
Follow the steps below to get started with Nessus Scanner :
- Update your AlmaLinux system packages with running the below command:
sudo dnf clean all && sudo dnf update
sudo dnf groupinstall "Development Tools"
sudo dnf install epel-release -y- Nessus Scanner package is not available on AlmaLinux base repository. So You can download Nessus Scanner to your AlmaLinux system from its official download page to get the latest rpm version as follows:
curl --request GET \
  --url 'https://www.tenable.com/downloads/api/v2/pages/nessus/files/Nessus-10.4.2-es9.x86_64.rpm' \
  --output 'Nessus-10.4.2-es9.x86_64.rpm'

- Install the package you just downloaded as follows:
For my example:
sudo rpm -ivh Nessus-8.13.1-es8.x86_64.rpm

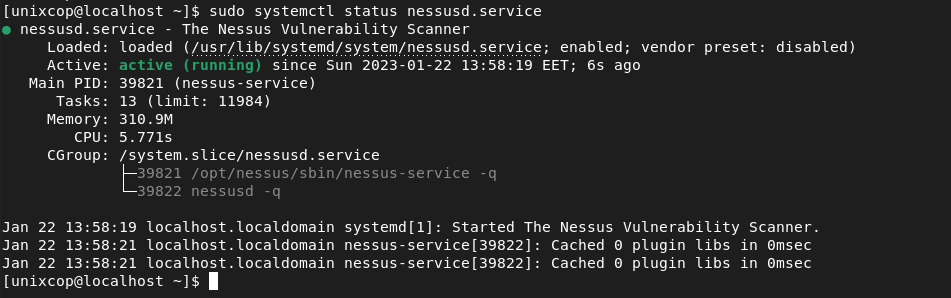
- Start, enable and check the status of the Nessus service as shown below
sudo systemctl start nessusd.service
sudo systemctl enable nessusd.service
sudo systemctl status nessusd.service
- Also you need to open that Nessus port in the firewall. The default port for Nessus is 8834, so open it with running the commands below:
sudo firewall-cmd --zone=public --add-port=8834/tcp --permanent
sudo firewall-cmd --reload

Access Nessus Scanner Web Interface
Now you can access Nessus via the web by opening your favorite browser and go to http://Your_server_IP:8834 as shown below:
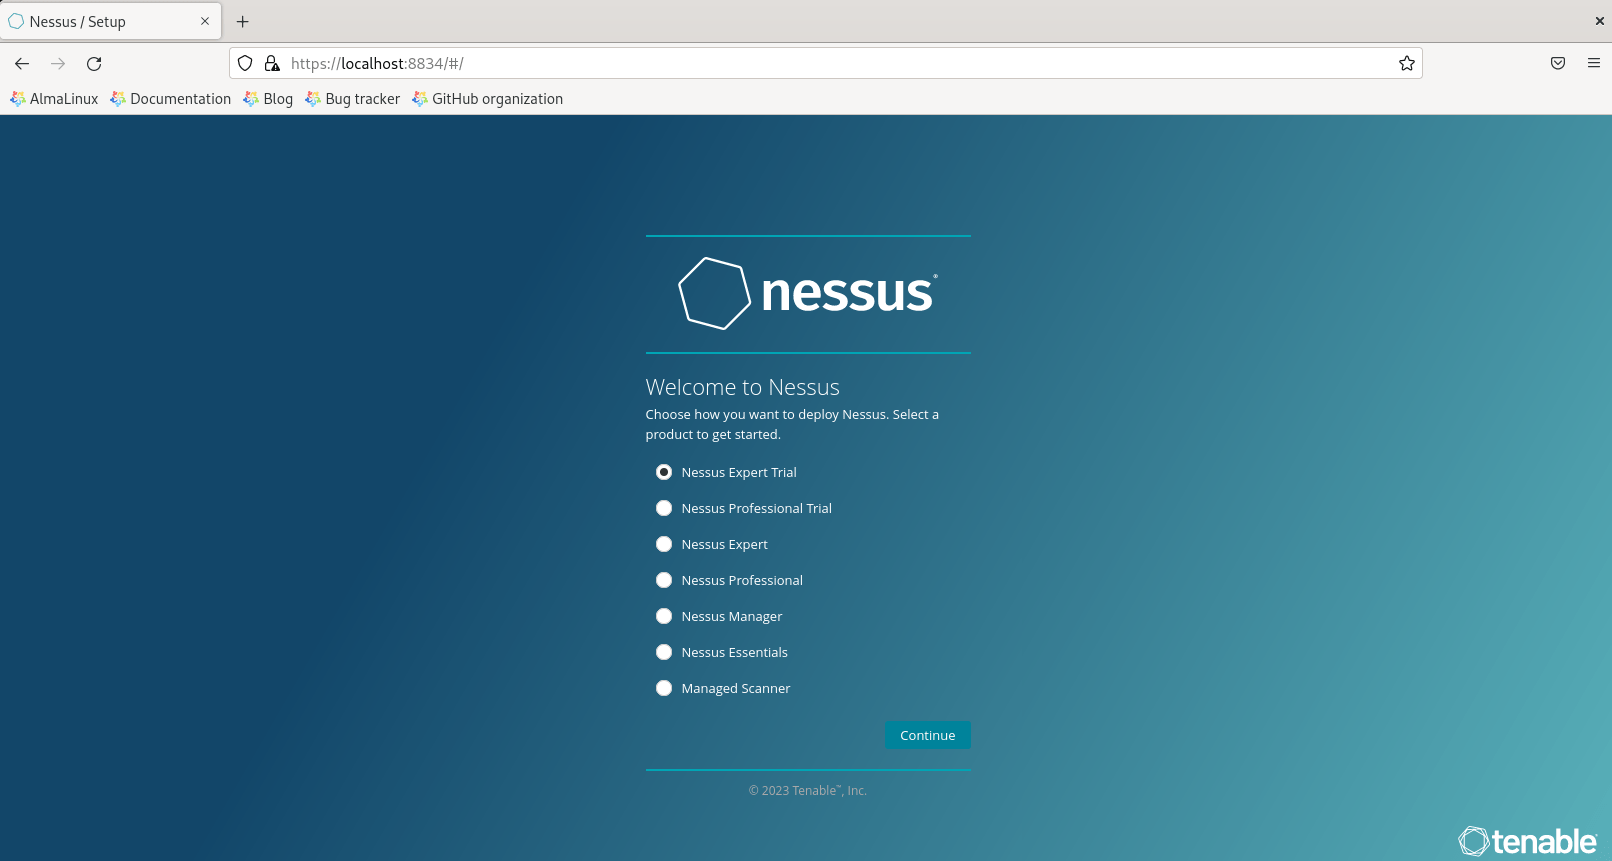
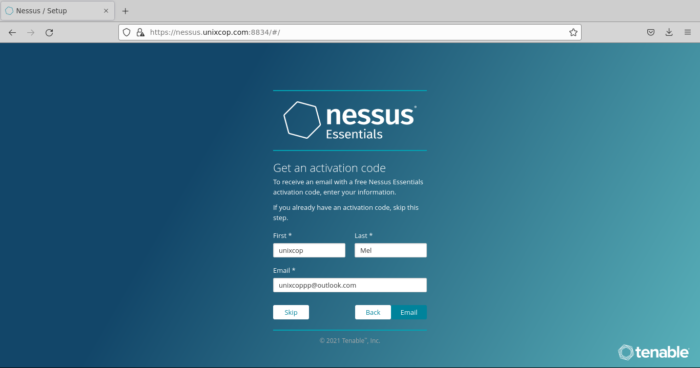
- From Nessus several products, I will install Nessus Essentials.
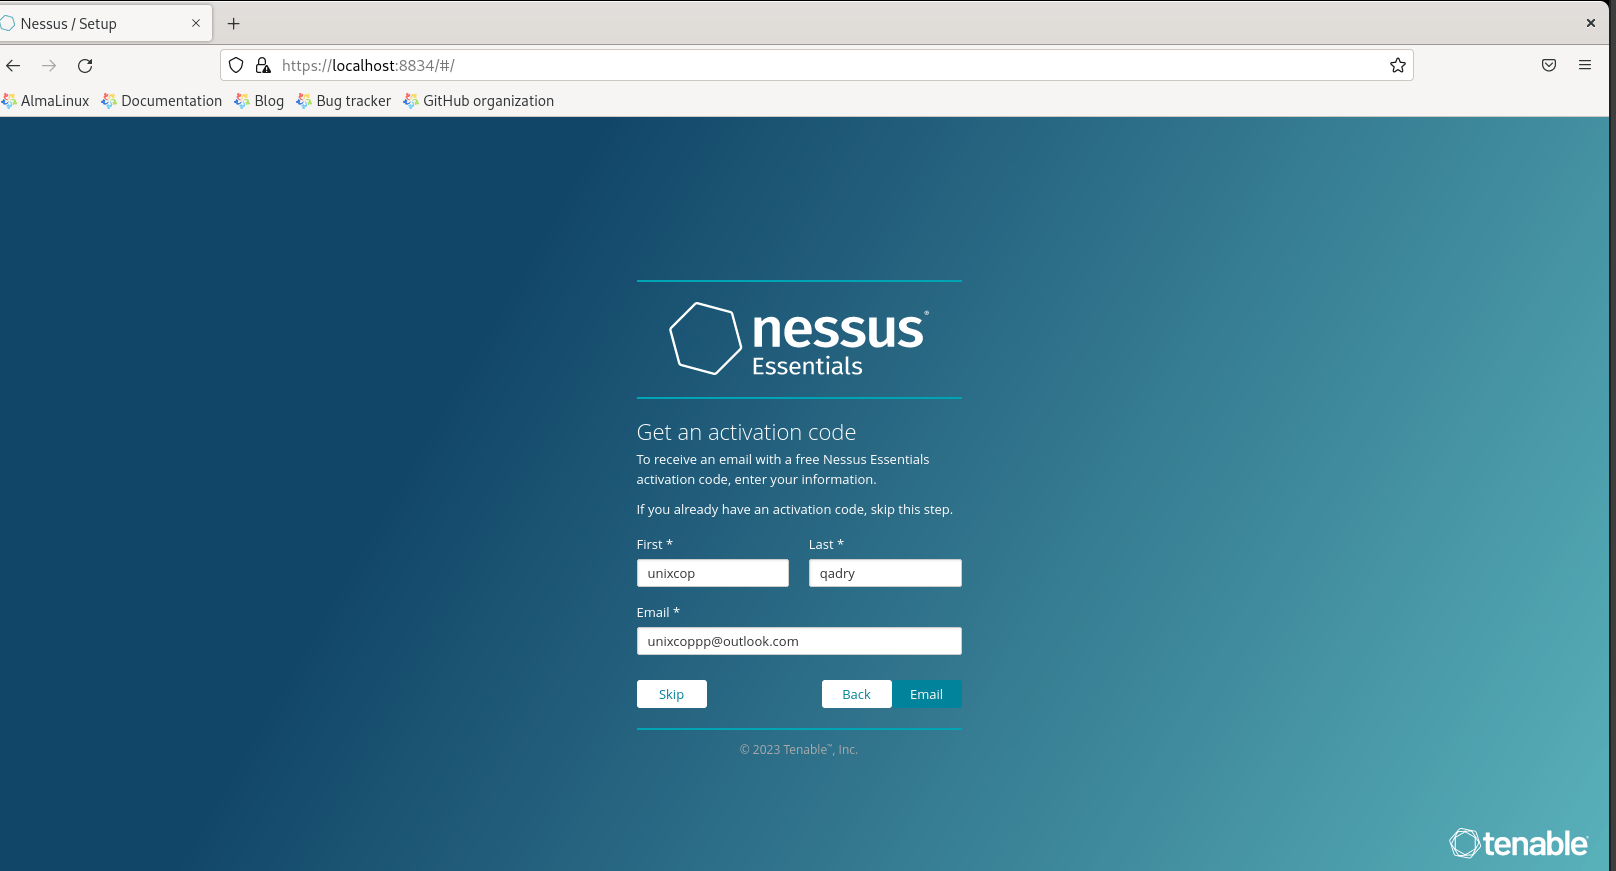
- As shown above, provide details to receive the Nessus activation code on your email address.
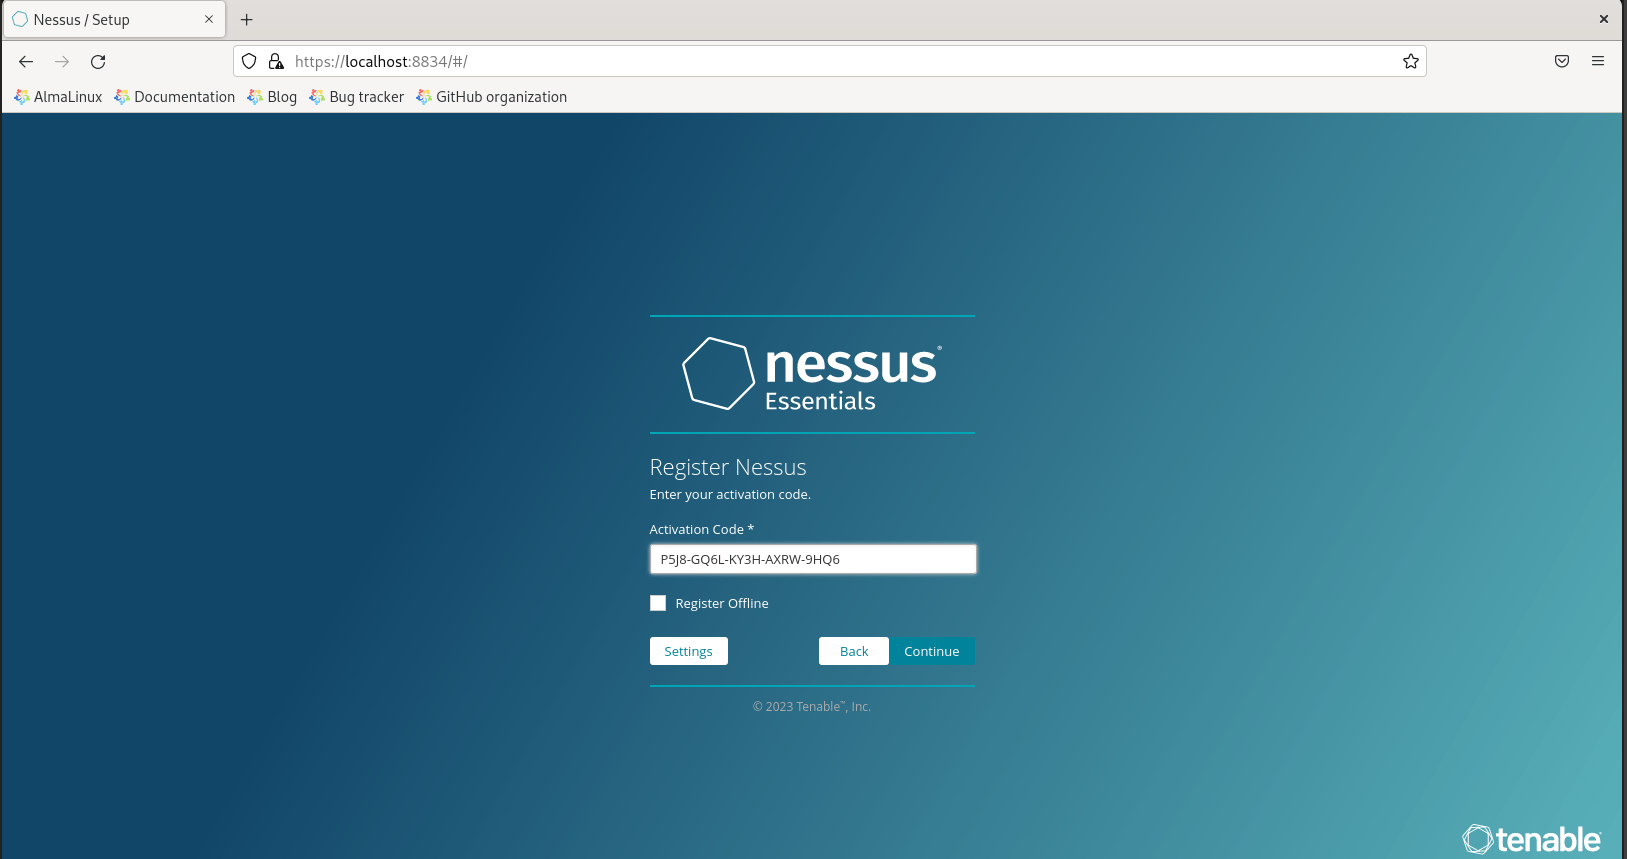
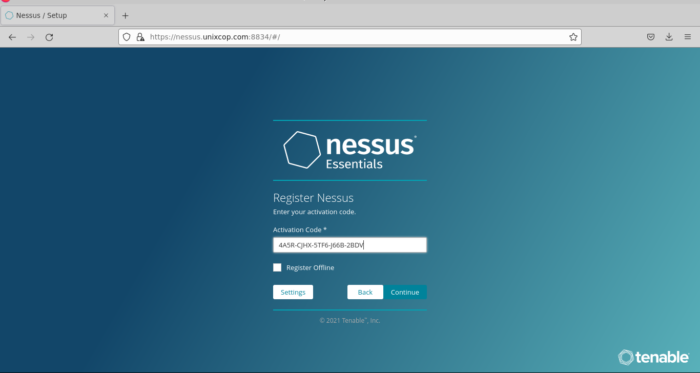
- Copy and Paste your verification code then click Continue.
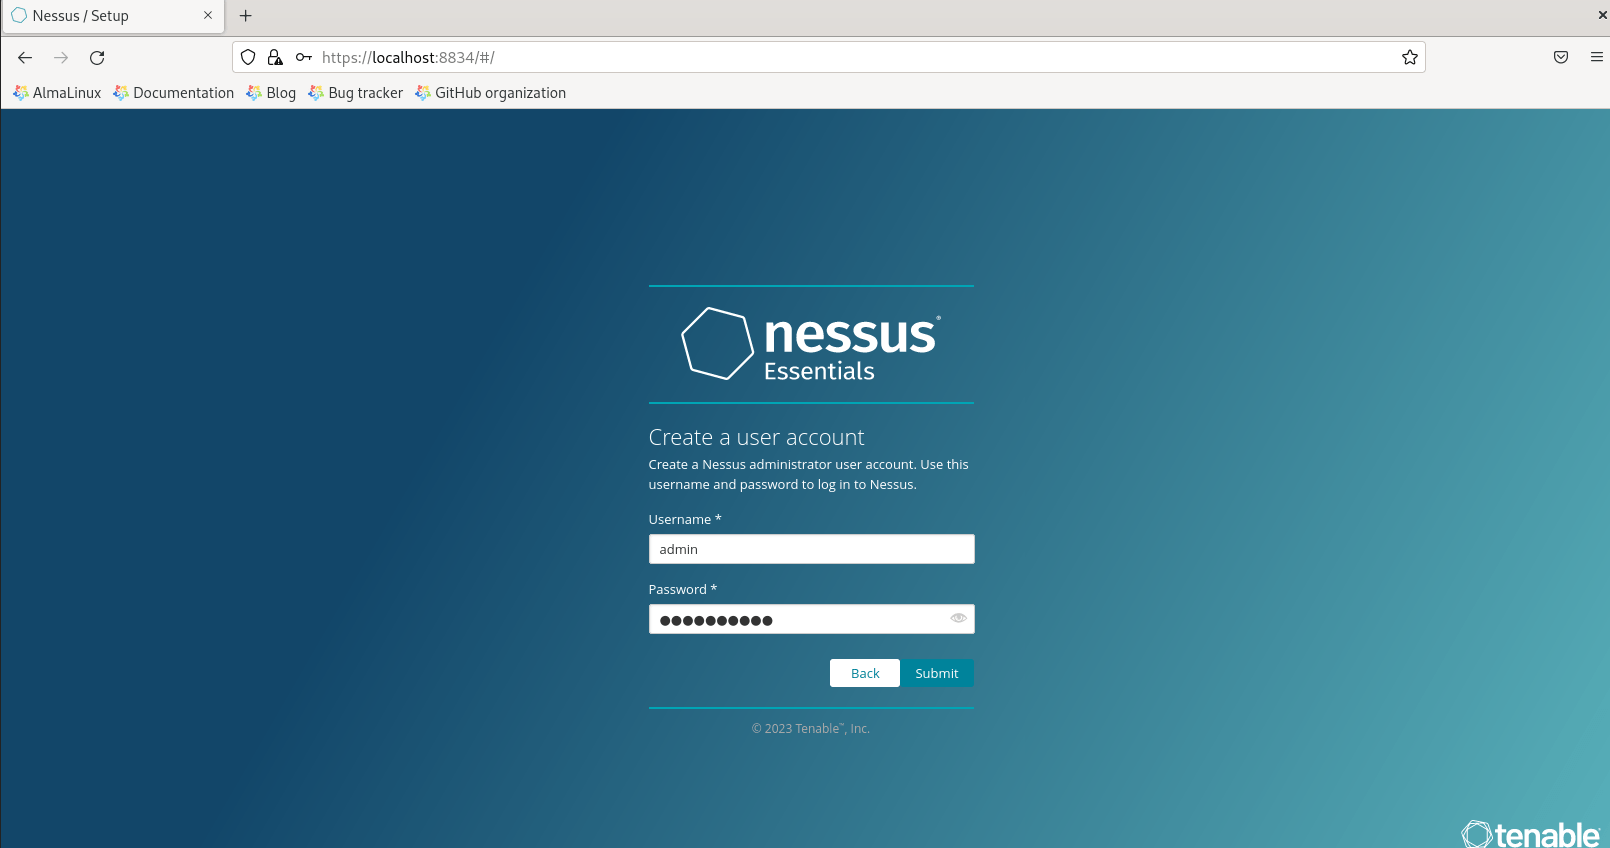
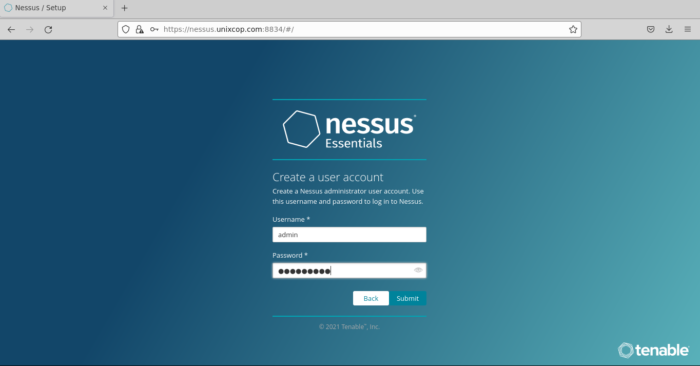
- As shown above in the screenshot, create a Nessus admin account, provide a strong password then Click Submit
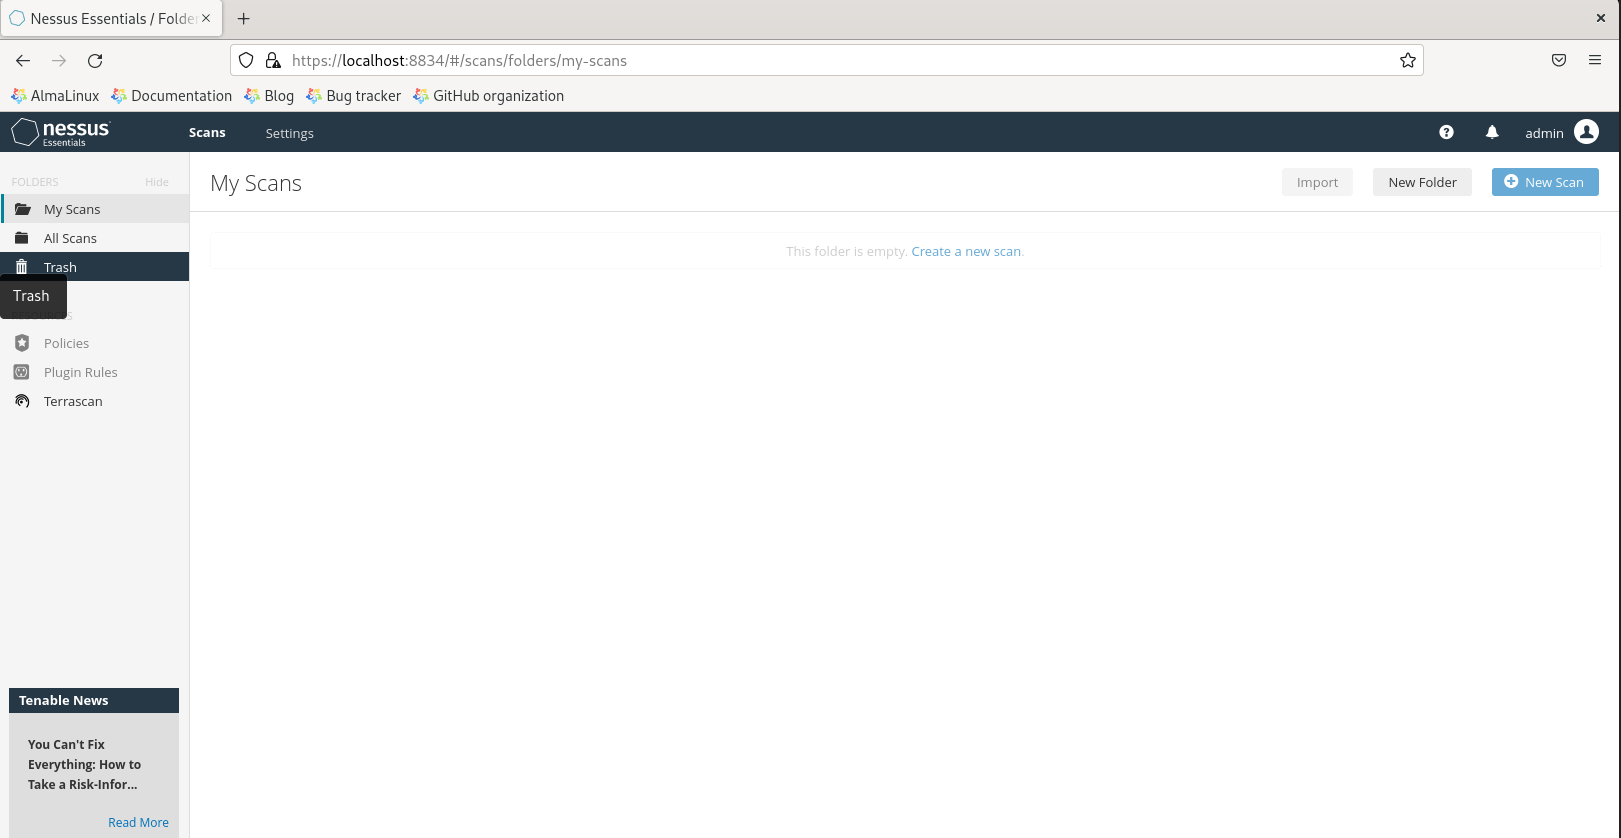
- You will be directed to the Dashboard of Nessus as shown below:
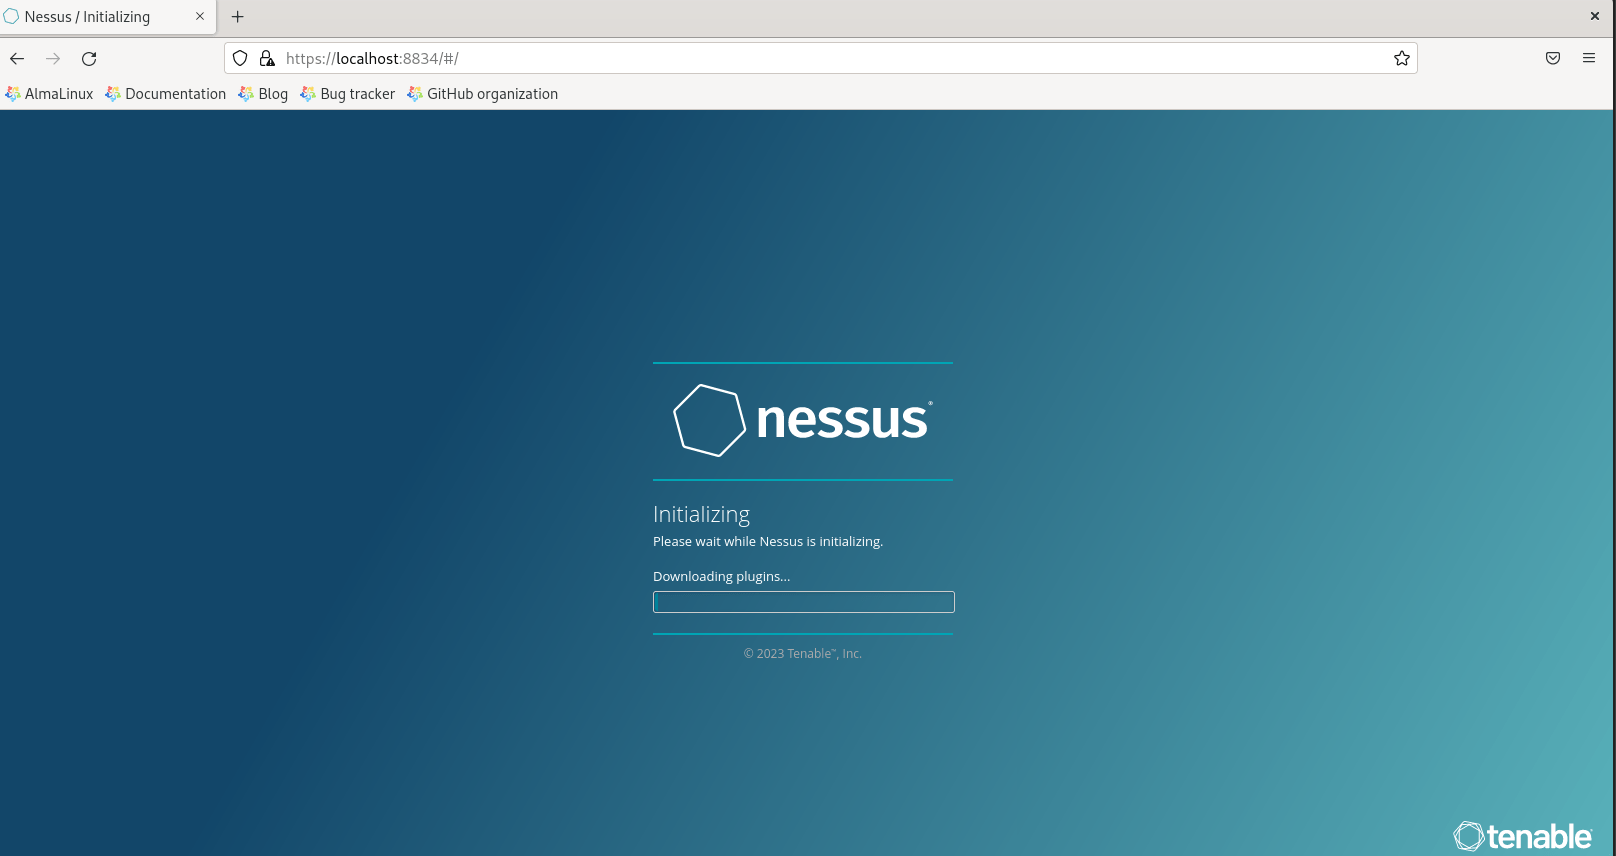
- Nessus will initialize, install and compiled several plugins required.
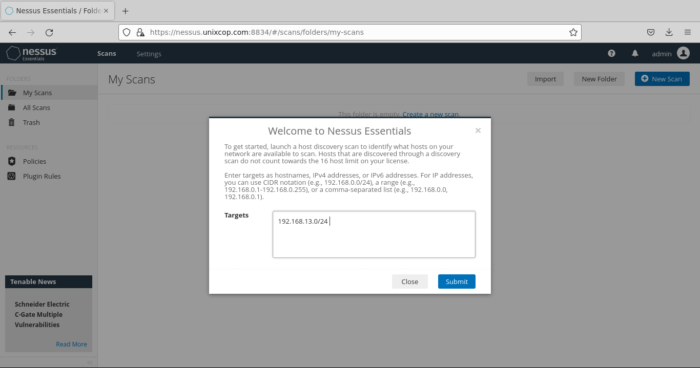
- Now, Start your scan by entering your Network target list, for mine i will scan the target range 192.168.13.0/24 will scan all hosts on the subnet then Click submit
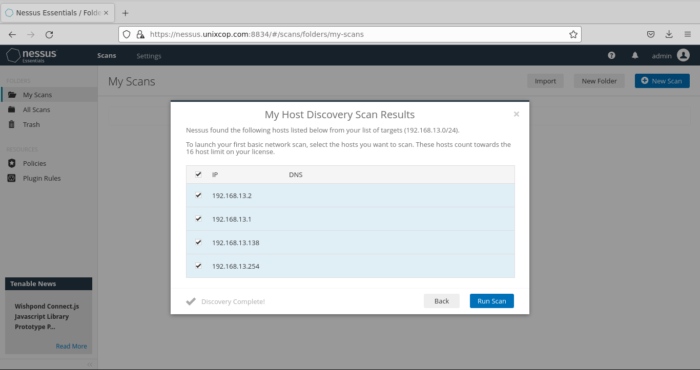
- Click Run Scan to get start with Nessus scanning.
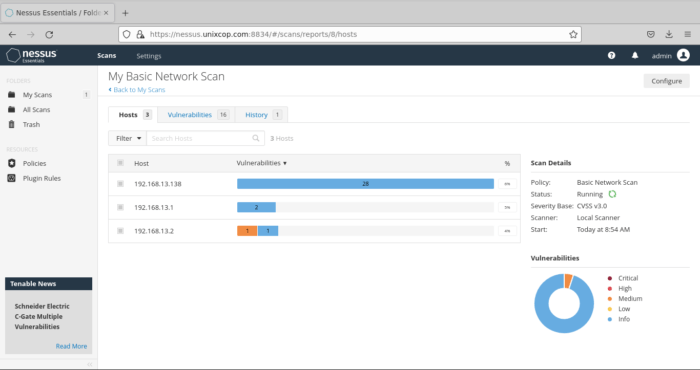
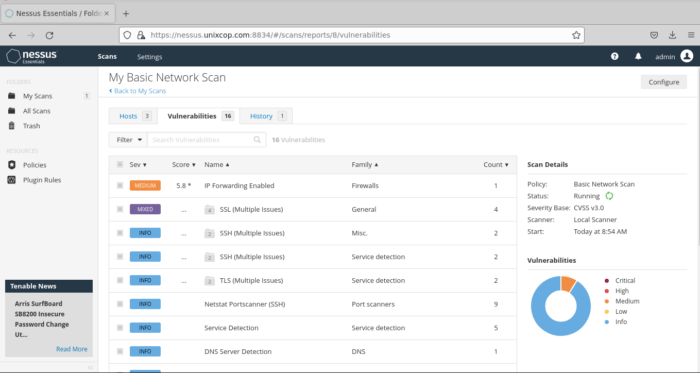
- Here, you can select the devices to scan for vulnerabilities. The vulnerabilities will be shown as shown below
- You can show the information of the Critical, high, medium and low vulnerabilities by clicking on the vulnerability as shown above.
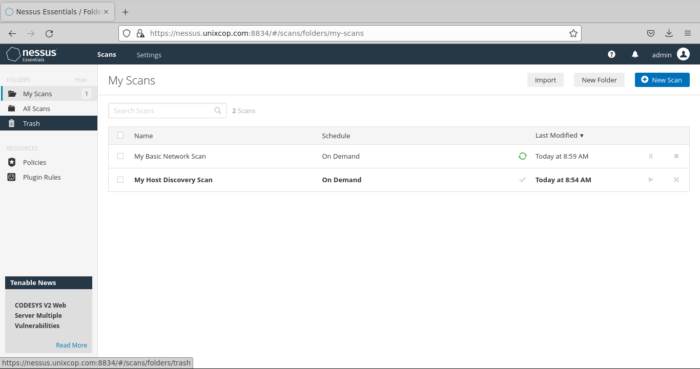
- Note: Also you can do other scans by clicking on New scan as shown below
Conclusion
In this article, we illustrated how to install and use Nessus scanner on AlmaLinux 9 systems.
Thank you.
Also read: How to install and use Nessus Scanner on Ubuntu systems