Everybody knows wikipedia, the free some students even thanks wikipedia for its degree. In this article I will show you how to install the wikipedia software, mediawiki, on your FreeBSD server with Apache and MySQL.
In my case, I’ve installed our own mediawiki to document my work.When I started working here, my then boss gave me my first task: to install some server for some service and hand me his cheat sheet on how to do it. This cheat sheet was an actual sheet of paper handwritten; he also had a block of paper with different cheatsheet for different services.
Less than a month after that first task, uncountable visits to his desk looking for another cheat sheets and a couple of new systems (that I didn’t document how to do it), we both realized that we need a better system. Also my handwriting it’s very hard to read and in the future some new people could begin to work with us and we will need better documentation. That’s why I suggested to install mediawiki and my boss was ok.
Prerequisites
Mediawiki can run on any webserver that supports PHP (i.e. apache, nginx, etc), and store it’s content in a database which can be MySQL (or MariaDB), PostgreSQL or Sqlite. In case you don’t have a working webserver or database, you can check this tutorial: https://unixcop.com/install-lamp-on-freebsd-12-x/
The following PHP extensions are needed: Perl Compatible Regular Expressions (PCRE), session, spl, openssl, json, mbstring, fileinfo and intl.
In case you want to upload images (i.e. screenshots, diagrams, photos or other kind of pictures) you’ll need ImageMagick to handle thumbnails, it’s not mandatory but recommended.
Compile the required ports
We will use the ports system to download and install the mediawiki software and it’s dependencies. Run:
$ su -
cd /usr/ports/www/mediawiki135
make config install clean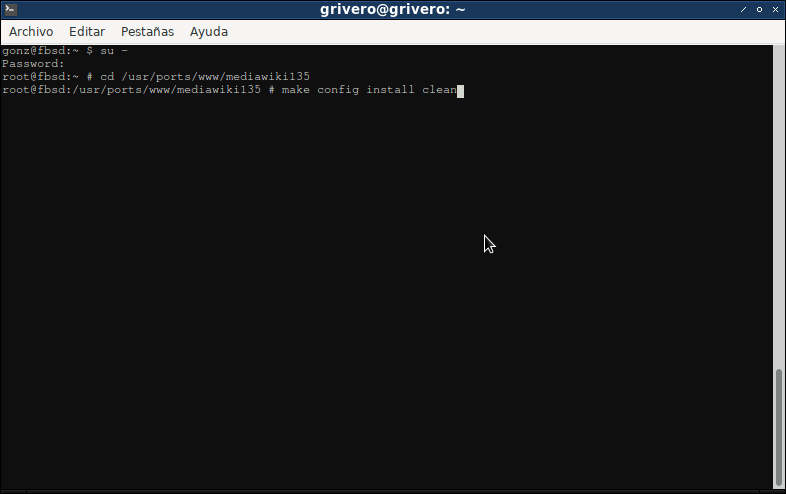
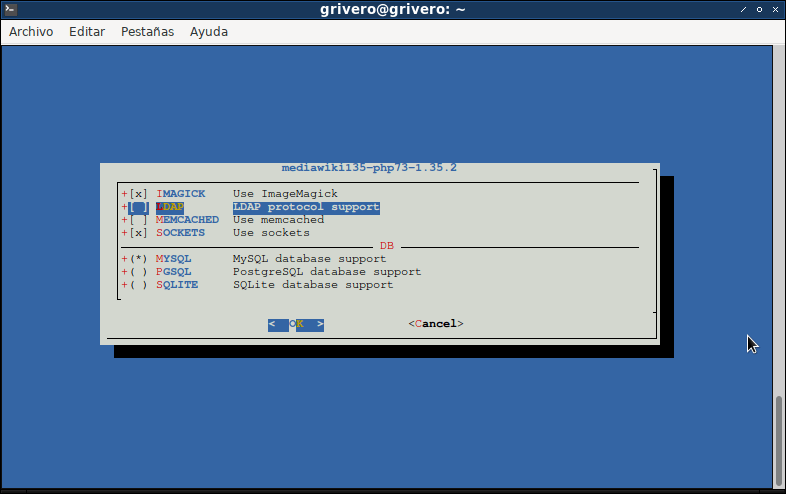
The following screen will appear, where I choose ImageMagick to handle pictures and to use MySQL as a database:
Follow the instructions on screen and when it’s over, you will see an screen like this:

In case you have some php module missing, you can add with the php73-extensions:
# cd /usr/ports/lang/php73-extensions
# make config install clean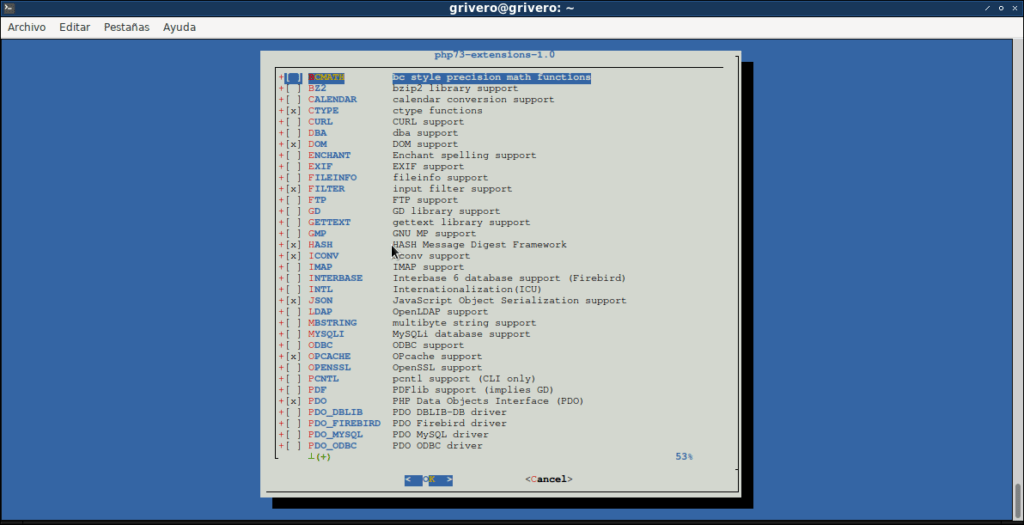
Database for mediawiki
If you have a lot of dependencies to install like me, open another console and create the database and database user while the system it’s compiling things; if not, just wait until the main compiling and installing job it’s done.
It’s always a good idea do not use the same user for everything, so create an user for mediawiki:
# mysql -p
Welcome to the MariaDB monitor.  Commands end with ; or \g.
Your MariaDB connection id is 3
Server version: 10.5.10-MariaDB FreeBSD Ports

Copyright (c) 2000, 2018, Oracle, MariaDB Corporation Ab and others.

Type 'help;' or '\h' for help. Type '\c' to clear the current input statement.

root@localhost [(none)]> CREATE USER 'mediawiki'@'localhost' IDENTIFIED BY 'wikimedia';
Query OK, 0 rows affected (0.003 sec)
Now we have a mysql user called mediawiki with password wikimedia. It’s also a good idea to choose a better password. Now let’s create a database and make that user the owner:
root@localhost [(none)]> CREATE DATABASE mediawiki;
Query OK, 1 row affected (0.001 sec)

root@localhost [(none)]> GRANT ALL PRIVILEGES ON mediawiki.* TO 'mediawiki'@'localhost';
Query OK, 0 rows affected (0.003 sec)
You can do this with other tools like PhpMyAdmin of course.
Apache configuration
Mediawiki files are installed in /usr/local/www/mediawiki you can move that directory inside apache24/data directory or add the following lines to /usr/local/etc/apache24/httpd.conf:
Alias /mediawiki "/usr/local/www/mediawiki/"
<Directory "/usr/local/www/roundcube/">
       AllowOverride All
       Require all granted
</Directory>
Setup mediawiki
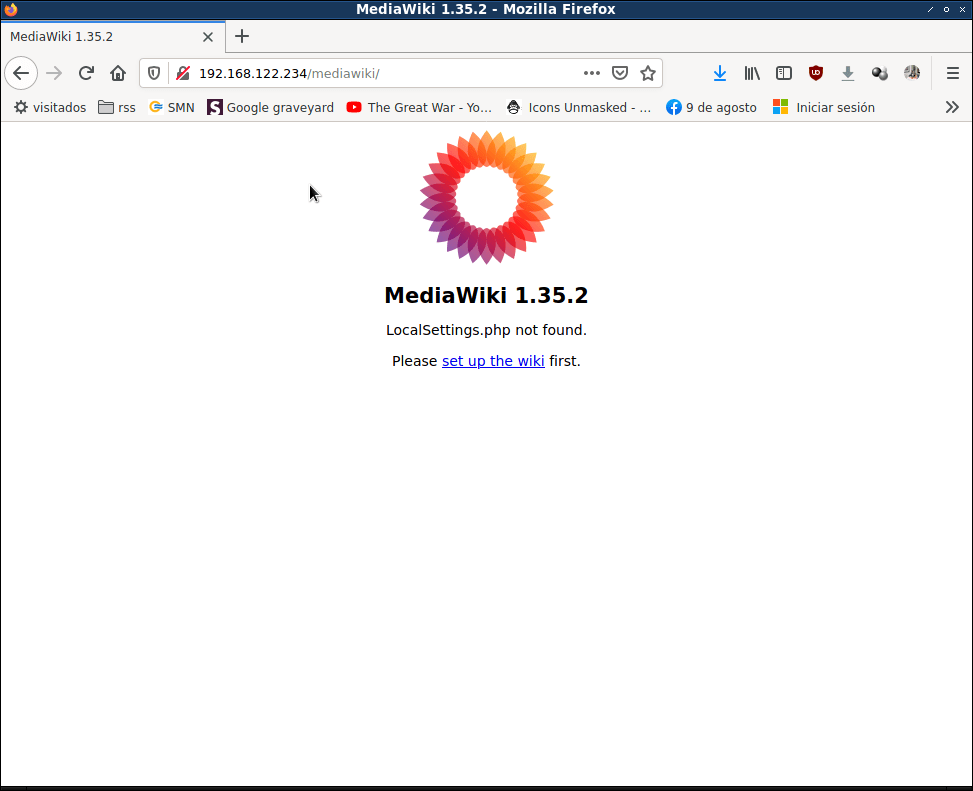
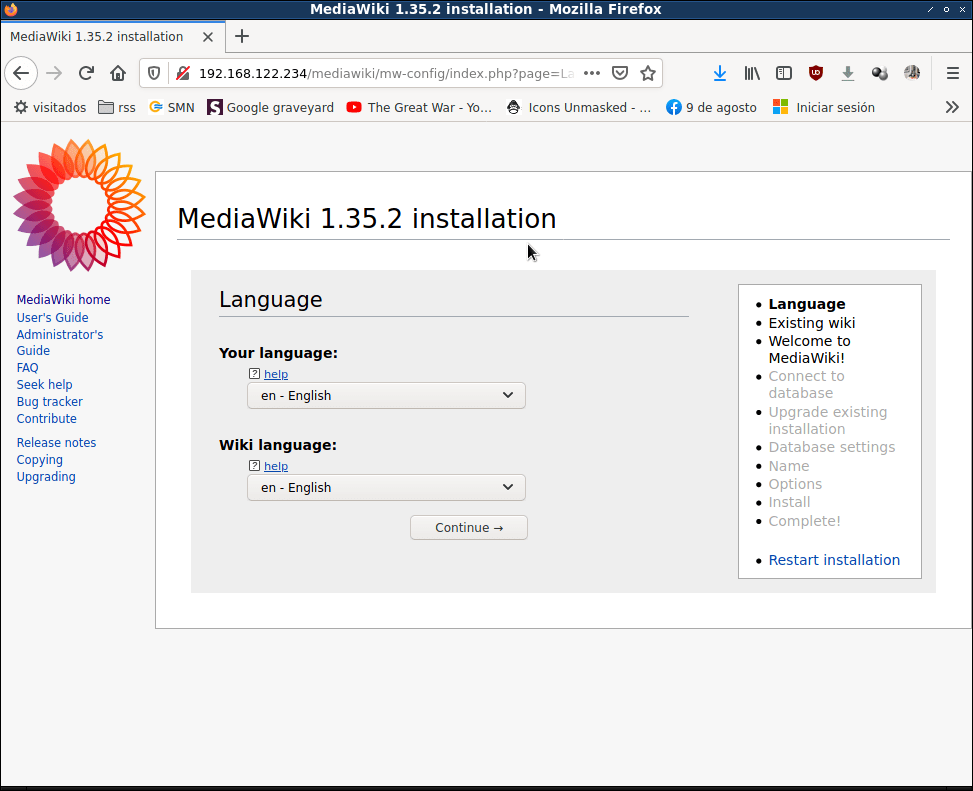
Reload apache and go with your web browser to http://your-webserver/mediawiki, in my case the url is http://192.168.122.234/mediawiki and follow the screen instructions:
Choose the language, mediawiki will try to detect the browser language; as I am a native spanish speaker, I choose english:
Next, the installer will check for dependencies and environment:
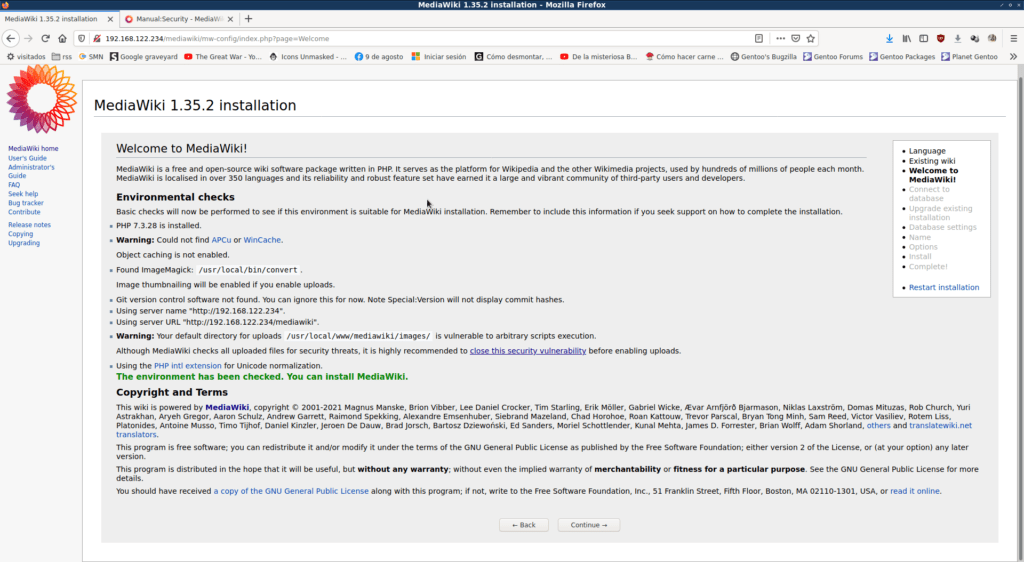
Pay attention to warnings, and security warnings in particular. For this tutorial, I will ignore the cache one, but the warning about /usr/local/www/mediawiki/images vulnerable to scripts execution I will correct by adding this to httpd.conf:
<Directory "/usr/local/www/mediwWiki/images">
   AllowOverride None

   # Serve HTML as plaintext, don't execute SHTML
   AddType text/plain .html .htm .shtml .phtml
   # Don't run arbitrary PHP code.
   php_admin_flag engine off
</Directory>
The next question is about the database:
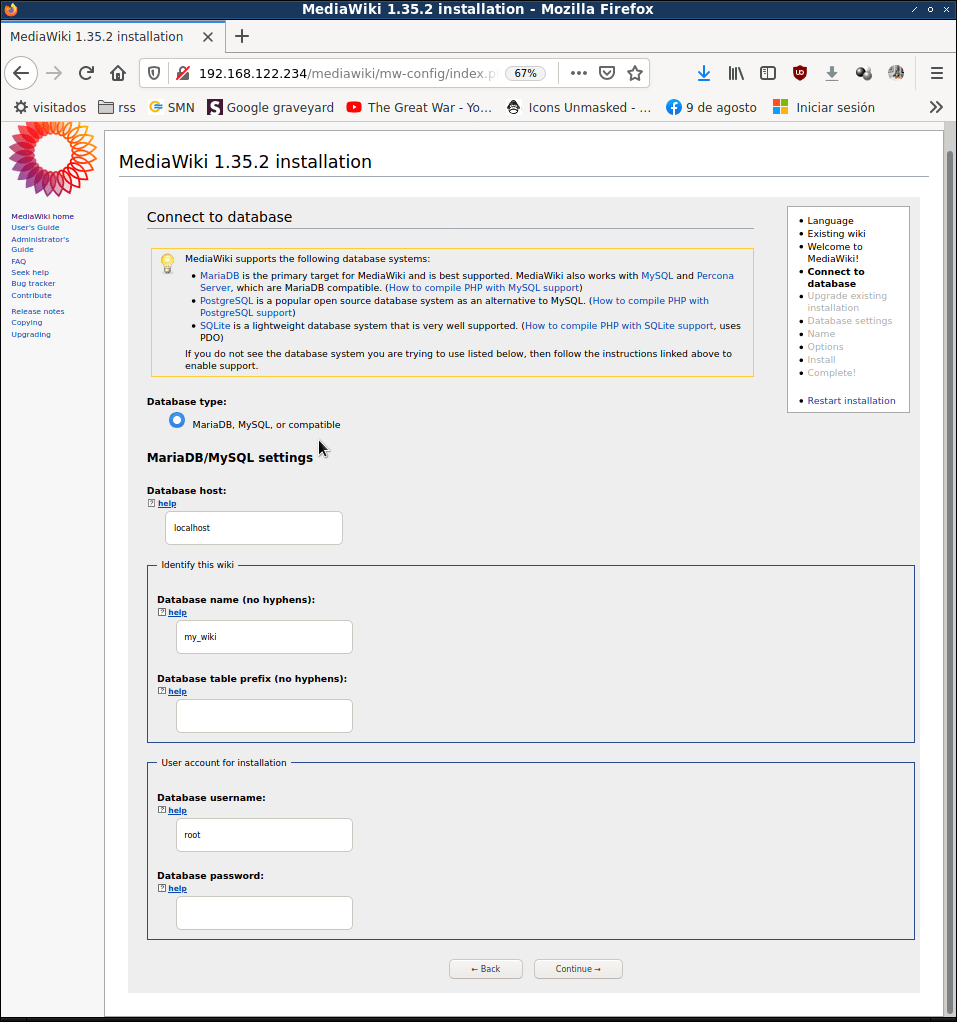
Fill the data with the user we’ve created in the previous section:
- Host: localhost (or 127.0.0.1 if you get an error)
- Name: mediawiki
- Prefix: optional, every table name will start with this prefix
- Username: mediawiki
- Password: wikimedia
Fill out this form with your own database information.
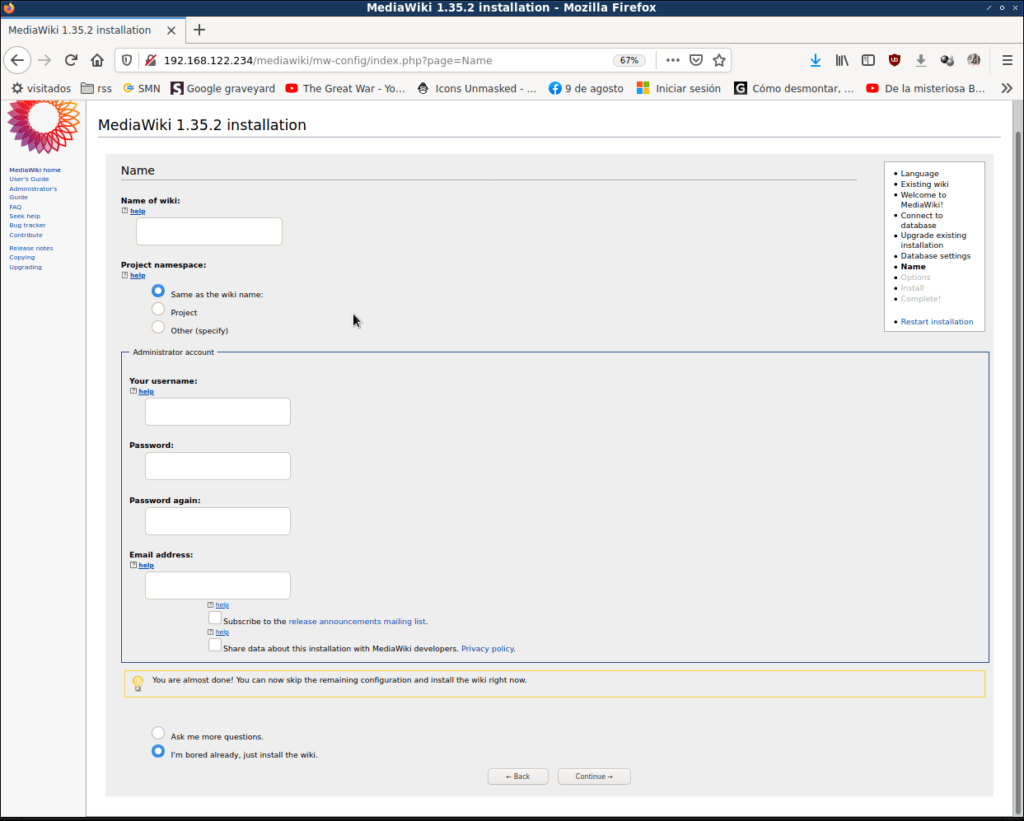
Choose a name for your wiki, I will go with “GonzWiki” and set the admin user and password information. And I’ll choose the option “I’m bored already, just install the wiki” to finish.
The installer will create the database tables, initialize things and create your main page:
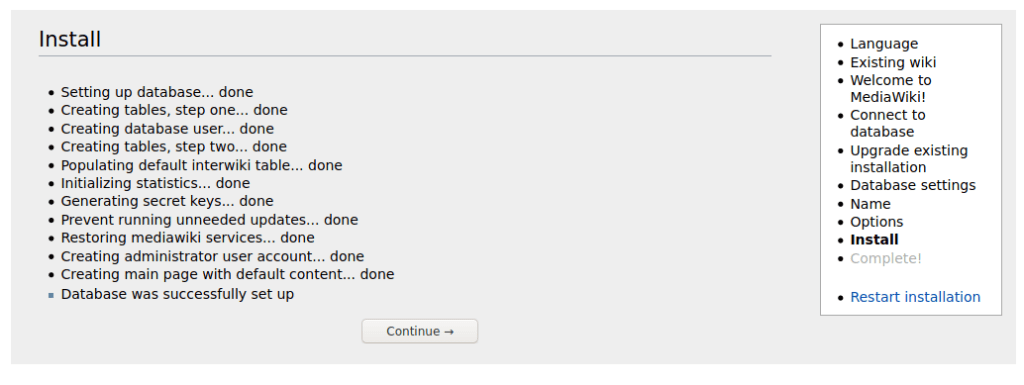
Finally, the installer will let you download the config file that you need to put on your wikimedia directory /usr/local/www/mediawiki.
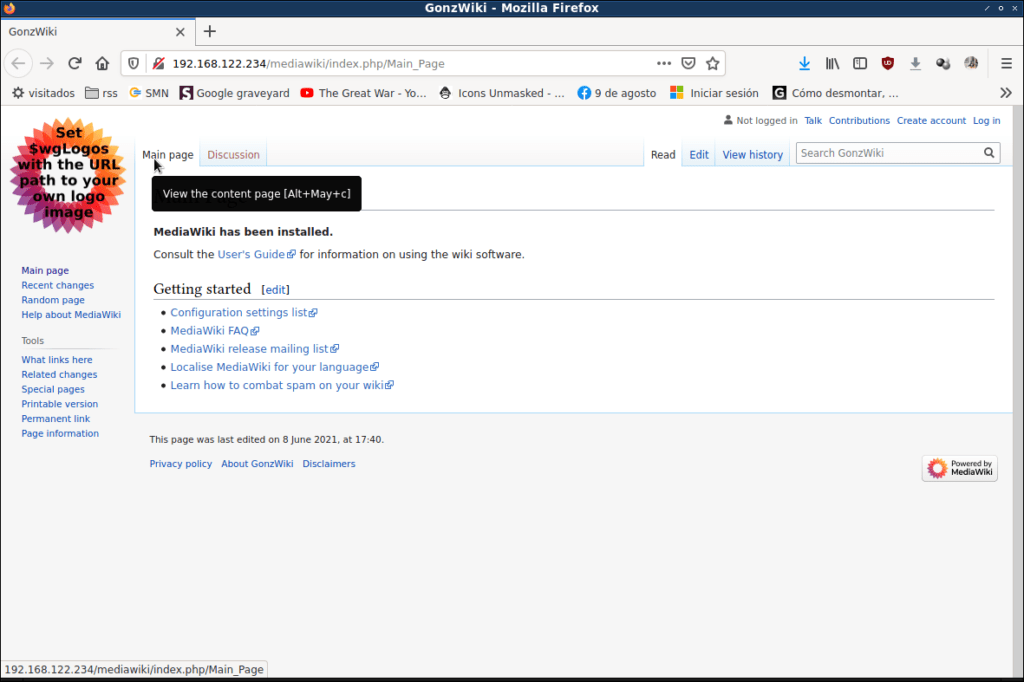
Basic wiki formating
Click on “edit” and this is the basic text formating:
| Type | To see |
| ”italic” | italic |
| ”’bold”’ | bold |
| ””’italic and bold””’ | italic and bold |
| = Section = == Subsection == | the more ‘=’ sings, the lower section level |
| Lists * list item */ list item * list item | Change asterisks with number sign (#) for numbered lists |
| [[Page]] | Internal link to wiki page named Page |
| [http://some.host/url] | Link to external site |
In the following links you can find much more information:
Happy editing!