In this article, we will show you how to install LightZone on Ubuntu systems
LightZone is a free, open-source digital photo editor software application. It was originally developed as commercial software by the now-defunct Light Crafts. Its main purpose is to handle the workflow, including non-destructive editing when handling images in various RAW formats. It is comparable to Adobe Lightroom.
LightZone edits both RAW and JPEG format images. LightZone can create and apply pre-determined image transformations, called “styles”, to an entire batch of images in a single operation. Using styles, photographers make and save their own preferred compensations for each RAW image based upon camera specific characteristics.
Install LightZone
Follow the steps below to get started with LightZone
- Update your system packages by running the following command
sudo apt update -y && sudo apt upgrade -y
- LightZone is not available on Ubuntu base repository. So we will add the Personal Package Archives (PPA) with running this command as shown below
sudo add-apt-repository ppa:lightzone-team/lightzone

- Once the PPA added, install Lightzone with running the below commands:
sudo apt update -y
sudo apt install lightzone -y- Launch lightZone application from the terminal by running the command:
lightzone
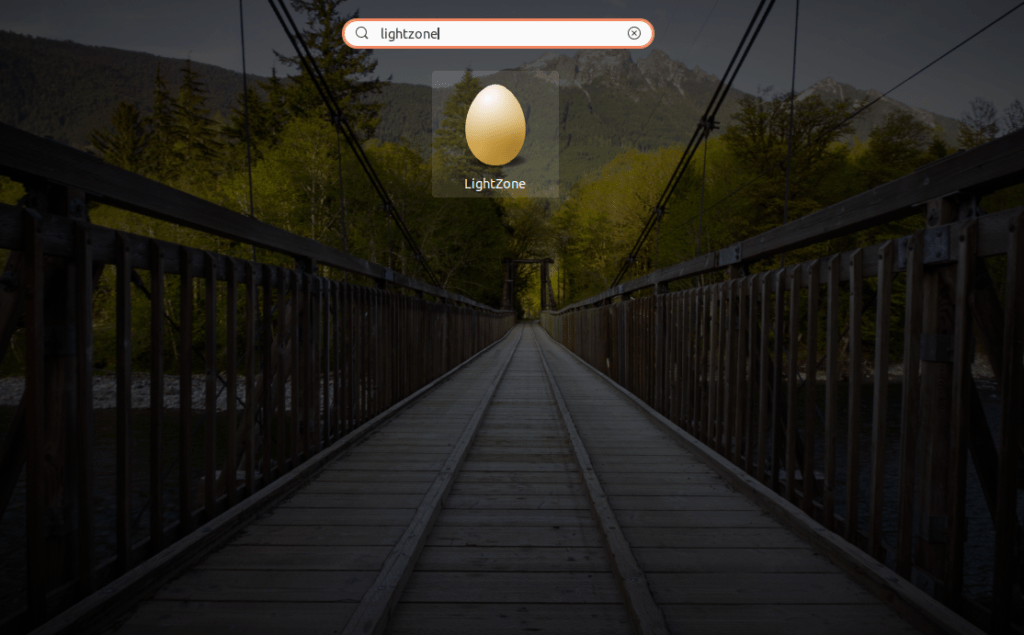
Also you can launch it by searching on lightzone in the search bar as shown below

- LightZone will be launched as shown below in the screenshot

Enjoy!!
Conclusion
That’s it
In this small guide, we illustrated how to install LightZone in Ubuntu 20.04. I hope this article was useful.
Thanks


