
In this post, you will learn how to Install Lighttpd on CentOS 8
Lighttpd is an open-source, secure, fast, flexible, and more optimized web server designed for speed-critical environments with less memory utilization as compared to other web servers. It can handle up to 10,000 parallel connections in one server with effective CPU-load management. Also, It comes with an advanced feature set such as FastCGI, SCGI, Auth, Output-Compression, URL-Rewriting and many more. Lighttpd is an excellent solution for every Linux server, due to its high-speed io-infrastructure that allows us to scale several times better performance with the same hardware than with other alternative web-servers.
In this article we will learn how to Install Lighttpd Web server on CentOS 8.
Install Lighttpd Web Server:
First, we will add the EPEL repository and then install the Lighttpd webserver. The Lighttpd is available on the EPEL (Extract Packages for Enterprise Linux) repository.
dnf install epel-release
dnf install lighttpd -y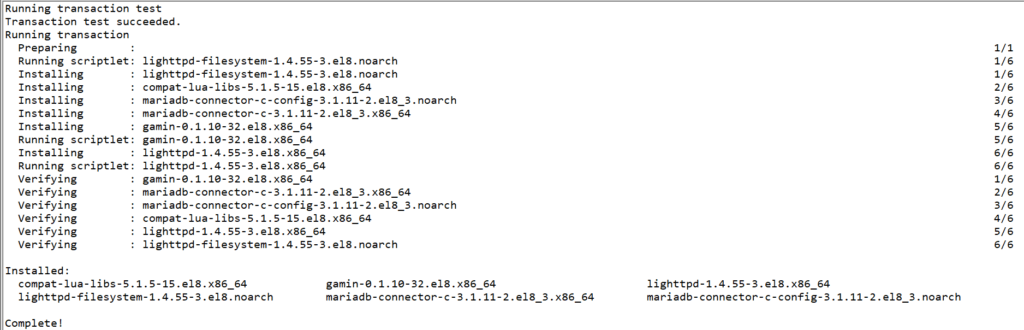
After Installation is complete, start and enable lighttpd service.
systemctl start lighttpd
systemctl enable lighttpd
systemctl status lighttpd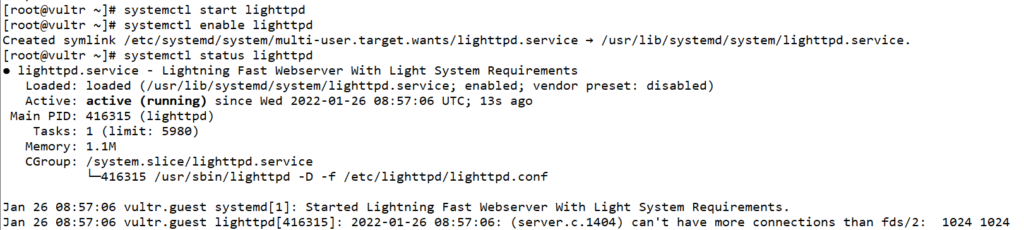
Next, we will add the HTTP service to the firewalld rule list using the following command:
firewall-cmd --add-service=http --permanent
firewall-cmd --reload
Now open your web browser and type the server IP address on the address bar. http://yourIPaddress/

Install MariaDB Database Server:
To install the MariaDB database server, run the following command:
dnf install mariadb-server -y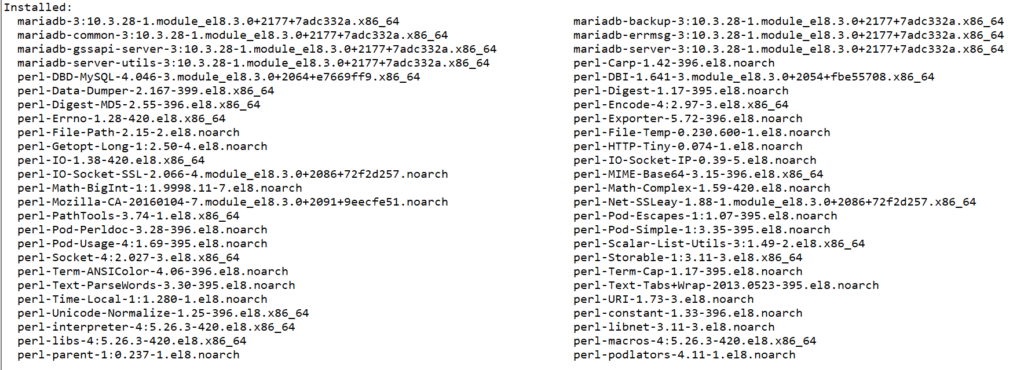
Start and Enable MariaDB service.
systemctl start mariadb
systemctl enable mariadb
systemctl status mariadb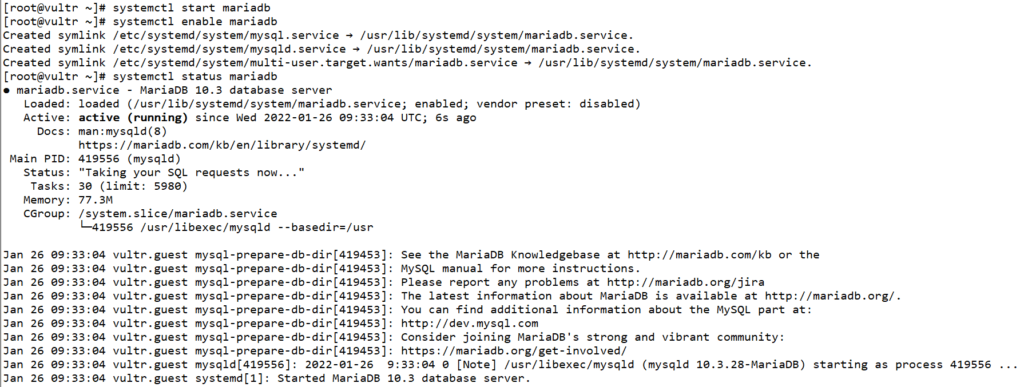
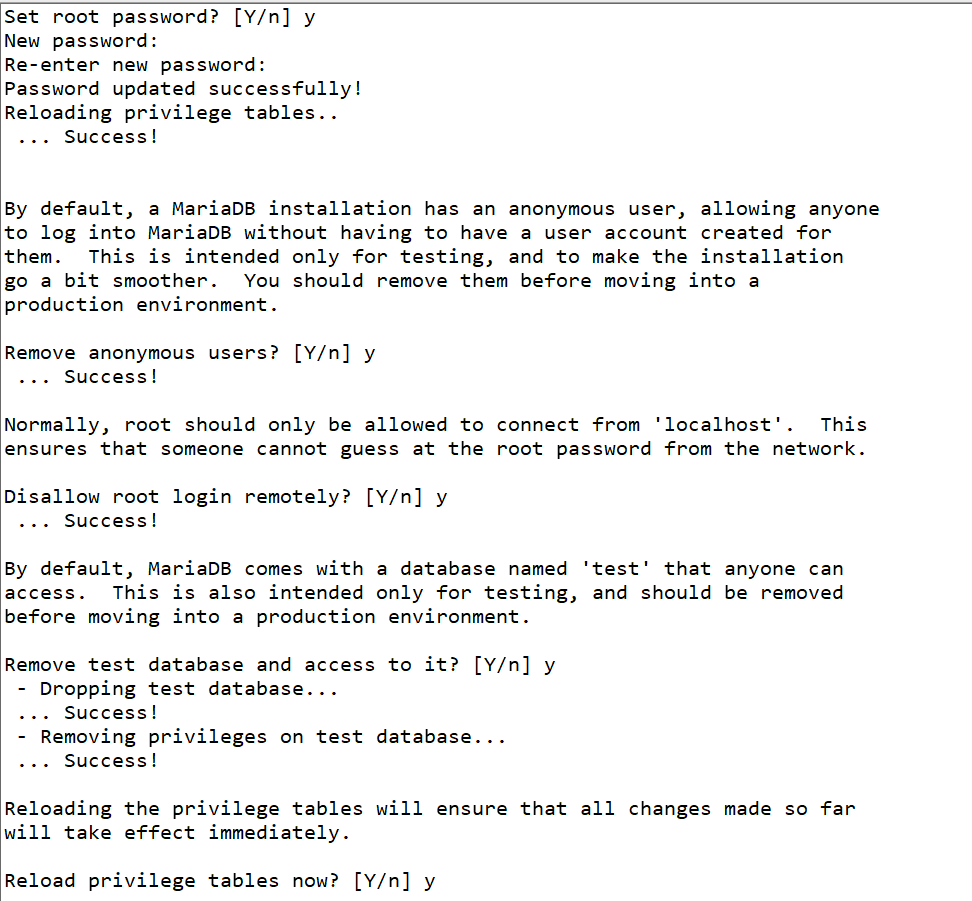
Now we will set default root password and other setting using below command:
mysql_secure_installationNow type the new password for your MariaDB server and type ‘Y’ for all configurations.
Next, log in to the MySQL shell using the default root user and your password.
mysql -u root -pAfter Login, check all available users on the MariaDB server using the following query.
select User,Host from mysql.user;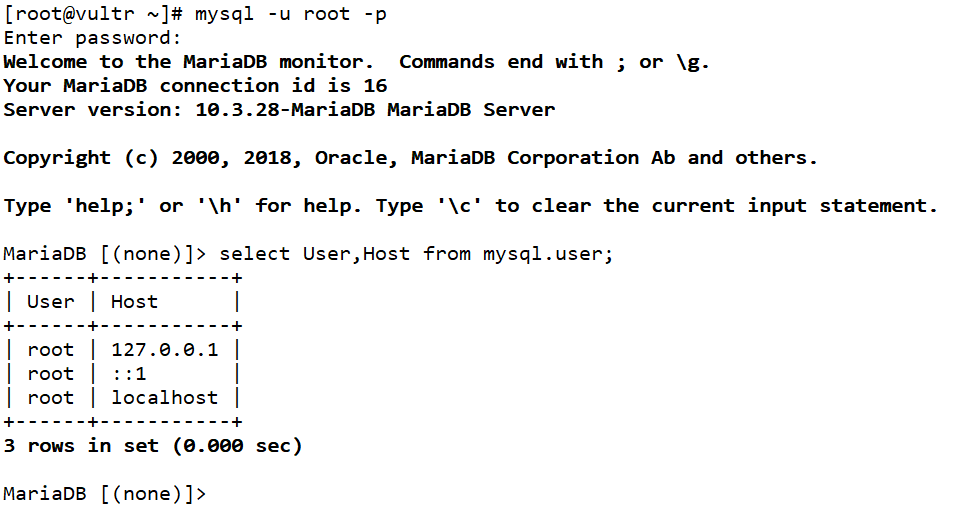
Now exit from MariaDB using the following command:
quit;Install and Configure PHP-FPM:
Now, we will install and configure the PHP-FPM for Lighttpd web server.
Install Remi repository for updated versions of PHP.
dnf install -y https://rpms.remirepo.net/enterprise/remi-release-8.rpm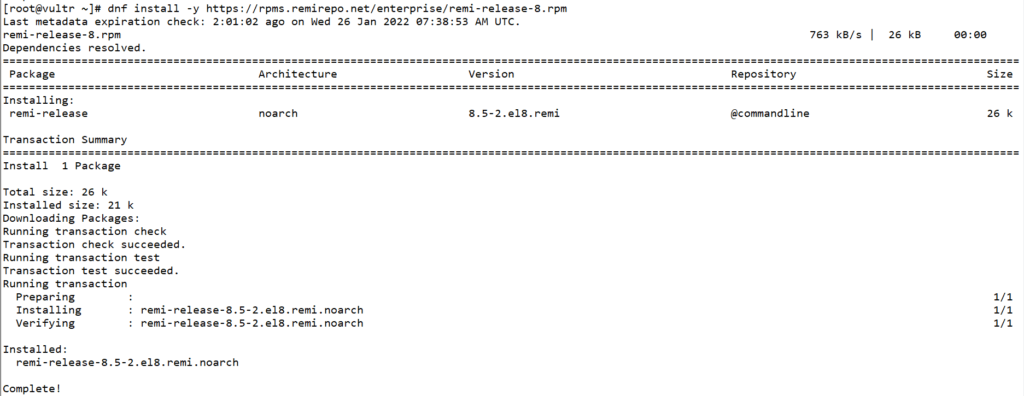
Now list the available modules of PHP.
dnf module list php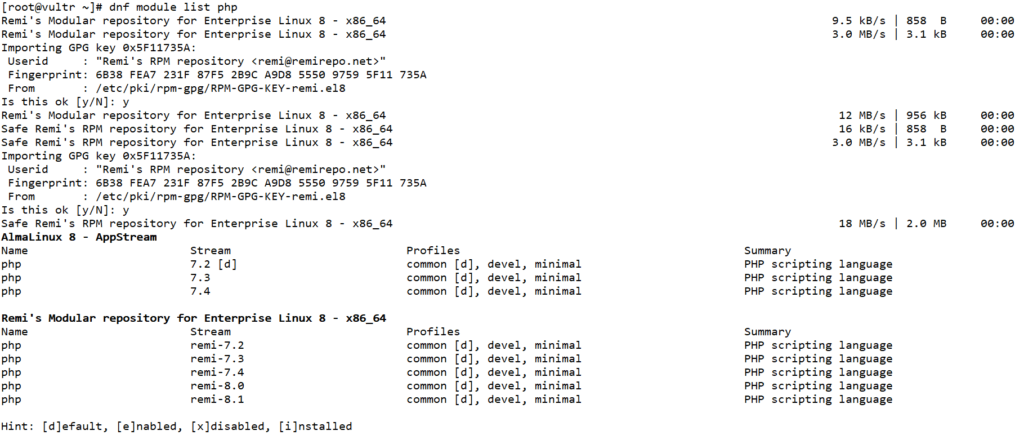
Now Enable PHP 8 module:
dnf module enable php:remi-8.0 -y
Install PHP and PHP-FPM packages using the following command:
dnf install php php-fpm lighttpd-fastcgi php-mysqlnd php-pdo php-gd php-mbstring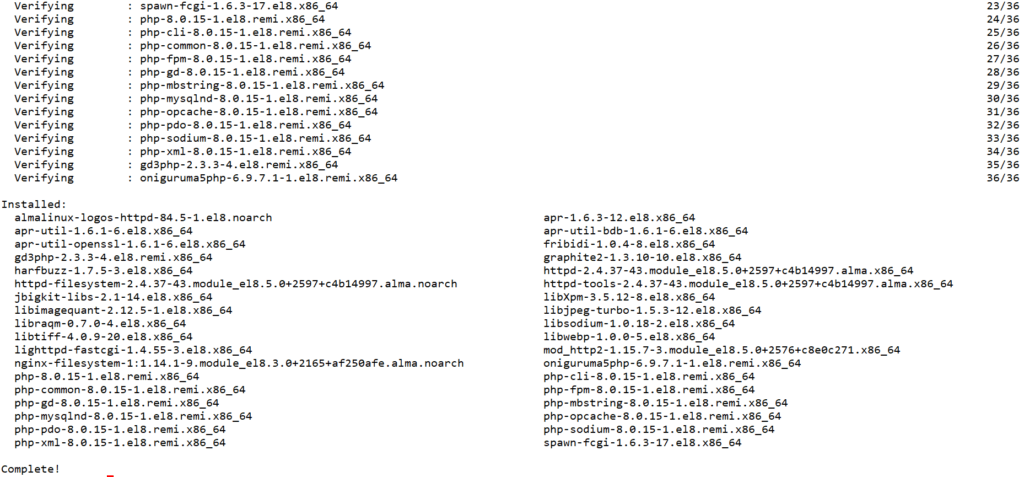
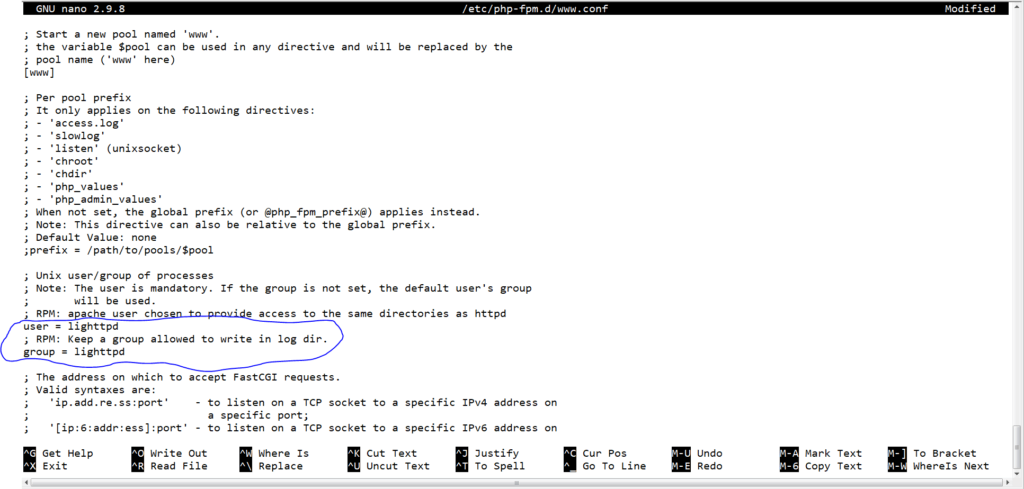
Now Edit the PHP-FPM configuration file.
nano /etc/php-fpm.d/www.confNow change the default user and group as in the below Picture:
Change the default PHP-FPM listen using the local IP address with port ‘9000’.
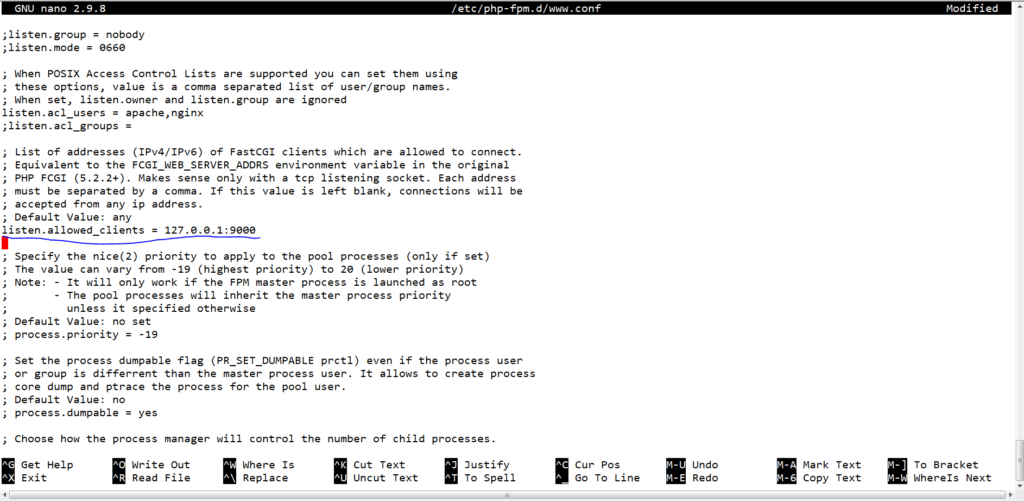
save and quit the file.
Now edit the PHP configuration File.
nano /etc/php.iniUncomment the following line to get support with the PHP-CGI for the Lighttpd web server.
cgi.fix_pathinfo=1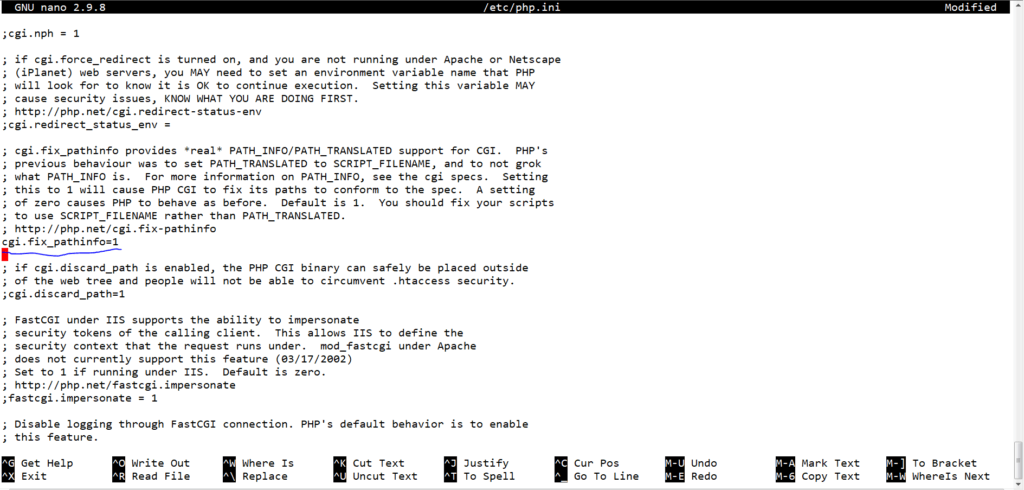
save and exit from the file.
Now Start and Enable PHP-FPM service.
systemctl start php-fpm
systemctl enable php-fpm
The PHP-FPM service is up and running, check using the following command:
ss -plnt
systemctl status php-fpm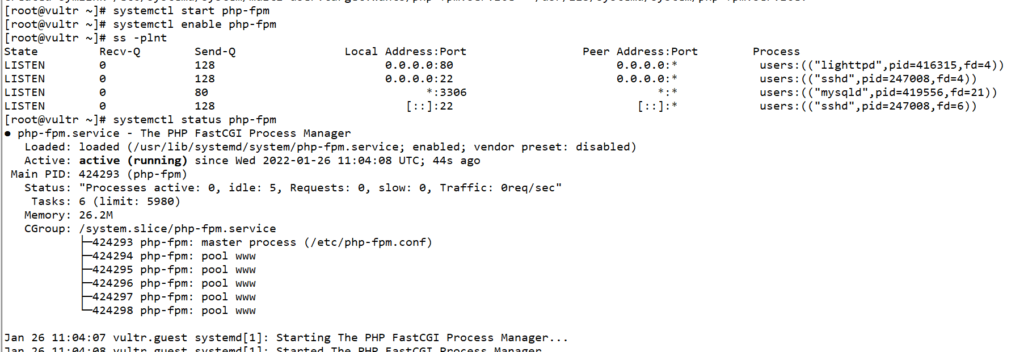
Setup Lighttpd and PHP-FPM:
we will configure the Lighttpd to make it work with our PHP-FPM installation.
the Lighttpd can be used to serve PHP web application using two ways:
- Serve through PHP-FPM Service
- Serve through self-spawning PHP-CI
we need to enable the FastCGI module on the Lighttpd web server and add our configuration to the FastCGI module configuration file.
cd /etc/lighttpd/
nano modules.conf
Uncomment the following line:
##
## FastCGI (mod_fastcgi)
##
include "conf.d/fastcgi.conf"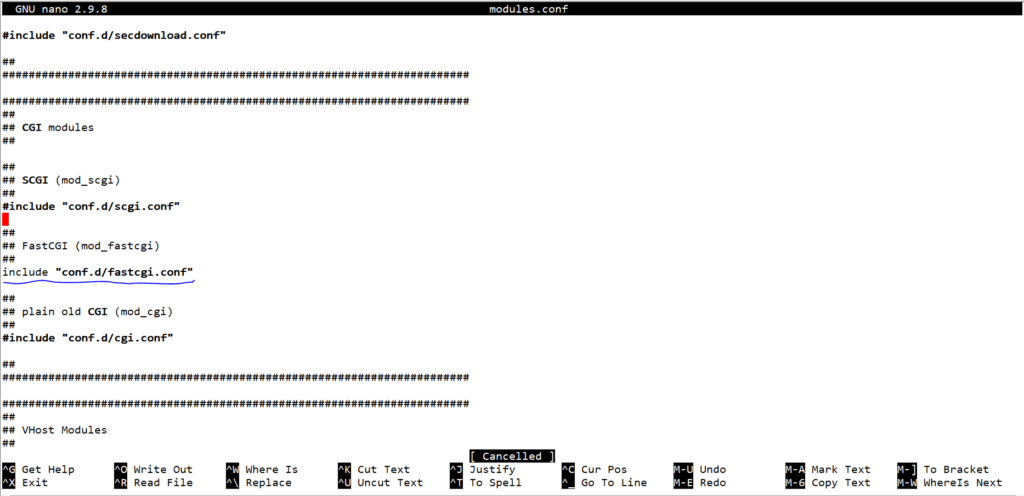
save and quit the file.
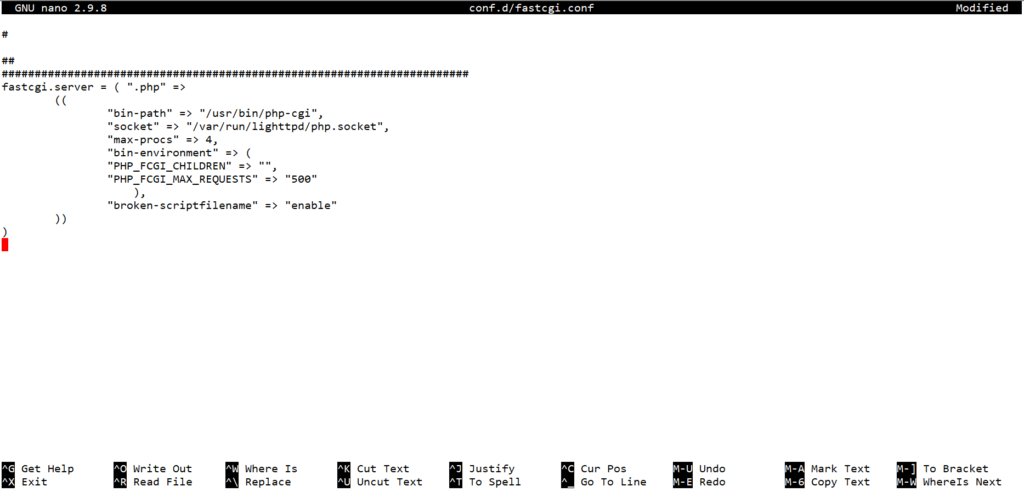
Next, we will add our PHP configuration to the “conf.d/fastcgi.conf” configuration file.
nano conf.d/fastcgi.confIf you want to use the PHP-FPM service, add the following configuration:
fastcgi.server += ( ".php" =>
        ((
                "host" => "127.0.0.1",
                "port" => "9000",
                "broken-scriptfilename" => "enable"
        ))
)
create a new directory “/var/run/lighttpd” and change the ownership of that directory to the ‘lighttpd’ using the following commands:
mkdir -p /var/run/lighttpd
chown -R lighttpd:lighttpd /var/run/lighttpd
Restart the Lighttpd service to apply the new configuration.
systemctl restart lighttpdNow we will create a new phpinfo file on the default Lighttpd Document Root directory.
cd /var/www/lighttpd/
nano info.php
Add the following lines:
<?php
phpinfo();
?>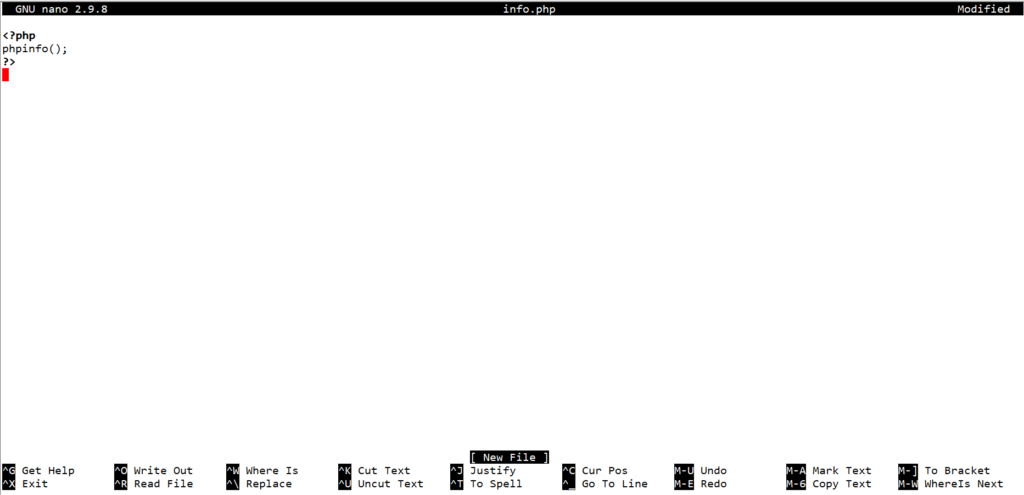
save and quit the file.
Next, open your web browser and type the server IP address followed by the ‘info.php’. http://yourIPaddress/info.php.
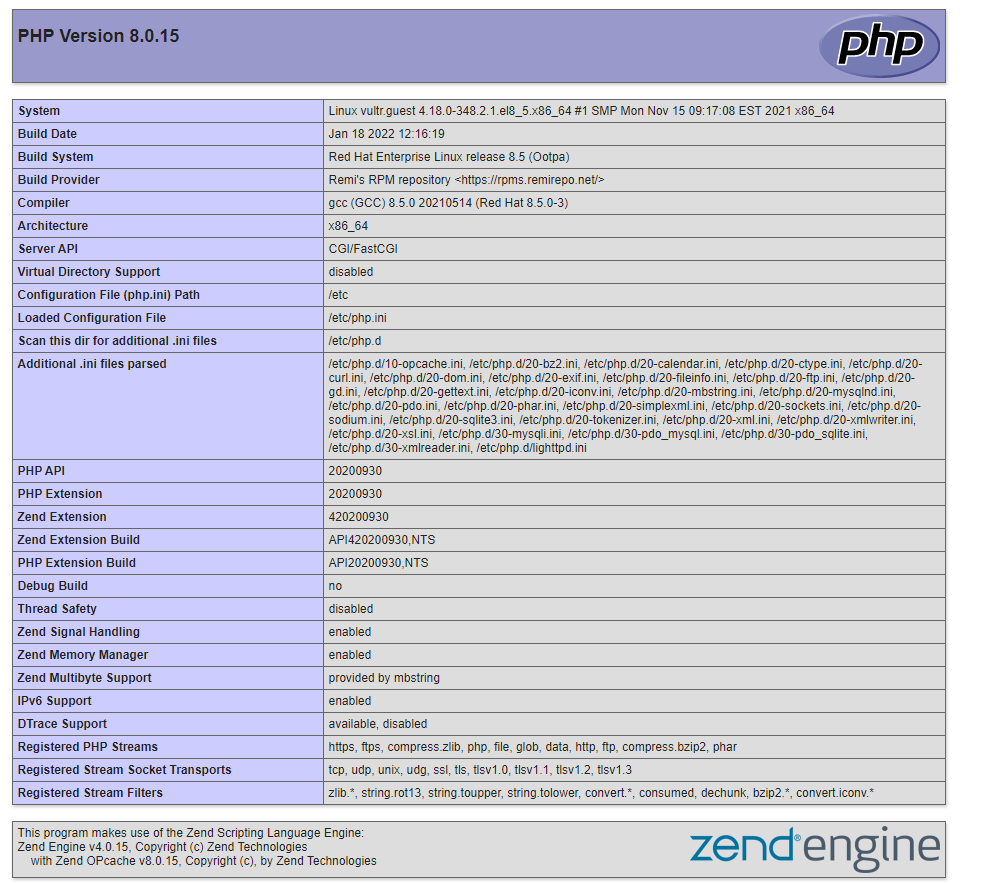
As seen in the above image, the PHP-FPM is working with the Lighttpd web server.
Installation of Lighttpd Web server on the CentOS 8 Server has been completed successfully.