Introduction
LEMP is the acronym for Linux, Nginx, MySQL, and PHP. This tutorial is to host WordPress on the LEMP stack.
Install MySQL on Ubuntu 20.04.2 LTS
- Installing MySQL server on Ubuntu 20.04.2 LTS. Use the package manager apt to install MySQL server package.
Install it by updating the index first on your server.
sudo apt updateInstall the MySQL-server package
sudo apt install mysql-serverConfigure MySQL
2. For testing purposes we will be using mysql_secure_installation script. This will configure security standards for MySQL configuration. MySQL service should be running.
Run the MySQL security script
sudo mysql_secure_installation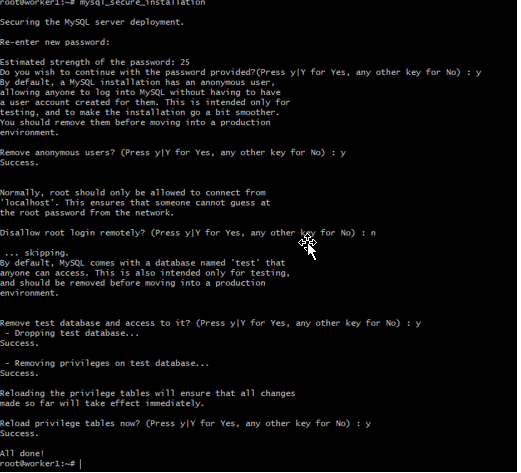
Create MySQL user with privileges
1 . Create a privilege user for WordPress with database
mysql -u root -p

mysql> CREATE DATABASE wordpress;
Query OK, 1 row affected (0.00 sec)

mysql> CREATE USER 'wpuser'@'localhost' IDENTIFIED BY 'UN@ixc0p';
Query OK, 0 rows affected (0.01 sec)

mysql> Flush privileges;
Query OK, 0 rows affected (0.00 sec)

mysql> GRANT ALL PRIVILEGES ON wordpress.* TO 'wpuser'@'localhost';
Query OK, 0 rows affected (0.00 sec)

mysql> Flush privileges;
Query OK, 0 rows affected (0.00 sec)

mysql> quit
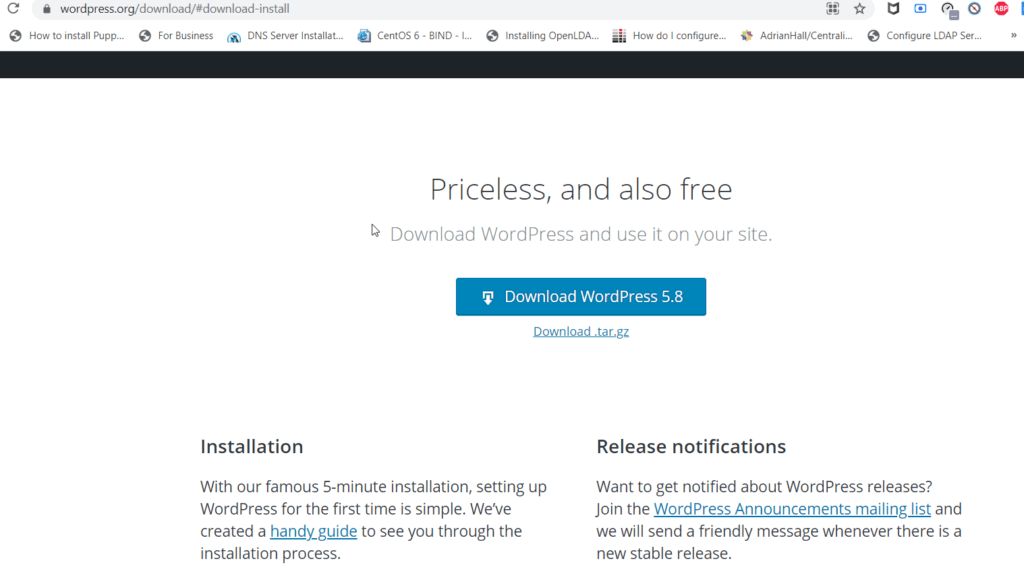
Download the WordPress installer
- Download the installer from wordpress.org. Link
Install Nginx and php
- Install nginx and php using apt
sudo apt install nginx php-fpm php-curl php-gd php-intl php-mbstring php-soap php-xml php-xmlrpc php-zip php-mysqlnd -y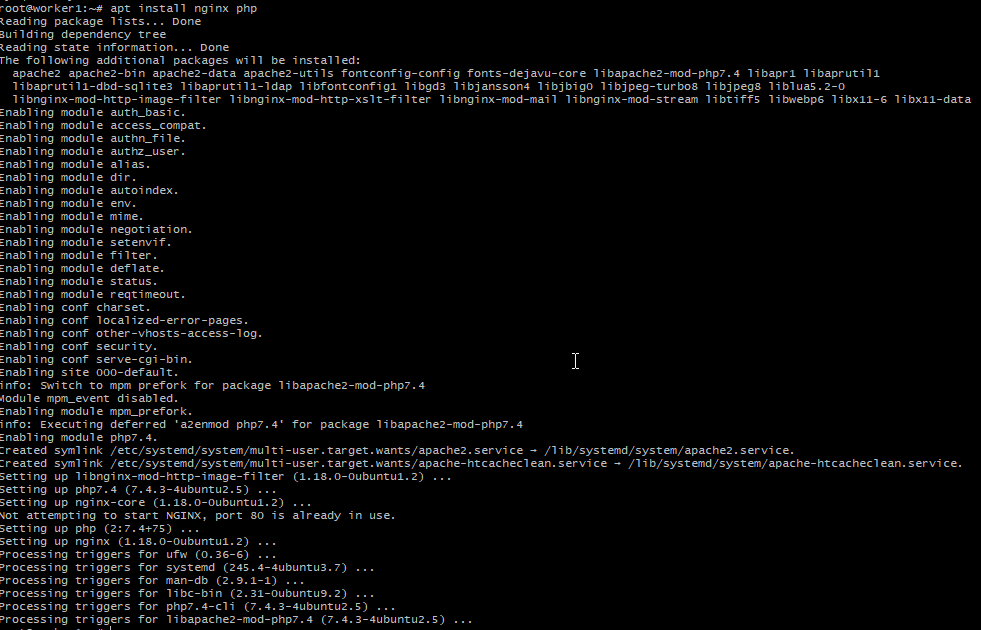
2. Validate the PHP version
php -v3. Edit PHP pathinfo
sudo vi /etc/php/7.4/fpm/php.ini

cgi.fix_pathinfo=0
:wq!
4. Restart PHP-fpm service
systemctl restart php7.4-fpm5. Create a Vhost to map the new WordPress application.
vi /etc/nginx/sites-available/default

server {
        listen 80 default_server;
        listen [::]:80 default_server;

        root /var/www/html;
        server_name worker1.unixcop.com;

        location / {
                # First attempt to serve request as file, then
                try_files $uri $uri/ /index.php$is_args$args;
        }
        location = /favicon.ico { log_not_found off; access_log off; }
        location = /robots.txt { log_not_found off; access_log off; allow all; }
        location ~* \.(css|gif|ico|jpeg|jpg|js|png)$ {
                expires max;
                log_not_found off;
        }
        location ~ \.php$ {
                try_files $uri =404;
                fastcgi_split_path_info ^(.+\.php)(/.+)$;
                fastcgi_pass unix:/var/run/php/php7.4-fpm.sock;
                fastcgi_index index.php;
                fastcgi_param SCRIPT_FILENAME $document_root$fastcgi_script_name;
                include fastcgi_params;
        }
}
Extract the downloaded wordpress app
- Extract the file downloaded from workpress
tar xzvf latest.tar.gz -C /var/www/html/wordpress2. Copy and edit wp-config.php
cd /var/www/html/wordpress

cp wp-config-sample.php wp-config.php
3. Change the ownership of the WordPress files www-data.
chown -R www-data:www-data /var/www/html/wordpress/4. Now edit and add wp-config.php. Add the username, password, and database being used by WordPress.
define('DB_NAME', 'wordpress');
/** MySQL database username */
define('DB_USER', 'wpuser');
/** MySQL database password */
define('DB_PASSWORD', 'UN@ixc0p');
. . .
define('FS_METHOD', 'direct');
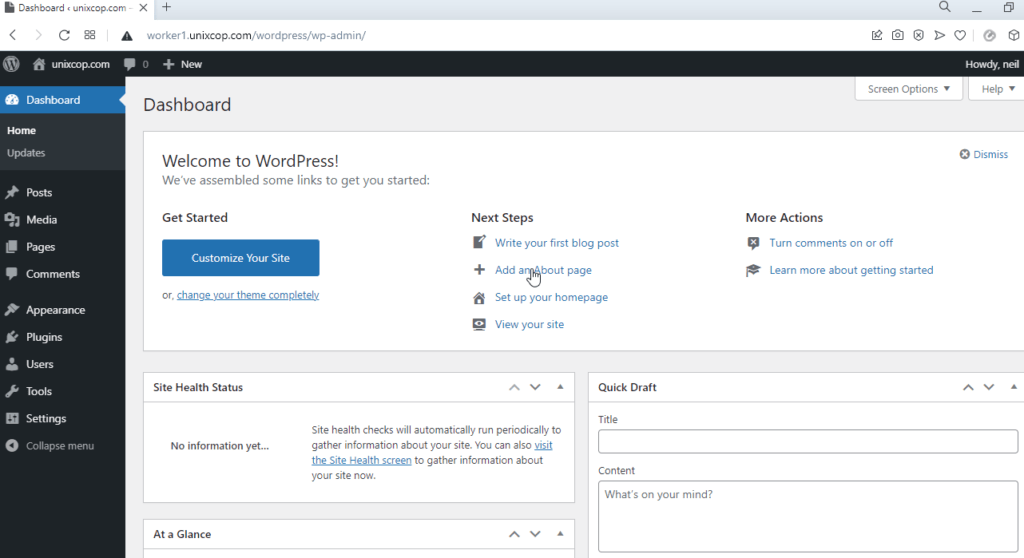
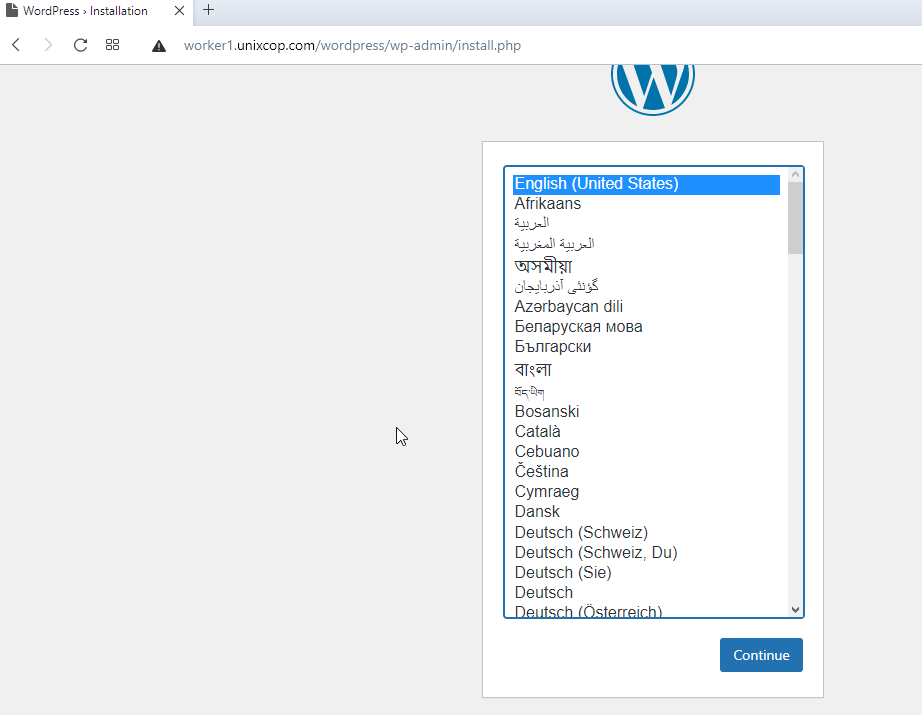
:wq!5. Complete the WordPress installation. Go to the browser of choice and go to the servers’ IP address. In my case, I’m using fqdn from my A record with domain unixcop.com.
Now you WordPress site is up and running.