
Introduction
We have heard about a lot of linux distributions in the industry. But each of the linux flavor has its own purpose and functionalities. To know more about it , let’s dive into its history. developed by mati ahroni and devon kearns, kali is the rewrite of backtrack. So Backtrack was the previous security testing distribution of kali which was based on knoppix. Kali got its name so because its basically a kernel auditing linux. In short its KA – kernel auditing Linux ‘KALI’. But We can use kali as a debian based linux distribution .we can use it for purposes such as digital forensics and penetration testing. So here I will show you ‘How to install Kali Linux on virtual Box’.
I want to tell you that kali linux has a set of pre installed tools in addition. So we can use these tools for security testing purposes. In fact, here I can point out some of the tools which play a very important role in security testing purposes. Some of them are :
- Nmap : That is a port scanner
- Metasploit : That is a penetration testing framework.
- Armitage : A graphical cyber attack management tool
- John ripper : A password cracker
- Aircrack-ng : a software for penetration testing wireless networks
Kali is available for both 32 bit and 64 bit platforms.
Minimum system requirements
- 20 Gb hard disk
- 2 Gb RAM
- CD/DVD or USB drive
- Intel core i3 or an amd E1 processor
Recommended system requirements
- 8 Gb RAM would be good to use all of its tools in a smooth manner.
- More than 20 Gb Hard disk would be good.
So in short, here I will give you the detailed stepwise tutorial to install and explore it on the virtualbox platform. Follow all the steps carefully to install kali Linux on your VB platform.
STEP(1) Download KALI
Now that, as we are familiar with KALI ,we need to download the KALI Linux ISO as per our system requirements. You can download it from the official Kali website.
STEP(2) Create a Virtual box machine
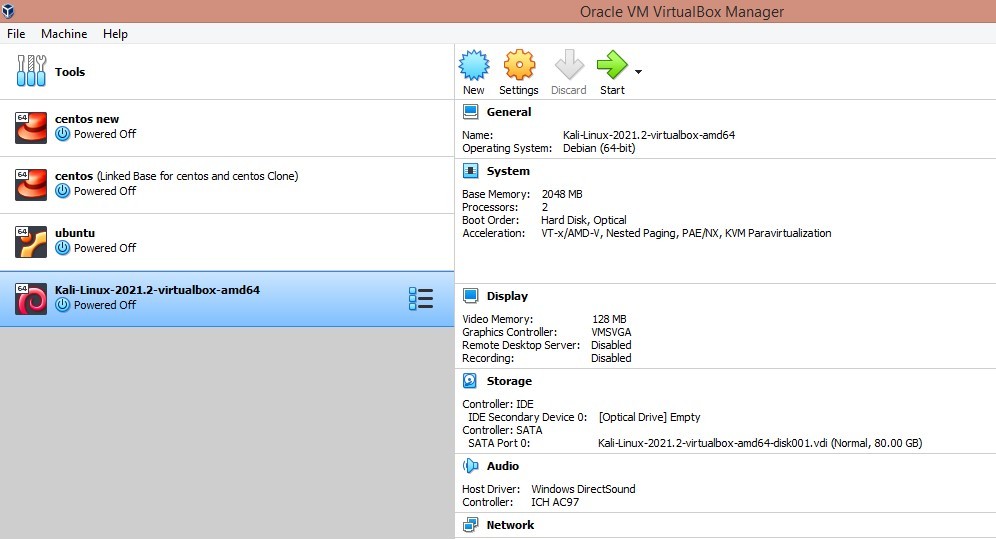
So this is the first step and that is to create a virtual machine .Then use the recommended system requirements for that. Then Create a virtual hard disk of 20 Gb and use system memory 2Gb for better performance. Also use the default network settings as it would be configured automatically to use the network. After successful creation of machine you will get the screen as below.
STEP(3) Boot the machine
now once after the successful creation of the VM now its time to start and Boot kali linux. Eventually After starting the VM, a similar screen as shown below would appear.
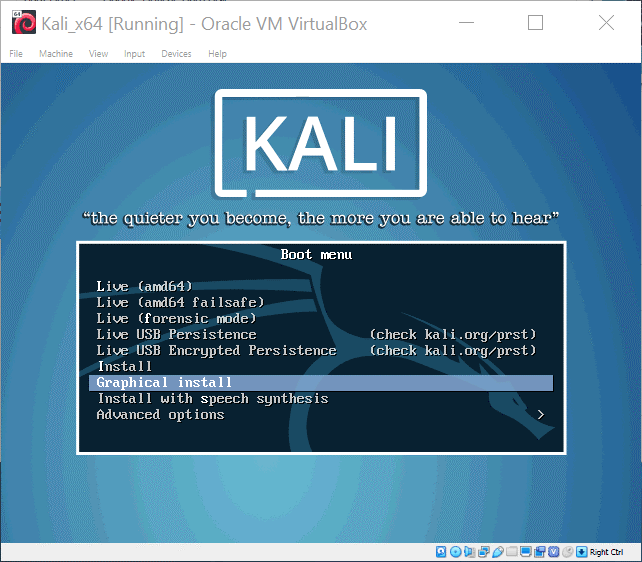
STEP(4) Basic Configuration settings
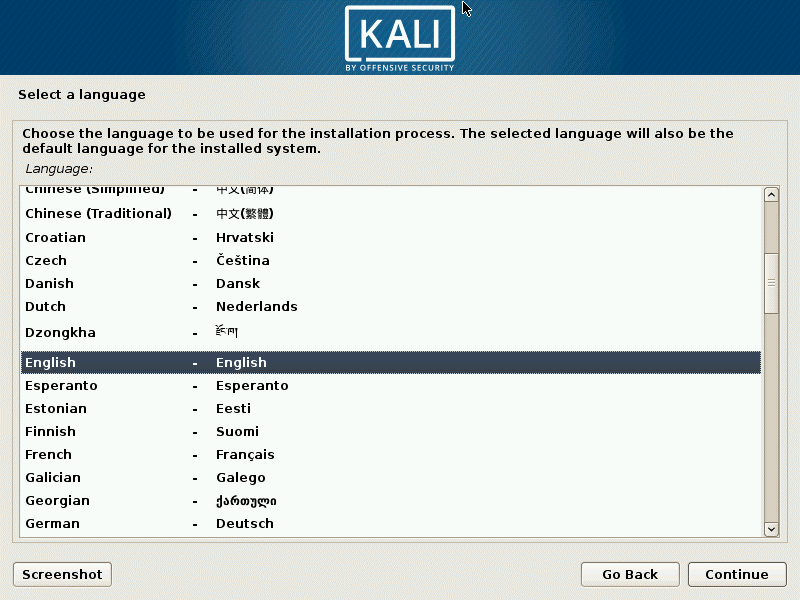
now from here we have to choose the ‘graphical install’ option. now immediately after that a similar screen as shown below would appear. Then from here you can choose your preferred language. now I am selecting English as default language for this installation.
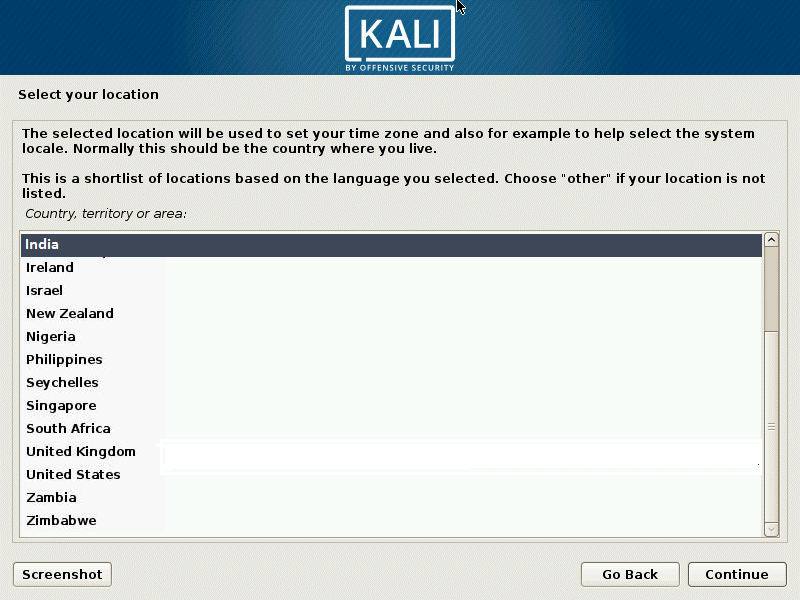
After that select your location as per your need so that the system can detect the correct time zone.
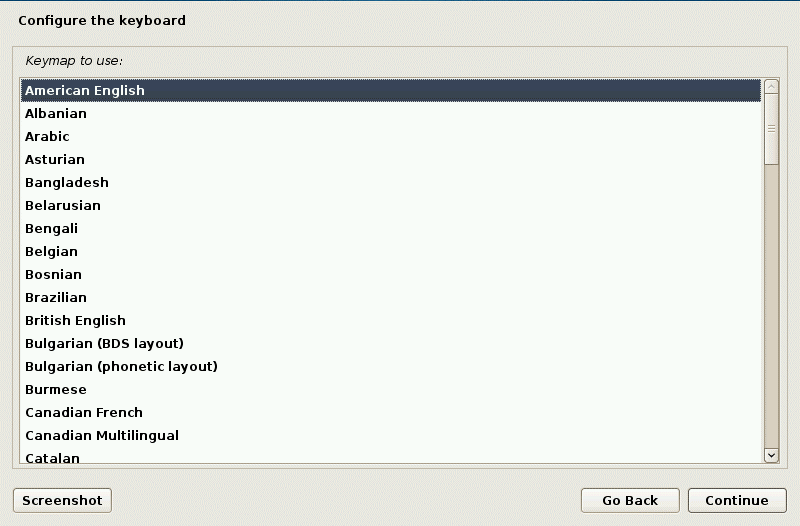
Now next select the keyboard layout . I am using ‘American English’ for the current installation.
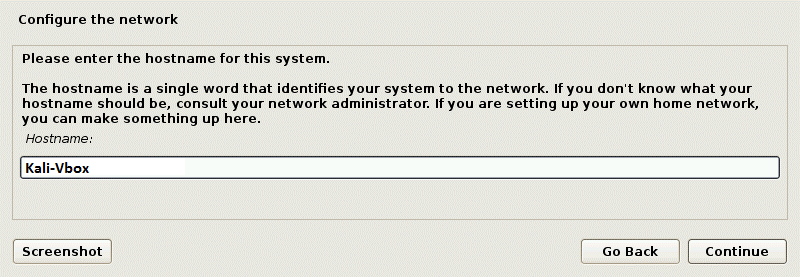
then enter the Hostname to configure the network. Enter the hostname here.
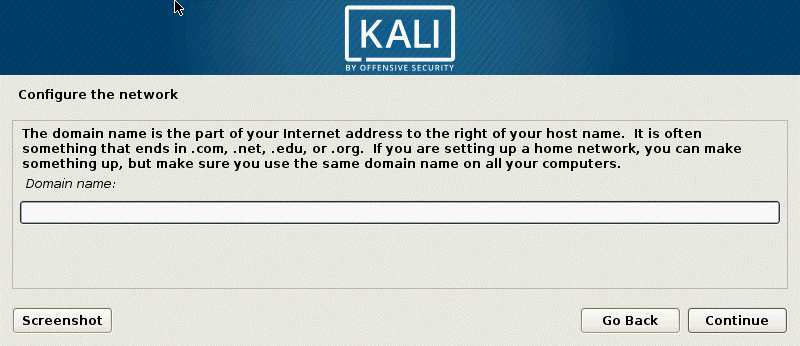
next enter the Domain Name as per your requirements.
STEP (5) Setting up users and Passwords
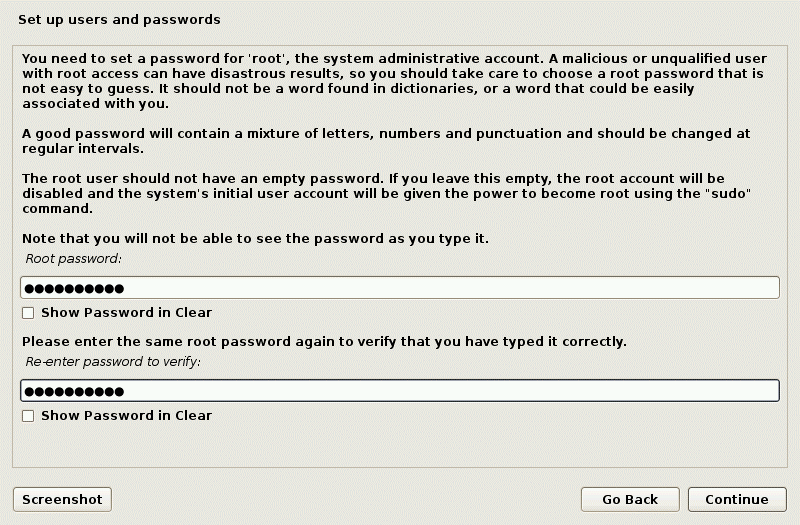
After that the next crucial step, which is the most important is to set up the users and the passwords. Here we need to set up the ROOT user password which may be asked at the login time. So after inserting the password click on the ‘continue’ tab.
STEP (6) Create Partitions
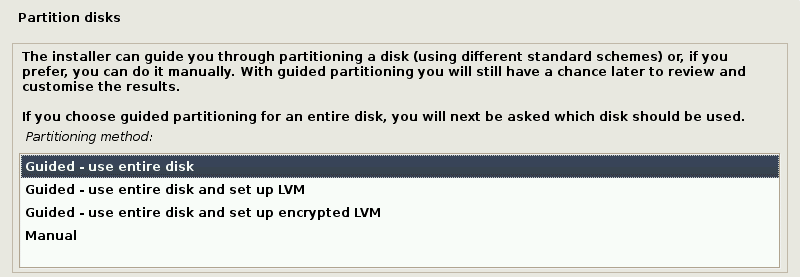
Then comes the most important part of any OS installation, the Disk partitioning. So Now from here you can either go with Manual partitioning or can choose Guided partitioning as per your need. As we are installing KALI first time ,we can go with the first option ‘Guided partition’ . In short ,it will use the entire disk and will create a single partition out of it.
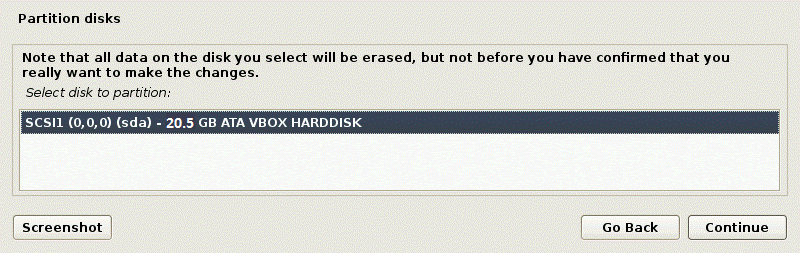
Then a confirmation prompt box would appear that would ask for a confirmation to erase the disk and create partition. So Click on ‘Continue‘ to proceed with the installation.
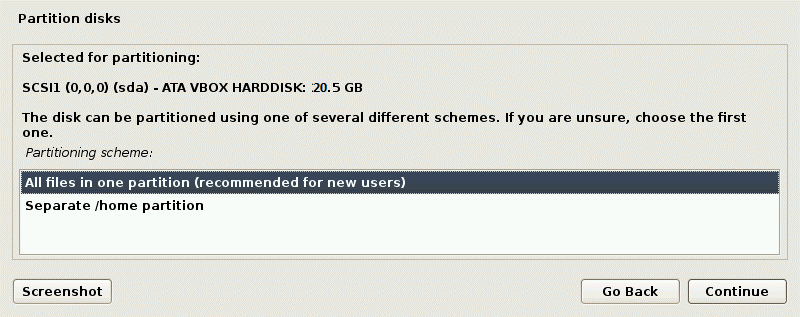
After that a similar screen as shown below would appear. now it wants confirmation to select the partitioning scheme. So select ‘All files in one partition’ option which is also the recommended option.
Finally, finish the partitioning and write changes to the Disk.
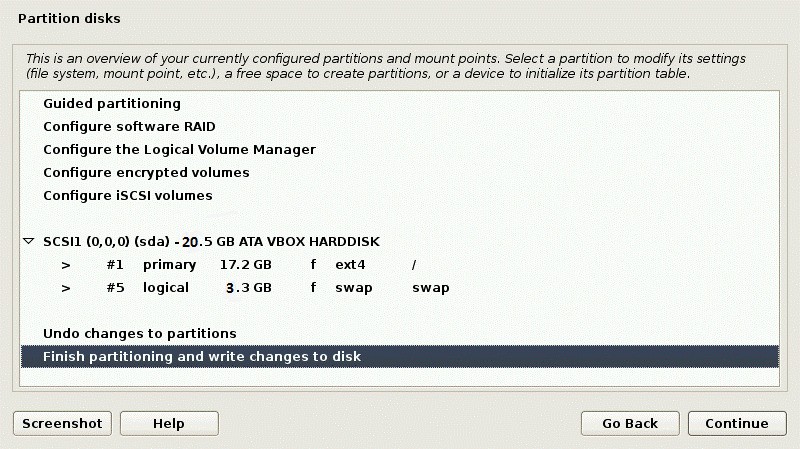
now select ‘Yes’ on the prompt box as displayed below .

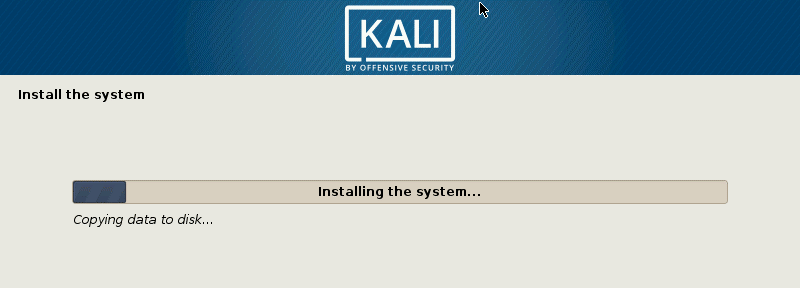
Immediately after that ,a similar screen as shown below would appear. So this shows that the installation has been started.
STEP(7) Finishing the installation
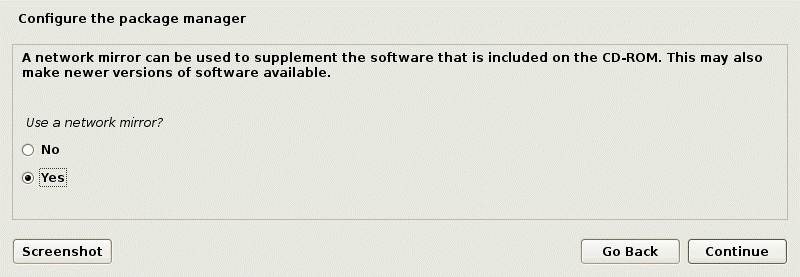
Now you can also use the network mirror to install the supplementary softwares. So press ‘Yes’ if you need it.
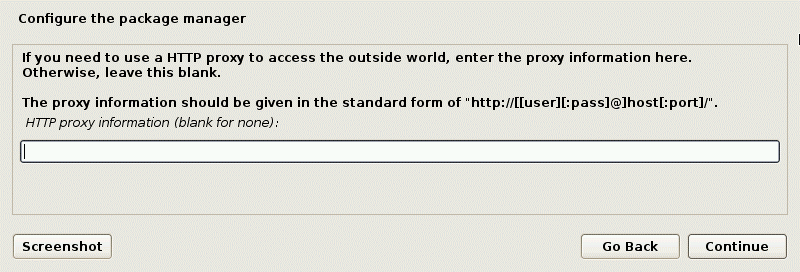
Then you can also configure the HTTP Proxy settings here. I am leaving it blank.
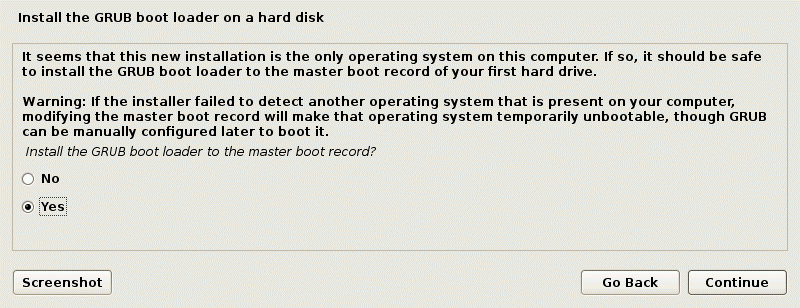
After that install the GRUB Boot loader by choosing the ‘Yes’ option as shown below.

Finally after the successful completion of the installation we will get a similar prompt screen as shown below. So then click on the ‘continue‘ tab to Reboot and Login into the system.

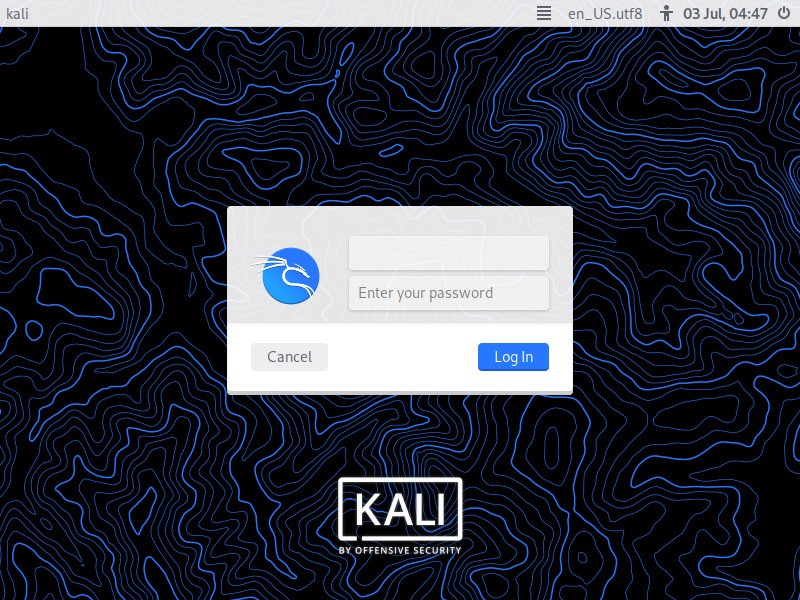
STEP (8) Login to the new Kali Linux
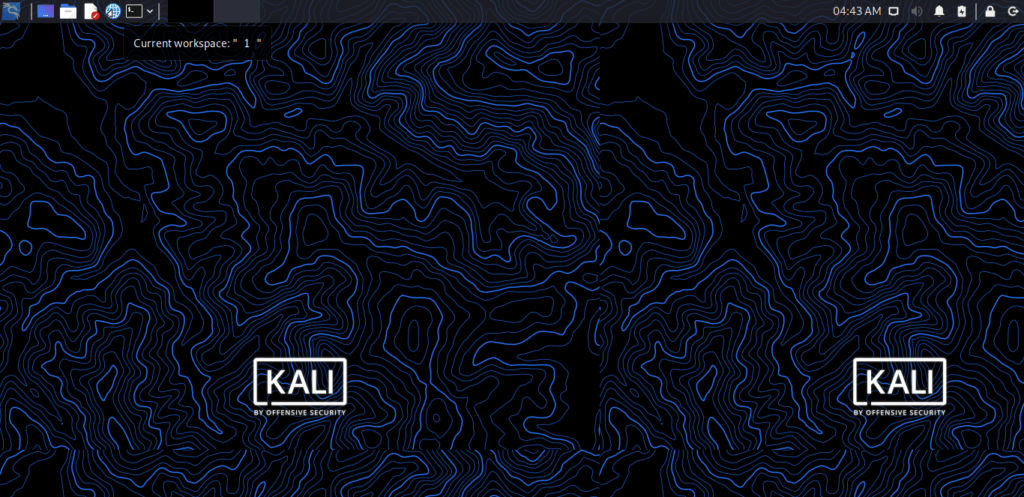
Now after rebooting the system we will get the Login screen of Kali Linux. Just enter your User and password and start exploring the power of Kali Linux.
Conclusion
In this tutorial I had make you aware with all the detailed steps to install Kali linux in a simpler way. This tutorial would help the beginners to explore Kali initially and develop a better understanding about it. Hope you’ve liked the tutorial.