
Today in this article I am going to talk about an open-source media server called Jellyfin. So let’s first look at what Jellyfin is and why we need a Home Media Server.
What is a Media Server? What are the benefits of a Media Server?
Today there are many online streaming services like Youtube, Netflix, Hulu and Spotify. So do we still need a media server? What’s happening with this Media Server? Let’s take a look at one first.
A media server manages our movies, tv-series, songs, photos and podcasts from a central location and streams them to other devices. Also, the main advantage of this is that you do not need to copy files to separate devices. Another advantage of a media server is that it can easily stream high-resolution video to a smart tv or smartphone.
One of the main problems with using online streaming services is the internet connection speed, which usually takes the network bandwidth full when watching high-resolution video from several devices at the same time. Another issue is removing good old movies, tv-series, programs that we think we need to watch from streaming services. And nowadays there are a lot of streaming services. Sometimes we have to buy a separate streaming service to watch one TV series. The solution to all this is to create a media server.
So why do we use Jellyfin Media Server for this?
The reason I use Jellyfin Media Server instead of popular media servers like Plex or emby here is that it is free and open-source software. The other thing is that it supports many devices and we can get all those apps and services for free. (In the case of Plex or emby you have to pay to get some services.)
Jellyfin still does not have everything in plex or emby. Also, jellyfin does not support all formats. (Jellyfin supported formats can be viewed here.) But there are some things that a typical media server needs. In this case, when using the names of the media files we use, we have to use the exact name. Because in Jellyfin, file name uses to find what the content is. (You can see an example after installing this)
Installation of Jellyfin Media Server
Now let’s see how to install Jellyfin step by step. For this, I use the Jellyfin official installation guide. The first thing to note is that Jellyfin does not support 32bit OS. So be sure to use a 64bit OS for this. Here I am using ubuntu 20.04 server VM on my local Proxmox server.
1. login to server and update
First, log in to the ubuntu server using the ssh method. Then run the “update” command and then you should run the “upgrade” command. (In here firstly I log in to the root user using the sudo su command. if it is not, so have to use sudo everywhere before the command)
ssh your_username@host_ip_addresssudo su
apt update
apt upgrade2. Install HTTPS transport for APT and Enable the Universe repository.
Here you first need to install HTTPS transport for APT (Advanced Package Tool). Next, you need to install FFmpeg dependencies by enabling the Universe repository.
apt install apt-transport-https
add-apt-repository universe
3. Import the GPG signing key
Import GPG signing key here (signed by the Jellyfin Team)
wget -O - https://repo.jellyfin.org/ubuntu/jellyfin_team.gpg.key | sudo apt-key add -4. Add a repository and Update
Next we need to add the repository to the file “jellyfin.list” in the location “/etc/apt/sources.list.d/”
echo "deb [arch = $ (dpkg --print-architecture)] https://repo.jellyfin.org/ubuntu $ (lsb_release -c -s) main" | sudo tee /etc/apt/sources.list.d/jellyfin.listAfter adding the repository, run the “update” command again.
apt update5. Install Jellyfin
Now you can Install Jellyfin using this command
sudo apt install jellyfin6. Manage the Jellyfin system service
Now we have done command installation of the Jellyfin Media Server. Below I can use the following command to stop, start and restart the Media Server.
You can also check the status of the Media Server running or not.
sudo systemctl start jellyfin
sudo systemctl status jellyfin
sudo systemctl restart jellyfin
sudo systemctl stop jellyfin
setup Jellyfin Media Server
Next is to log in to the web interface. To do so, type the IP and port number of the server in the web browser and enter. The jellyfin default port number is 8096.
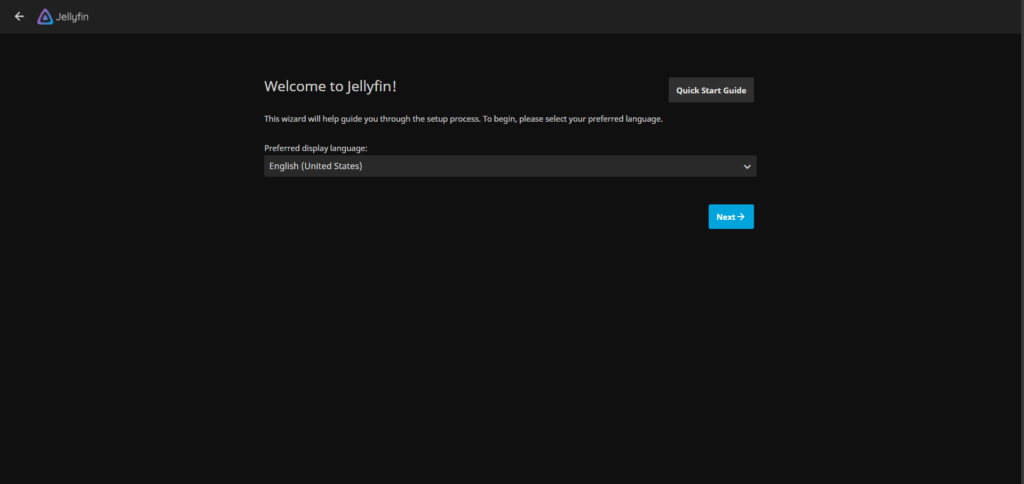
http://server_ip_address:80961) welcome screen – In this case I select the language English and give next.
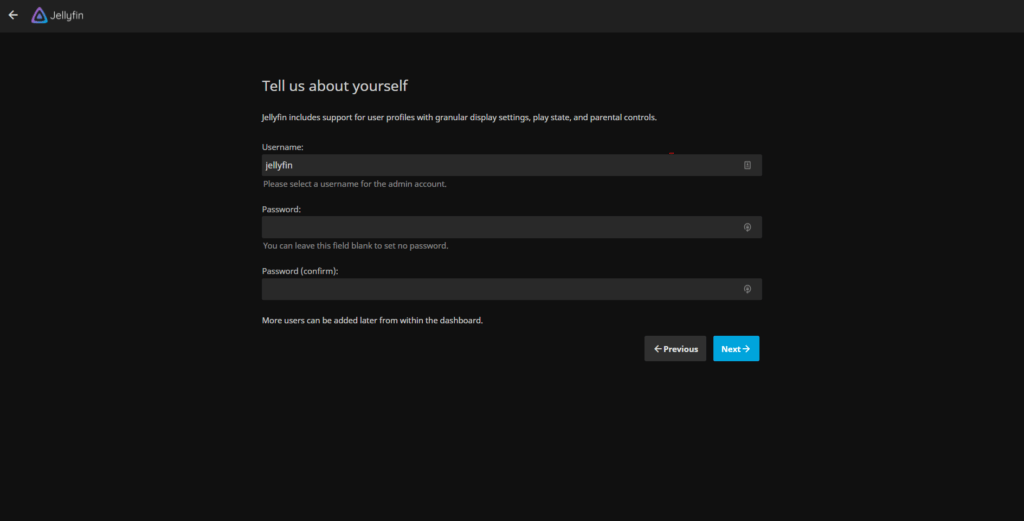
2) Tell us about yourself – Here we can create a username and password for Jellyfin. I will click Next without making any changes by default here.
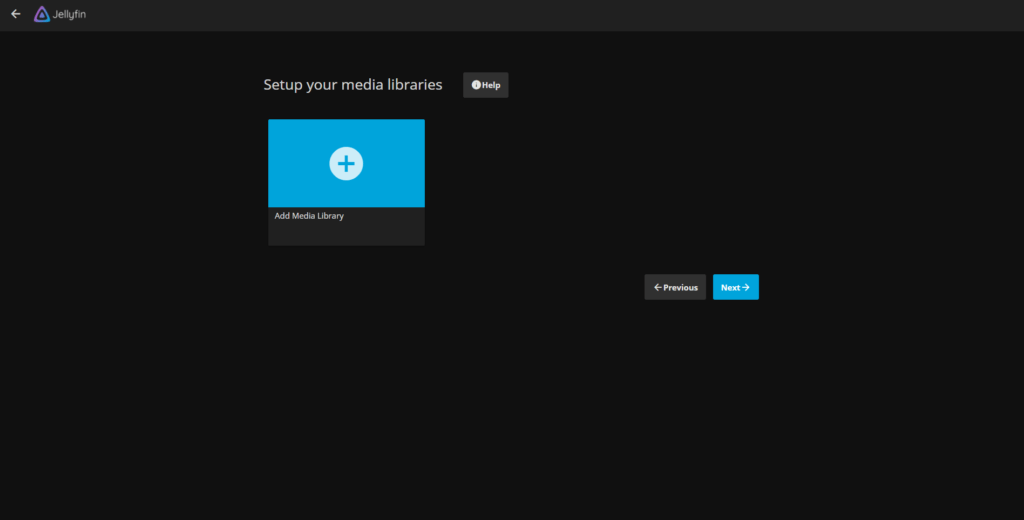
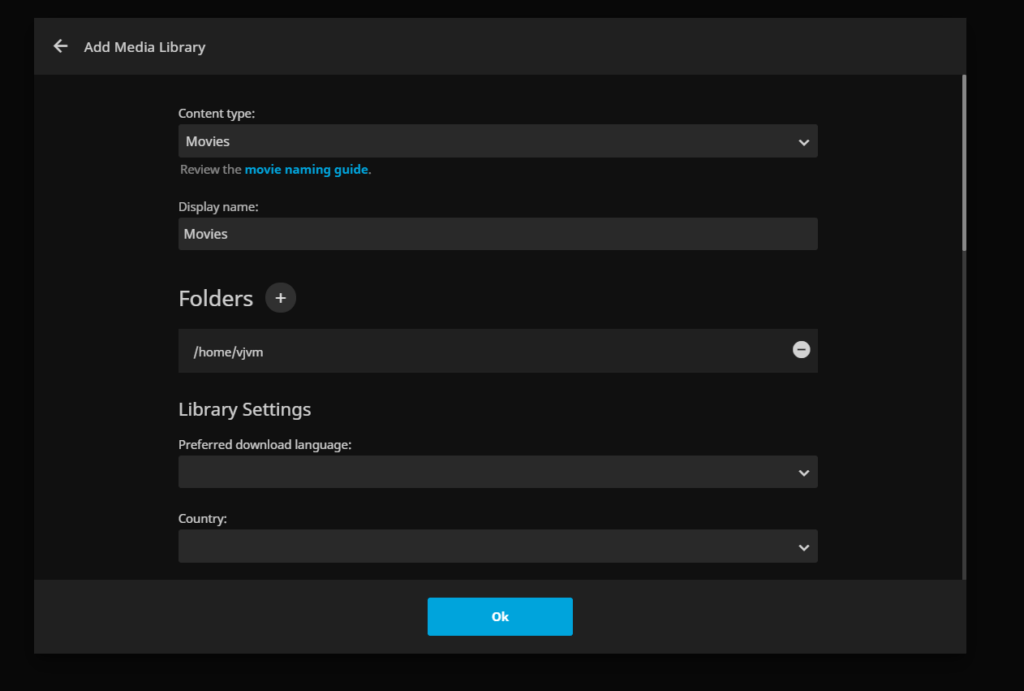
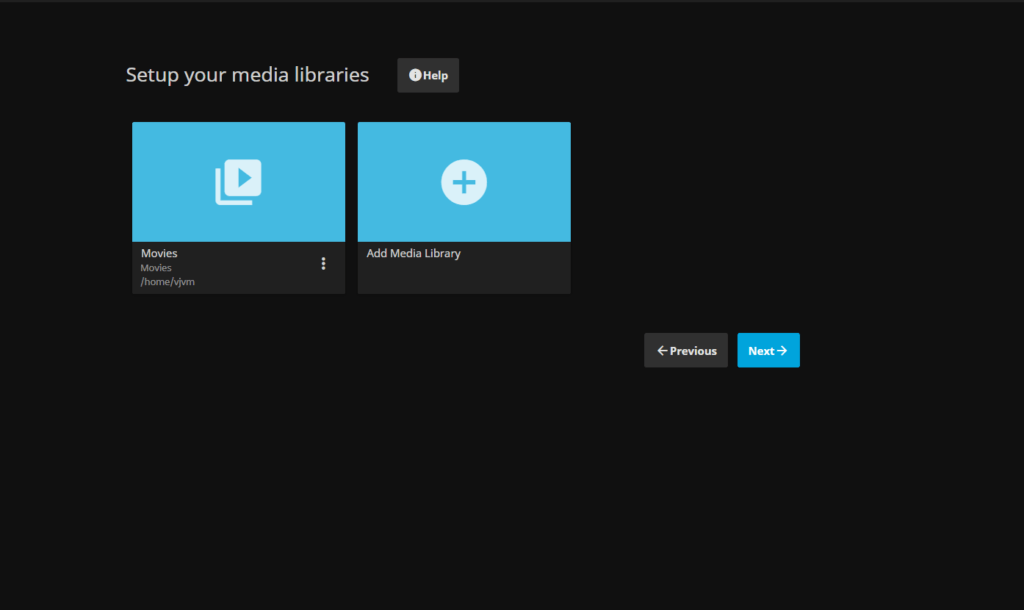
3) Set up your media Libraries – You can add our media libraries here. Add Media Library Click the “+” button in the Add Media Library field.
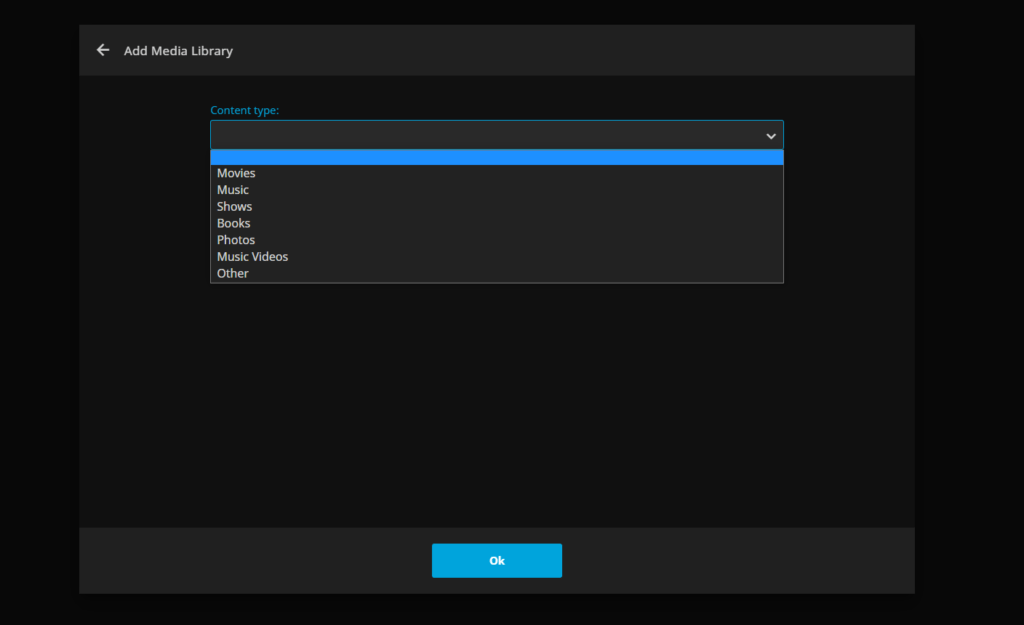
4) Here we can select the content type of the Media Library we are adding. I choose the Movies type.
5) Next, you can add the folder. Here I select the user home directory. The other setting can be changed as we like. I will give “OK” without changing the setting here.
6) After adding all the Media Libraries we want, give Next.
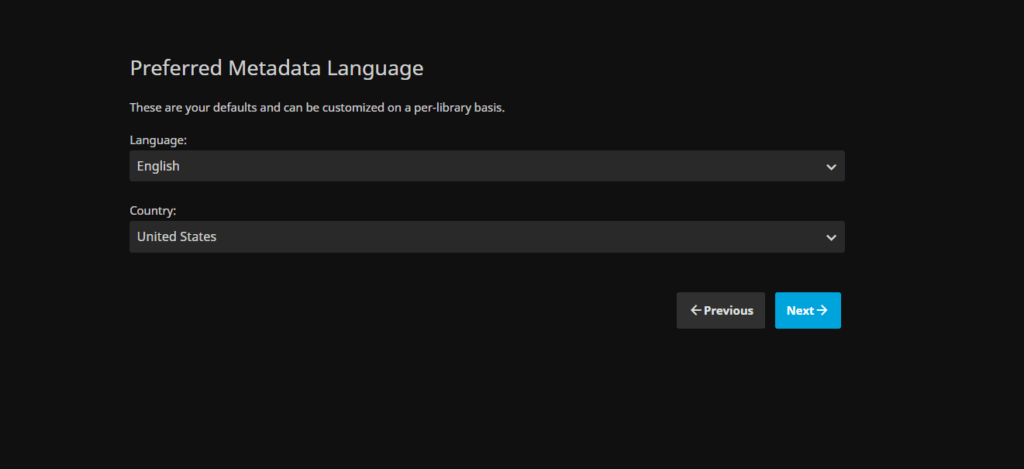
7) Select the language and country and click Next.
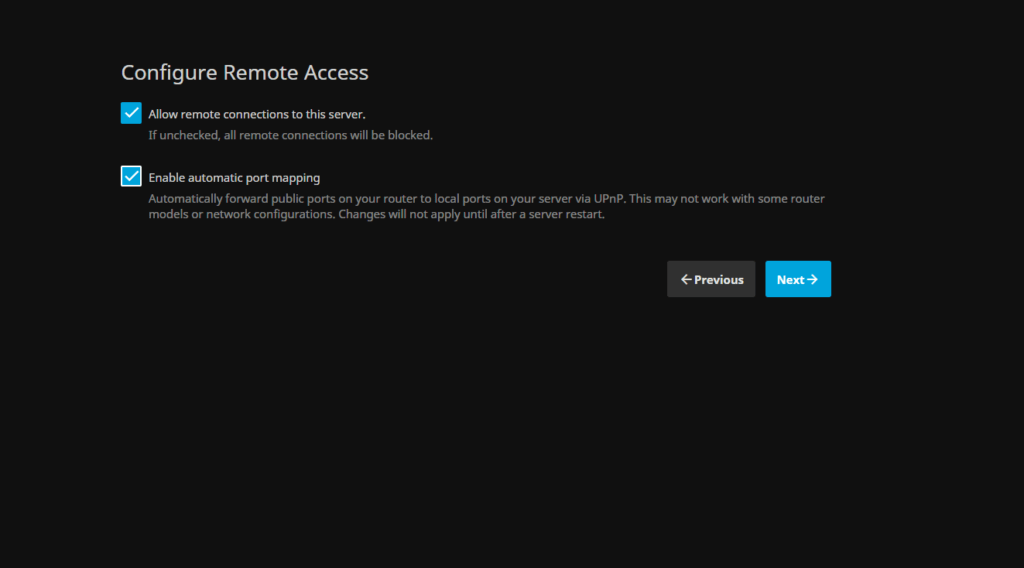
8) I will enable remote connections and port mapping here
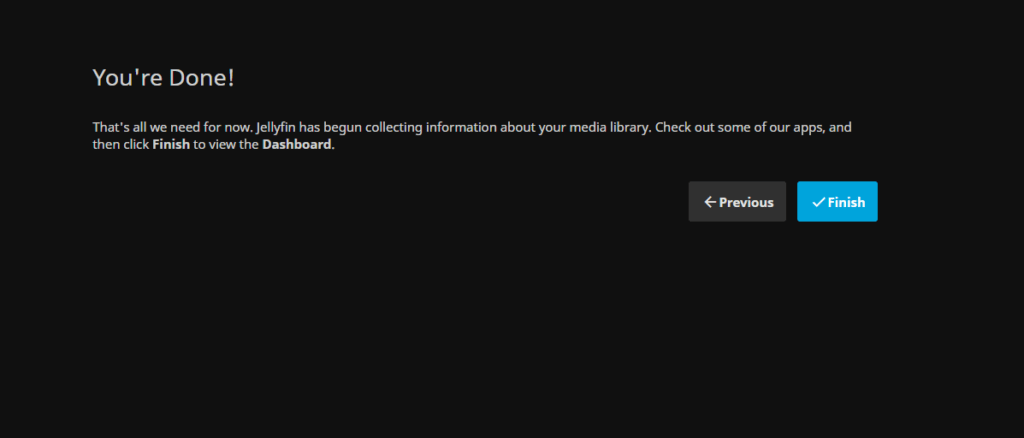
9) Now you are done with the setup. Next, give the username and password given earlier and log in.

Here I will upload a short video clip to the server for demonstration purposes.
I said at the beginning that we need to be careful when naming files. I made a copy of the file which I uploaded earlier and rename the file name as a movie name. Then we can see what it looks like below
When you go to the movie details of the movie, you can see it as shown below. This way we can add files as well as media libraries.

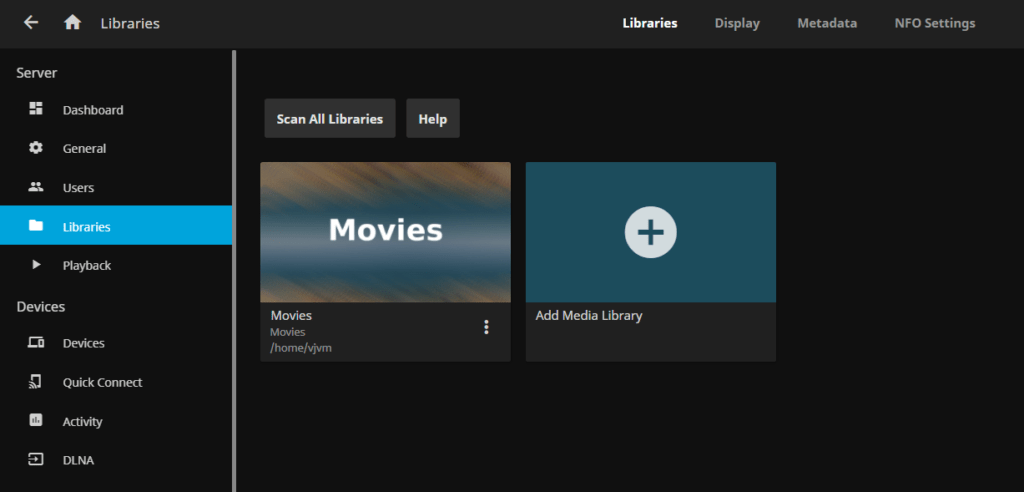
You can add libraries by following the steps shown in the photos.
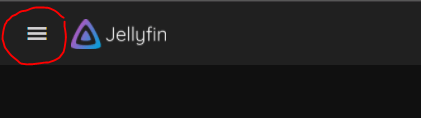
First, click on the menu icon in the top left corner.
Then, click the dashboard in the menu list
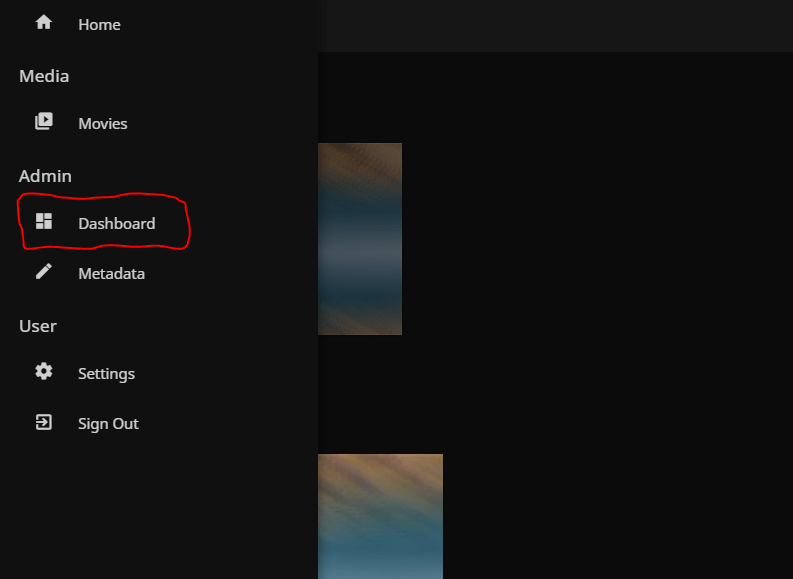
Click on the Libraries in the dashboard list. now you can add media Libraries Click the “+” button in the Add Media Library field
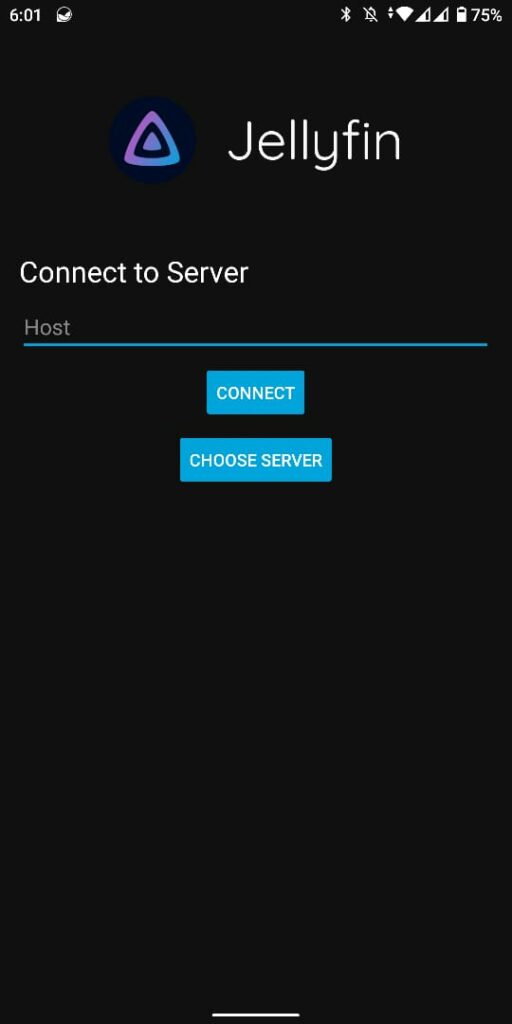
Next, we will see how to add Jellyfin to an android phone.
How to connect jellyfin on an android phone
First, install the Jellyfin app from the play store. When you open the app, you can see the screen below. Type the IP and port number of the server and connect as given here.
Next, log in by giving your username and password as given earlier.
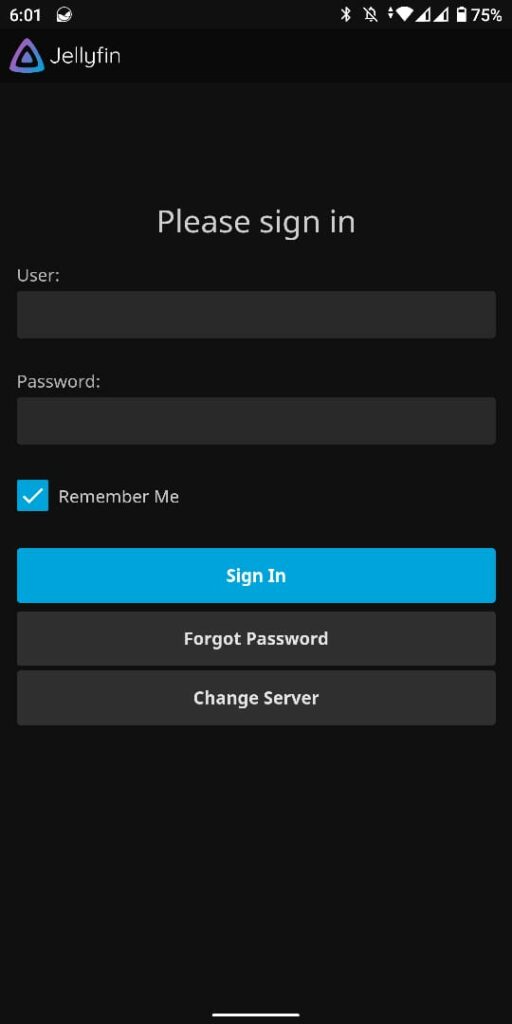
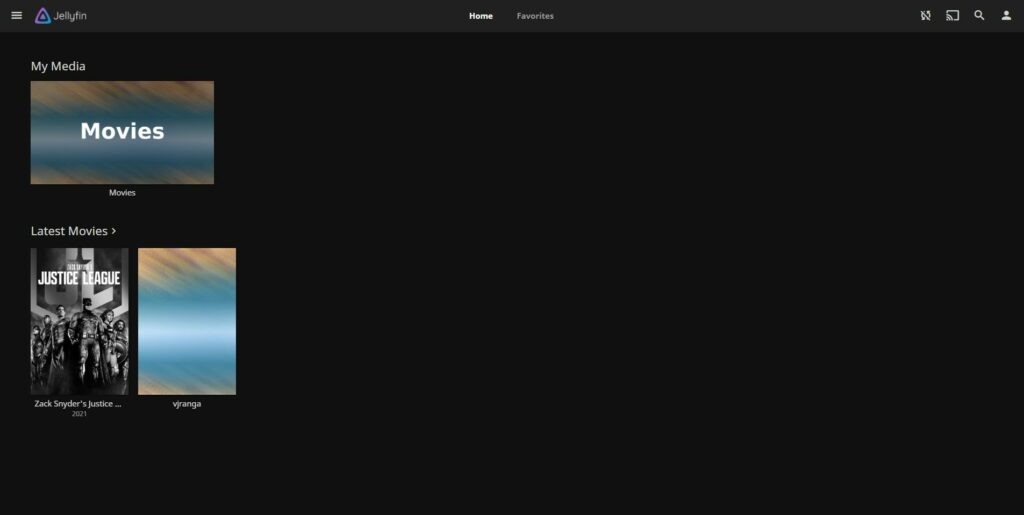
Now we can access the server from the phone.

In this article, I talked about how to install Jellyfin Media Server, how to set it up, how to add media and how to connect to an android phone. I think this article may have been helpful…
See you in the next article.