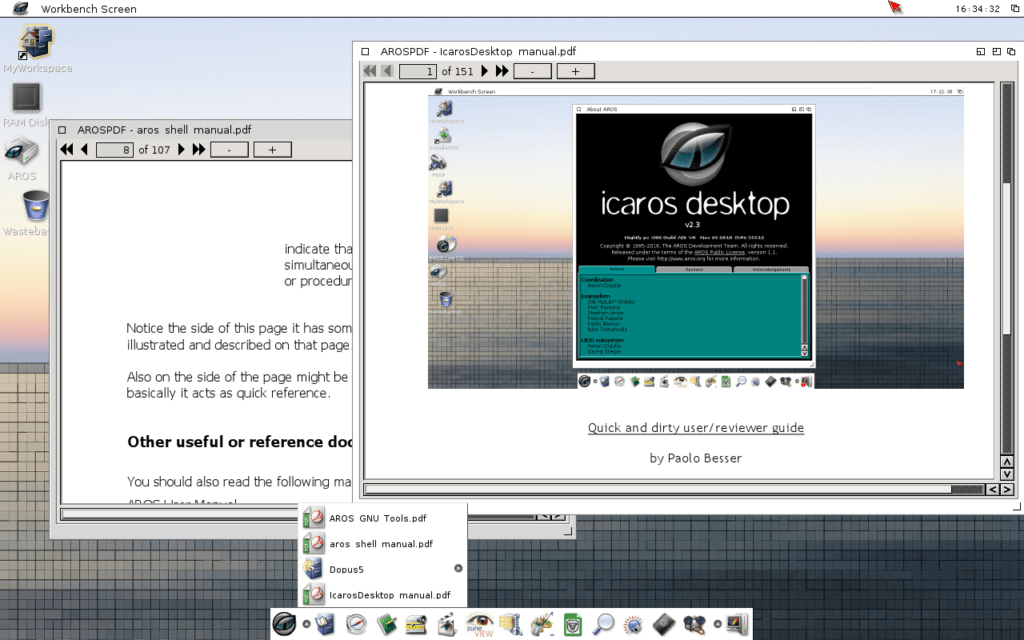
I’ve already wrote some articles about some of the lesser know FLOSS Operating Systems. For example ReactOS or Haiku. Because not everything in life is unix, today I’ll write about how to install Icaros Desktop.
This paragraph has been copied and pasted from the Icaros web: «Icaros Desktop is an Amiga-like operating system for the PC platform, with a full desktop environment, distributed on a bootable media. It’s based on AROS, a lightweight, efficient and flexible open-source operating system, aiming at being compatible with AmigaOS 3 at the API level, while improving on it in many areas. Icaros Desktop runs native AROS applications but also the original Amiga ones under emulation, transparently integrating them onto its desktop.»
Download
You can get Icaros from here: https://vmwaros.blogspot.com/p/download.html there are three images:
- Icaros Desktop Live: the complete distribution
- Icaros Desktop Lite: A smaller distribution for test the system
- Lite pendrive: the same as Lite but for a usb drive
Install Icaros Desktop
First boot
Mount the selected image and boot your PC to get a grub bootloader with a nice pixelated background. Just press enter and see what happens.
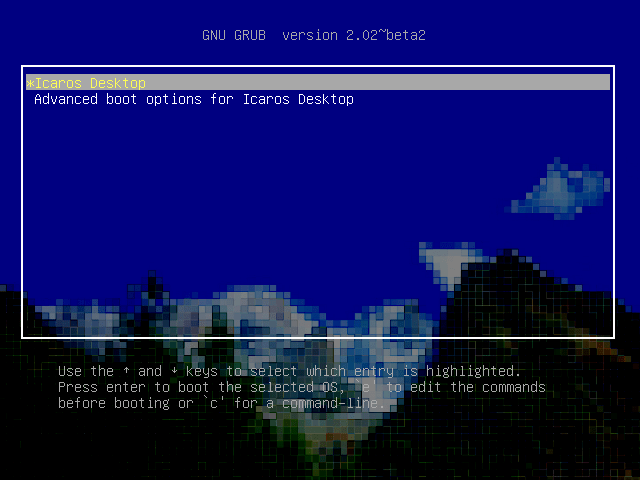
In my case, this happens:
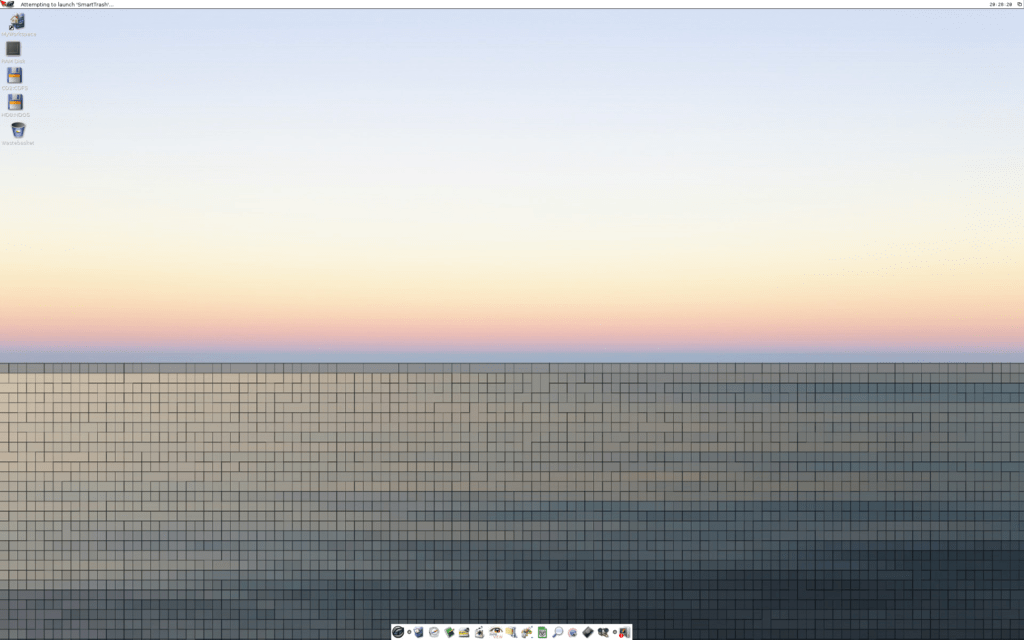
This virtual machine loaded a desktop with a 4k resolution. The problem is that I have a really old and small screen with a 1280×1024 resolution (vs the 2560×1600). So I rebooted the VM, and in the grub menu choose Advanced and then a 1024×768 resolution.
Now that I actually can see something, I can start the AROS installer. The second icon from the top.
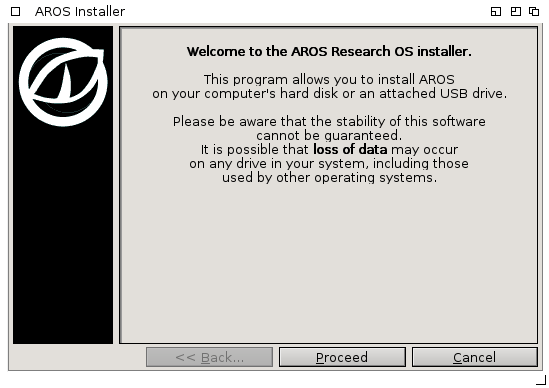
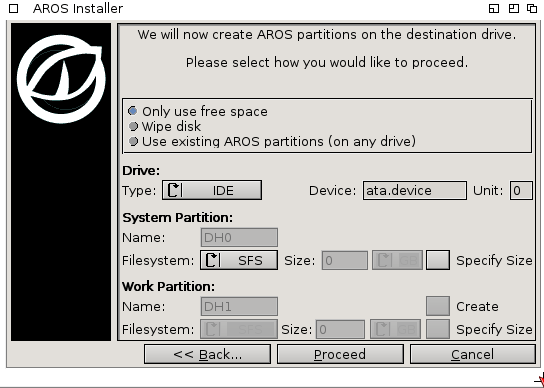
The first step is to create disk partitions. As I use a new virtual machine, I’ve just wiped the disk, because I don’t have nothing to lose.
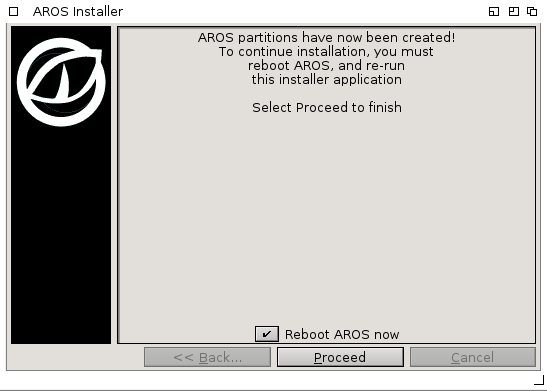
With the disk partition created the installer asks for a reboot.
Second Boot
Reboot the virtual machine. Run the installer again, but this time on the partitions screen select the “Use existing AROS partitions” option.
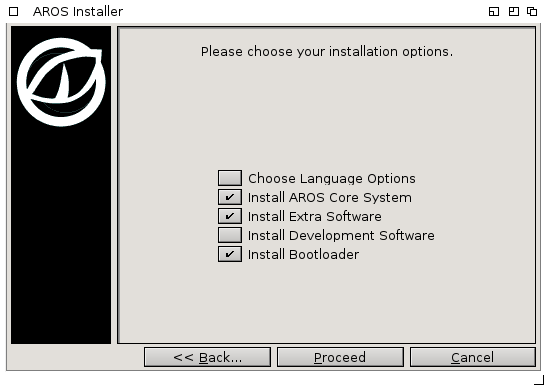
In the next screen you can choose software groups
Next, choose to format the previously created partition.
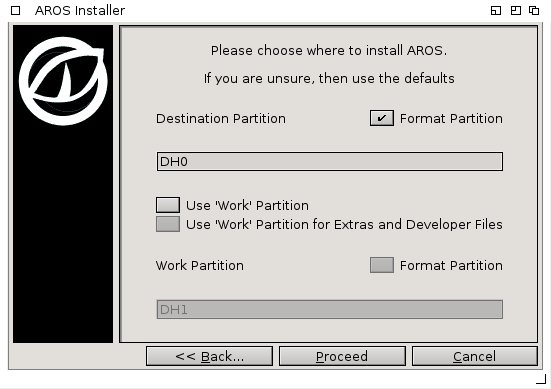
Click on proceed to see the last warning.
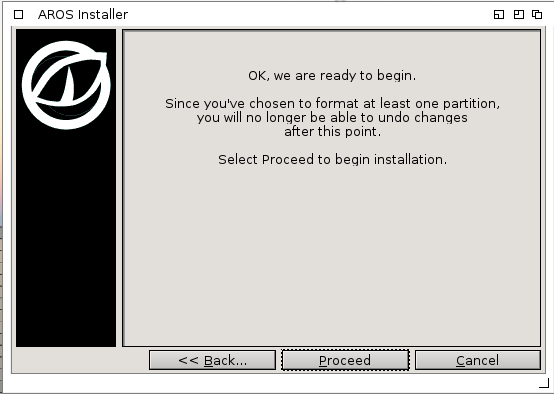
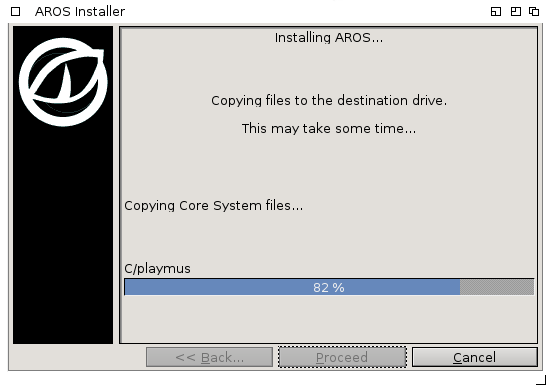
Click on procced and then the installer will format the partition and copy the system files.
For the extra software I’ve choose the Default option.
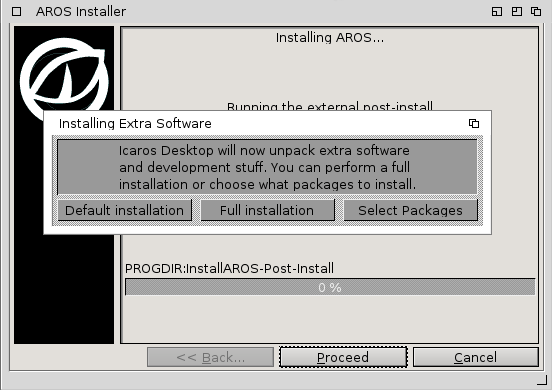
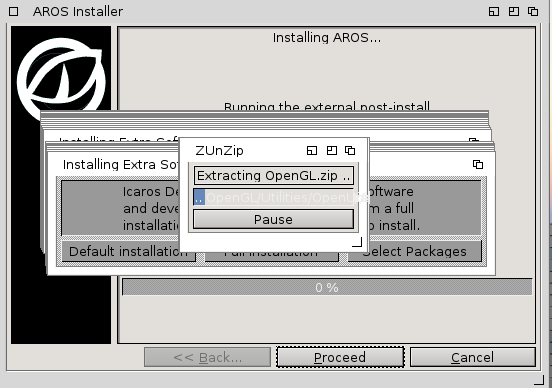
A few minutes later the installation will be over and you can reboot the computer again.
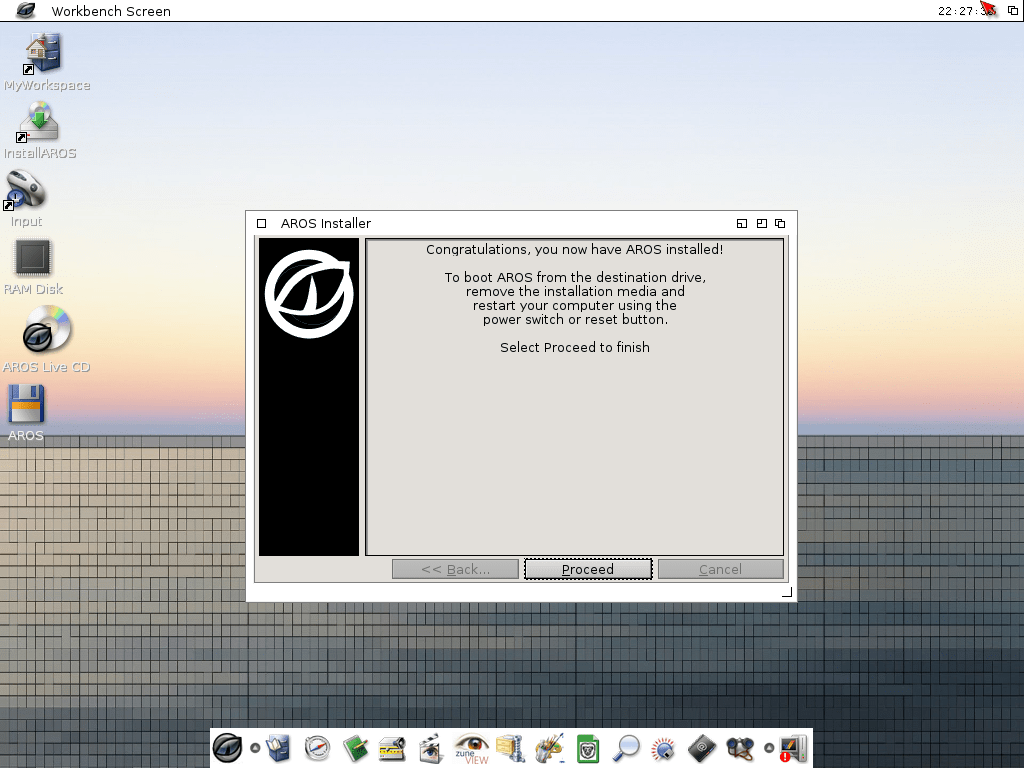
Post-install
After the reboot a wizard will launch some post-install tasks. You can leave it for later but.. why not now?

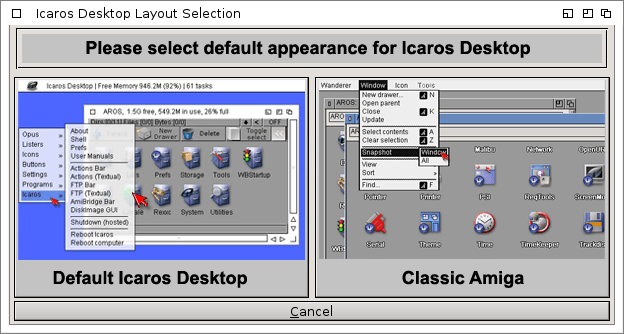
The first thing to choice is the visual theme. I went with Icaros instead of classic amiga, for no particular reason.
The second thing to choice is the Locales and languages. I’m in Argentina, and speak spanish but I’ll leave it on english, to get the screenshots.
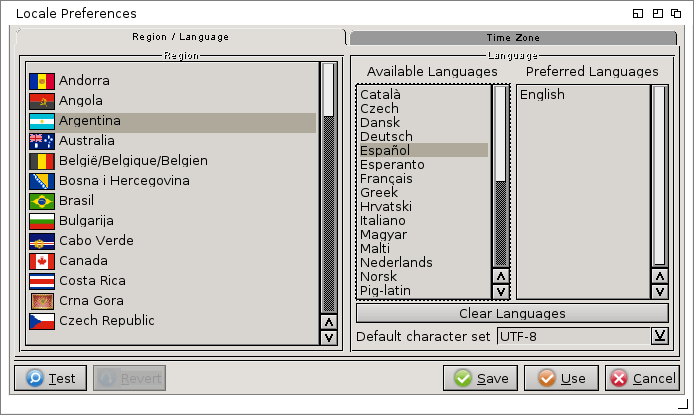
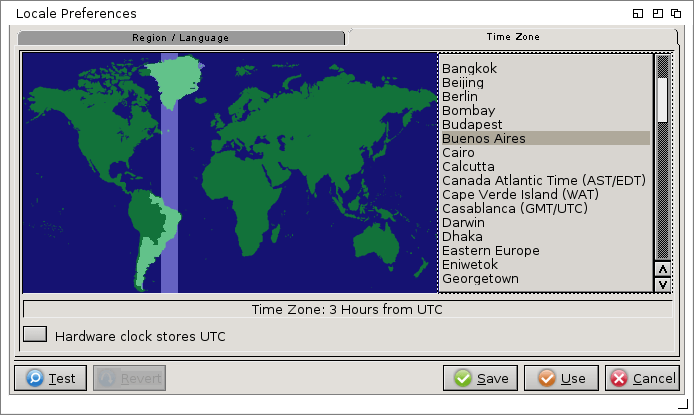
On the same screen, but the other tab you can choose your timezone
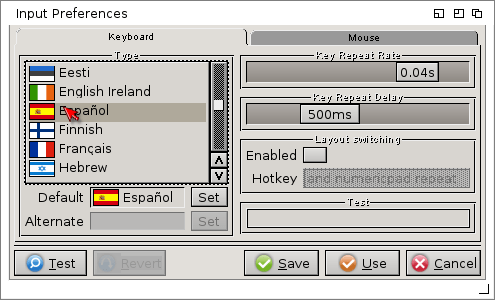
The third thing to set is the keyboard layout and options. I just saw, on the screenshot, the other tab for mouse settings; my bad 😀
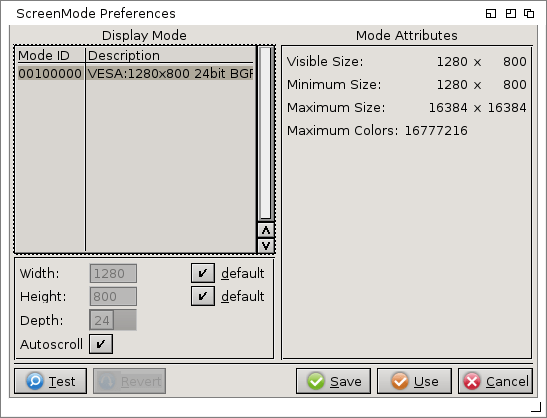
The fourth thing to configure is the screen resolution. Here I can set a smaller than 4k resolution, because my screen is too small.
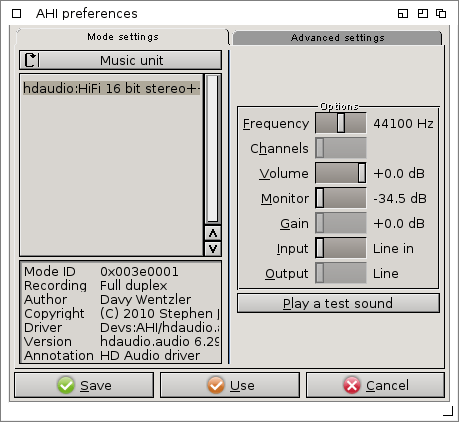
The fifth thing to configure is the sound card:
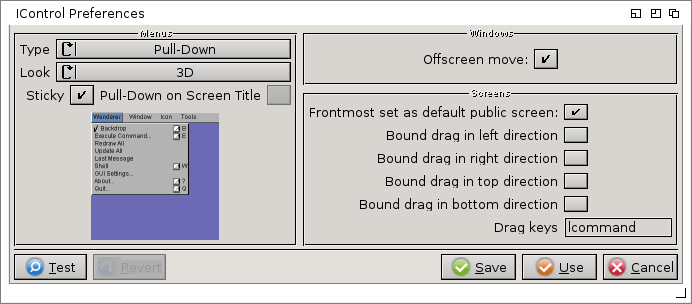
Finally there are two more screens with settings where I just hit save with the default values.
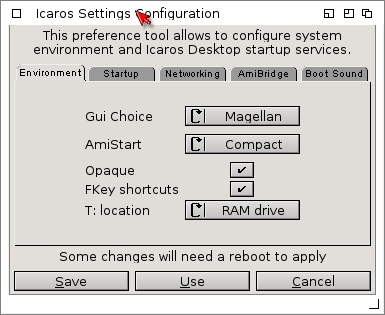
By the way, on one of the tabs of this screen you can activate a webserver on boot 😉
And that would be all. Now that I know how to install icaros desktop, I should learn how to work with icaros.
