")
The Invisible Internet Project (I2P) is a fully encrypted private network layer that has been developed with privacy and security by design in order to provide protection for your activity, location and your identity. The software ships with a router that connects you to the network and applications for sharing, communicating and building.
Install I2P on Debian
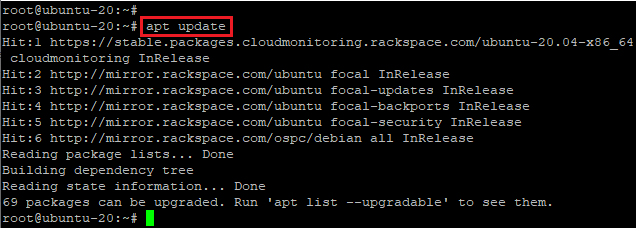
apt update
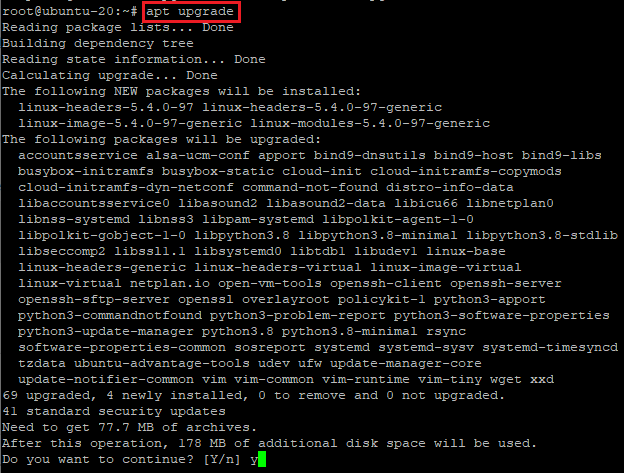
apt upgrade
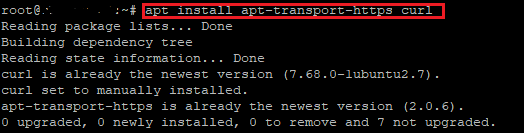
apt install apt-transport-https curl
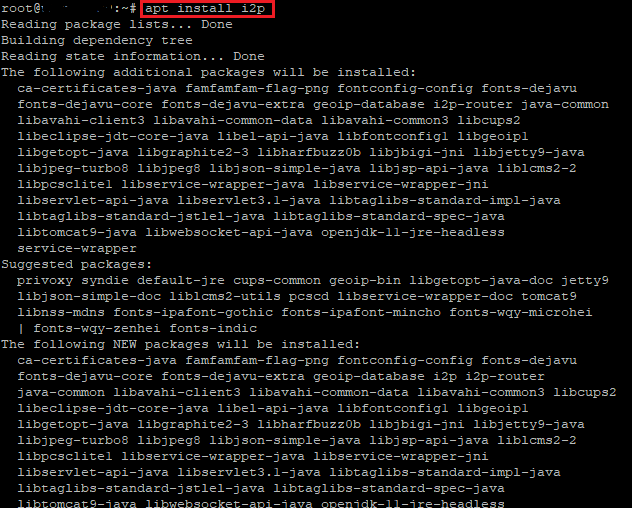
apt-get install i2p
- ALLOW PORTS 7657 and 7658
iptables -I INPUT -p tcp -m tcp --dport 7657 -j ACCEPT
iptables -I INPUT -p tcp -m tcp --dport 7658 -j ACCEPT
- ROUTE THE INCOMING DATA TRAFFICE FROM 195.15.219.25 TO LOCALHOST (127.0.0.1)
vi /etc/sysctl.conf
Add following line at bottom of sysctl.conf
ipv4.conf.eth0.route_localnet=1
Save and exit
Run Following commands:
sysctl -p
iptables -t nat -I PREROUTING -p tcp -d 0.0.0.0/0 --dport 7657 -j DNAT --to-destination 127.0.0.1:7657
iptables -t nat -I PREROUTING -p tcp -d 0.0.0.0/0 --dport 7658 -j DNAT --to-destination 127.0.0.1:7658
iptables-save > /etc/iptables/rules.v4
Cont…
- TUNNEL CONFIGURATION BETWEEN I2P AND EXISTING APACHE SERVER
http://195.15.219.25:7657/config in browser then click on Hidden Service Manger:

Then Click on Tunnel Wizard

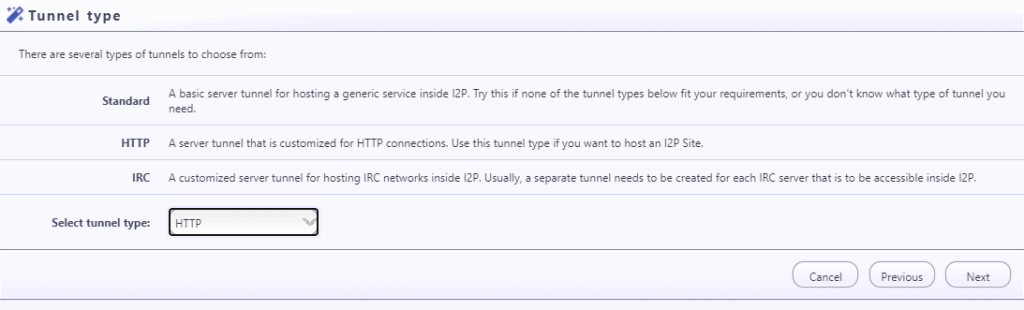
Select Server Tunnel Then Next:

Select HTTP:
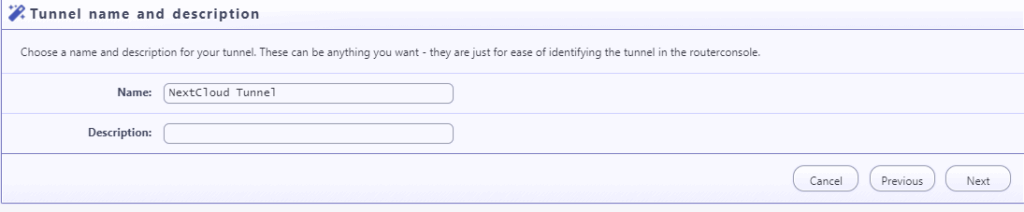
Type the name of Tunnel
Host : 127.0.0.1
Port: 80
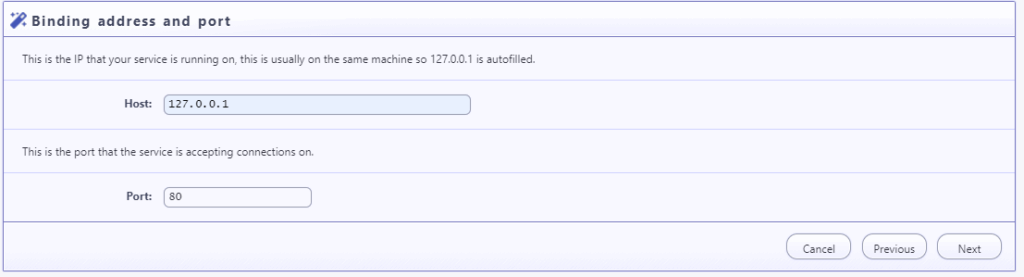
Select check box

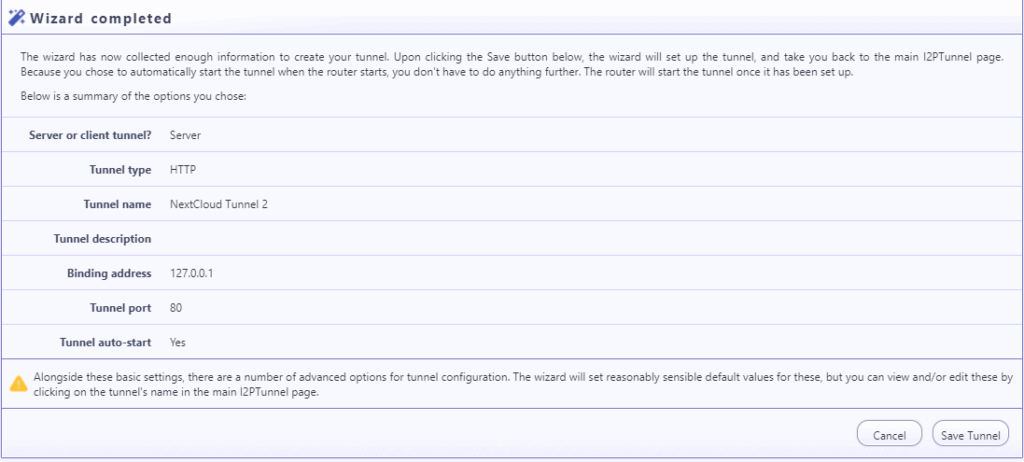
Save tunnel
After Finishing it will be shown Hidden Service Manager as shown below, start service if it is not started yet:
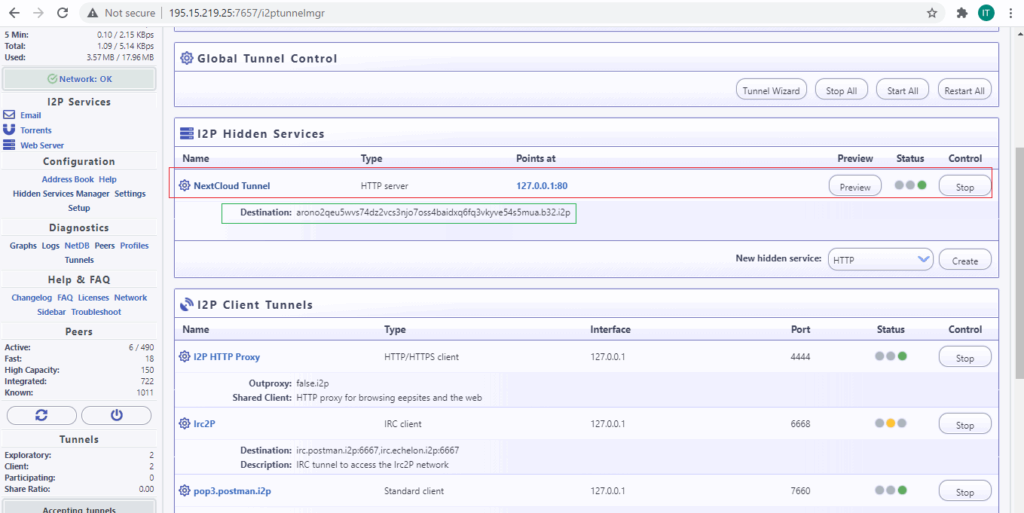
In above pic destination under green box is your b32.i2p address through which you can access your appache hosted websites i.e. your nextcloud website.
arono2qeu5wvs74dz2vcs3njo7oss4baidxq6fq3vkyve54s5mua.b32.i2p
- HOW TO ACCESS WEBSITE THROUGH ANDROID PHONE:
- Download and install invisible in your android phone from your mobile

- Open installed application and start service
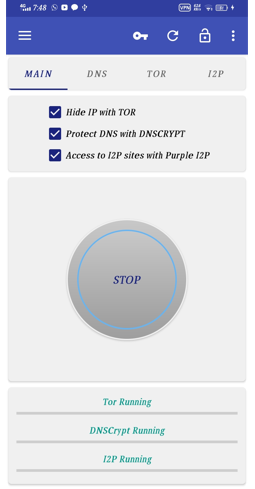
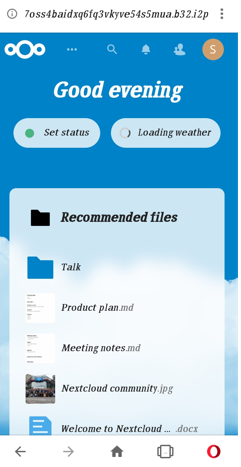
- Open browser and access your i2p website
- HOW TO ACCESS I2P WEBSITE THROUGH WINDOWS PLATFORM
Step1:
Download package named i2pd_2.39.0_win64_mingw.zip from following link:https://github.com/PurpleI2P/i2pd/releases/tag/2.39.0
Step: 2
Extract package i2pd_2.39.0_win64_mingw.zip
Go into the folder i2pd_2.39.0_win64_mingwàContrib
Moves all files and folder exist in contrib folder to main i2pd_2.39.0_win64_mingw folder
Step 3:
Open i2pd.conf in notepad uncomment following section and make change as shown below
[i2cp]
## Uncomment and set to ‘true’ to enable I2CP protocol
enabled = true
## Address and port service will listen on
address = 127.0.0.1
port = 7654
Now start i2pd.exe
Step 4:
Create another shortcut of google chrome and edit following line in target: –proxy-server=”127.0.0.1:4444″
Now open the shortcut of google chrome that you have modified and access your i2p website:
- TROUBLESHOOTING STEPS FOR SPEED IMPROVEMENT:
Logs Files of I2P are available in /var/log/i2p/
wrapper.log
Logs:
[istener:7654] er.client.ClientListenerRunner: I2CP error listening to port 7654 – is another I2P instance running? Resolve conflicts and restartResolution:Initially speed was slowing down due to multiple instances on port 7654 therefore all hidden services deleted that were created during tests except one NextCloud Tunnel
Also we have changed the default port 7654 of i2p to 1111 (that is an option to avoid above error)
log-router-0.txt
Logs:
Refusing connection since peer is throttled by per-peer limit of 80 per hour:
[127.0.0.1:80] reaming.impl.ConnectionManager: Refusing connection since peer is throttled by per-peer limit of 200 per day
From above logs observed that host shown down once access limit crossed by 80 per hour or 200 per day. So after increasing limit we have resolved this issue.
To do this open hidden service manager and click on NextCloud Tunnel that we have created

Then scroll down and open Server throttling option and we have increased the limits as shown below
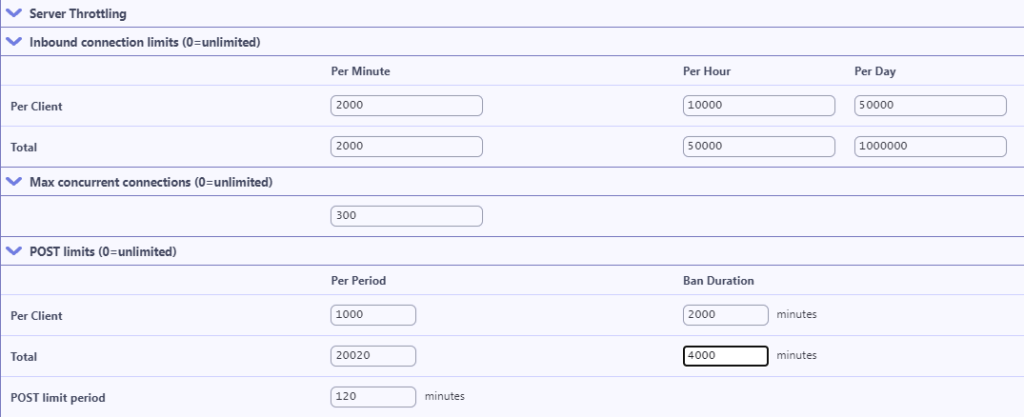
By setting up above parameter we have successfully fix the issue which are mentioned in logs.
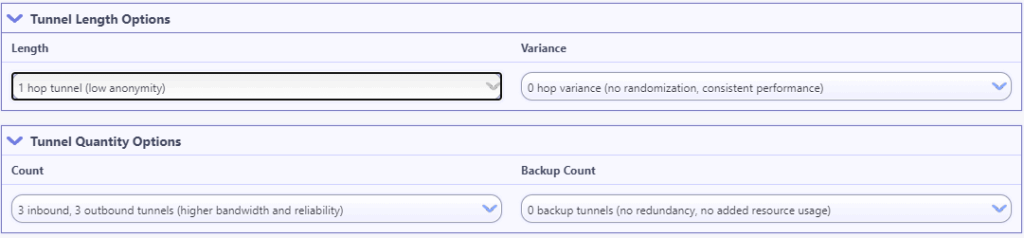
To further improve the speed issue, there is an option to reduce the hop count. Number of hop count more means high anonymity but less performance. So we have reduced hop count of tunnel Nextcloud which we created as shown below to improve the speed:
So speed much improved than before after performing above troubleshooting.
Conclusion:
I2P is much secure and recommended but its speed cannot be compared with direct hosting servers. Many people feel that the I2P network is way too slow. It is understandable, but there are good reasons that I2P is supposed to be slow. Firstly, since I2P employs garlic routing technique, your data typically have to go through 6+6=12(!) different routers for anonymization. It decreases the network speed significantly. For reference: https://mhatta.medium.com/speeding-up-your-i2p-network-c08ec9de225d