
In this tutorial, we will see how to install the HestiaCP control panel on Ubuntu, which is alternative and similar to VestaCP and made by the developer of the vestaCP.After December’2019, Vestacp is not updating their software, and it seems dead project already, as there are no significant updates made in Github.So, in that case, Hestiacp is a good choice. Also, it has some extended features, regular maintenance, and its forum support is excellent.
Before starting the next step, Make sure that your server is running a supported operating system :
- Debian 9 / Debian 10
- Ubuntu 18.04 / Ubuntu 20.04 LTS
Step 1: Login to system
Login as a root user into your Ubuntu server via ssh client like putty(if you using a windows machine) or from your Linux terminal.
Step 2: Prepare the system
Install required dependency by running the following command and press Y. and wait until complete the installation process.
apt install wget curl
Step 3: Download HestiaCP
wget https://raw.githubusercontent.com/hestiacp/hestiacp/release/install/hst-install.sh
Step 4: Install HestiaCP
To install HestiaCP run the below command on your terminal.Ensure you change information with your details below, such as hostname, email, and password.
Note: ** HestiaCP uses port 8083 to communicate admin/user GUI from the browser. also if you want you can also customize your installation.
Suppose you want to install the PostgreSQL database server. To do this, you need to add this option “–postgresql yes” into your installation command. PostgreSQL is disabled by default in HestiaCP.
bash hst-install-ubuntu.sh –email [email protected] –password UnixPassw0rd –hostname hestia-unixcop.unixcop.com –multiphp yes –quota yes –interactive yes
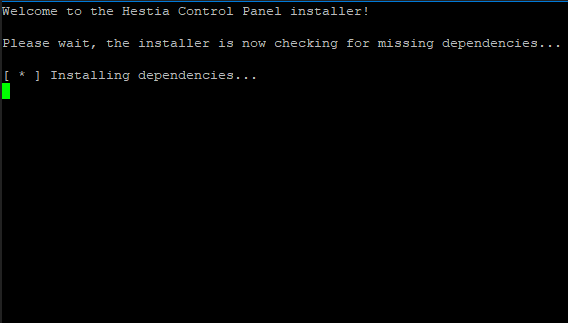
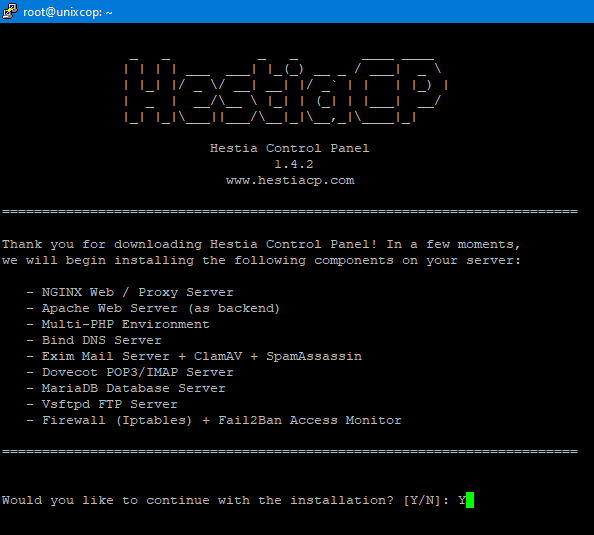
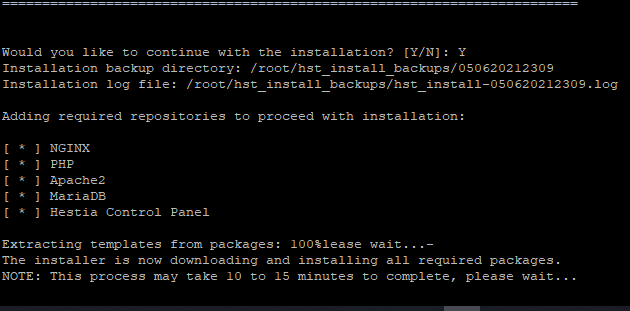
After running the above command, you will screen like the below images.Press “Y” to continue and wait until complete the installation process! In addition to after finished the installation process, you will see a Congratulation message on your terminal screen.
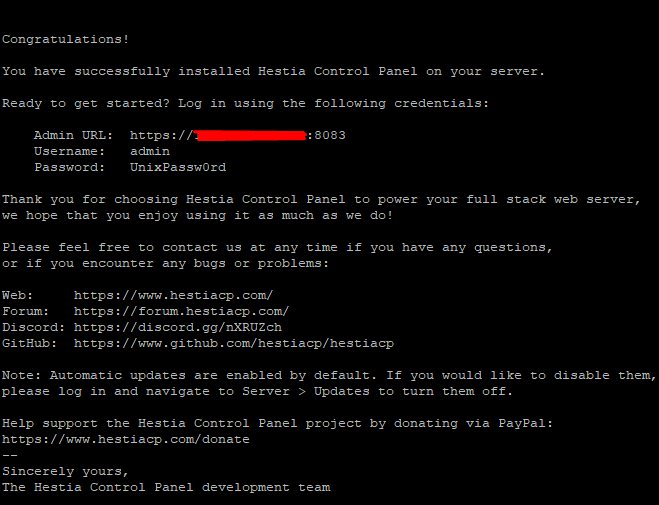
Step 5: Log in to the HestiaCP Panel:
So Now reboot the system and login to your HestiaCP control; you can log in to the HestiaCP panel using your server IP or hostname like below:
HTTPS://IP_ADDRESS:8083
HTTPS://HOSTNAME:8083
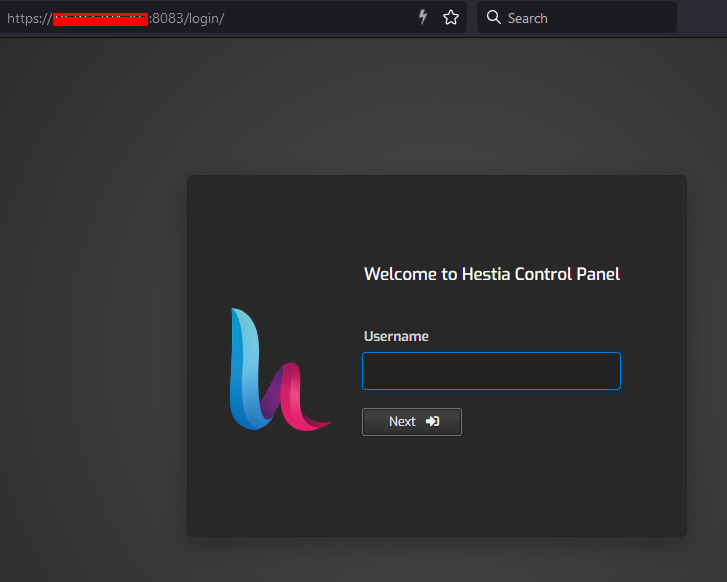
HestiaCP Login 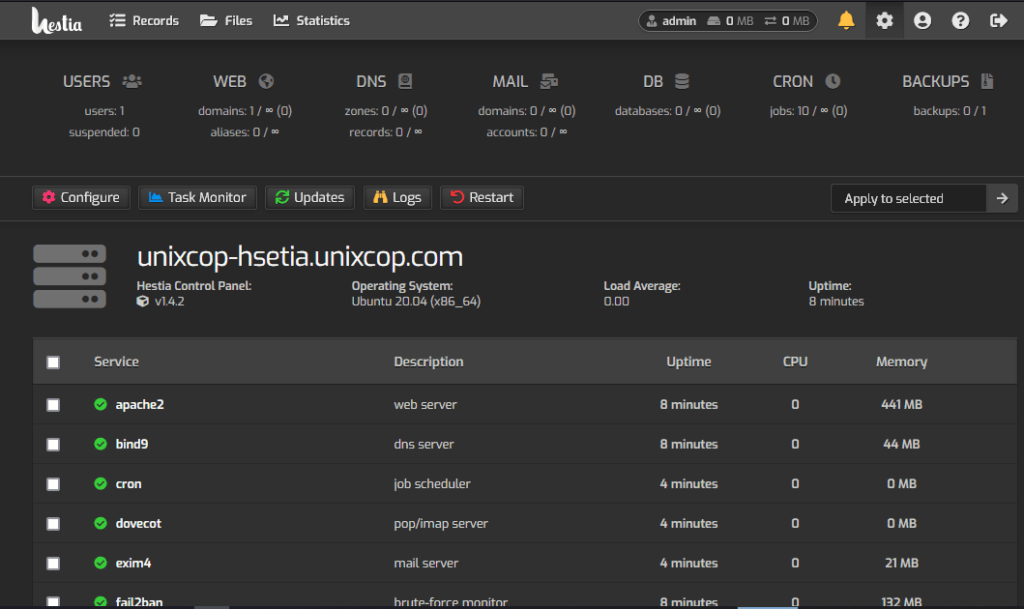
HestiaCP Panel
Error Troubleshoot:
During installing HestiaCP, you might get this error apt-get install failed. it happened due to broken packages or corrupted files. you can find the official troubleshoot guidelines here.
Conclusion
So In this tutorial, I had guided you through all the steps to install HestiaCP in your ubuntu 20.04 system. I hope this tutorial will help you install HestiaCP on your other os system, such as Debian, Ubuntu 18. You can also follow my other articles.