")
Gitea an open source easy-to-use self hosted git server written in Go. It has many features like time tracking, repository branching, file logging, notifications, built-in wiki and much more. Gitea is an lightweight application meaning that it can be run on lower spec systems too. It is an great lightweight alternative to GitLab. It’s really easy to setup and you will find most of the features that you will find in typical source control platform. This tutorial will show you how to install Gitea on Ubuntu Or Debian Systems
Requirements :
- 1-2GB of RAM or more (Will be sufficient for small teams)
- 2 Core CPU or more (Sufficient for small teams)
- VPS with Ubuntu 18.04 or greater or Debian 9 or 10
Step 1 : Updating the Server
First step will be to update the server and look for any new security patches or updates etc
apt-get update -y
apt-get upgrade -y
Step 2 : Installing MariaDB & Apache
We will need a database for our Gitea Server to store its content, In our case we will be using MariaDB Server
apt-get install mariadb-server mariadb-client
apt-get install apache
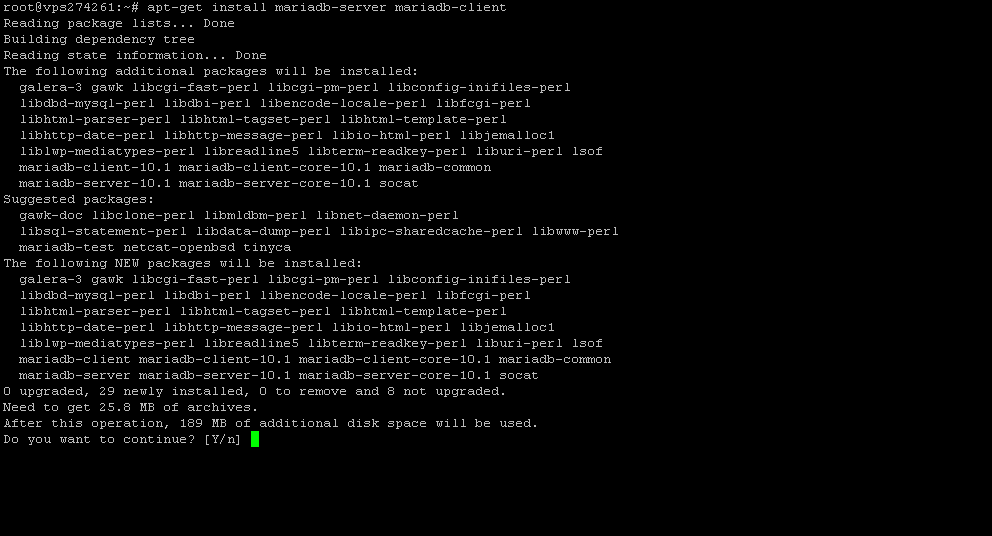
To continue further installation of MariaDB Server run the following command
mysql_secure_installation
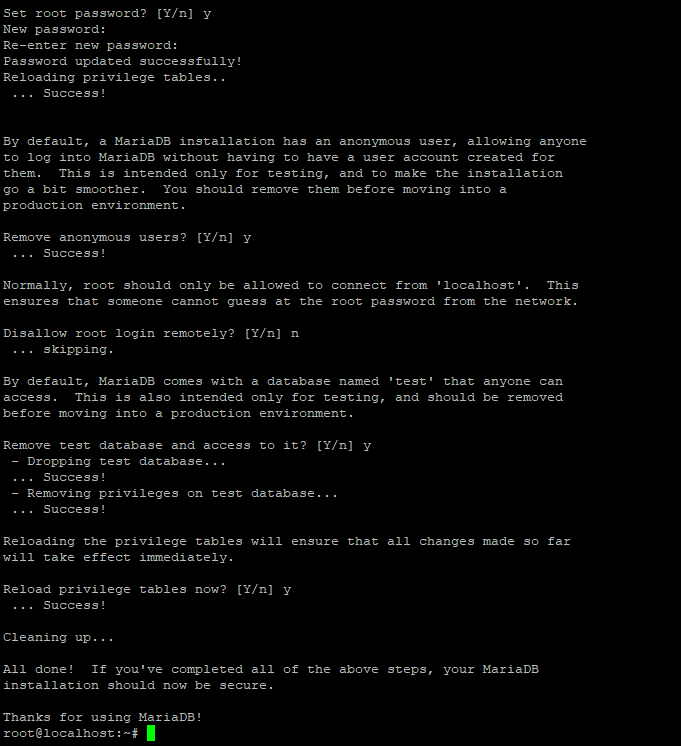
You will see a prompt enter the details as shown in pictures or in text below
Set root password? [Y/n] Y
Remove anonymous users? [Y/n] Y
Disallow root login remotely? [Y/n] n
Remove test database and access to it? [Y/n] Y
Reload privilege tables now? [Y/n] Y
Then, Run the following commands to create a database for Gitea
mysql -u root -p
CREATE DATABASE giteadb;
CREATE USER ‘giteauser’@localhost IDENTIFIED BY ‘giteapassword’;
GRANT ALL PRIVILEGES ON giteadb.* TO ‘giteauser’@localhost;
EXIT;
Step 3 : Installing Git & Creating User
We need to install GIT in our server to install files for Gitea directly from its source link, To install GIT run the following command
apt-get install git
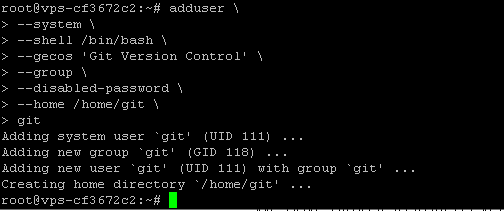
— Create a user for Gitea
adduser \
–system \
–shell /bin/bash \
–gecos ‘Git Version Control’ \
–group \
–disabled-password \
–home /home/git \
git
Step 4 : Installing Gitea
We have almost installed everything we need in order to run self-hosted gitea server on our VPS. To further install Gitea we can download or clone the latest release file through the official repository link
wget https://dl.gitea.io/gitea/1.15.10/gitea-1.15.10-linux-amd64
Move the files to /usr/local/bin
mv gitea-1.15.10-linux-amd64 /usr/local/bin/gitea
Create the following directory structure for Gitea and give permissions to folders
mkdir -p /etc/gitea /var/lib/gitea/{custom,data,indexers,public,log}
chown git:git /var/lib/gitea/{data,indexers,log}
chmod 750 /var/lib/gitea/{data,indexers,log}
chown root:git /etc/gitea
chmod 770 /etc/gitea
Create a new service file for Gitea and paste the following content into the file
nano /etc/systemd/system/gitea.service
[Unit]
Description=Gitea (Git with a cup of tea)
After=syslog.target
After=network.target
###
# Don't forget to add the database service dependencies
###
#
#Wants=mysql.service
#After=mysql.service
#
#Wants=mariadb.service
#After=mariadb.service
#
#Wants=postgresql.service
#After=postgresql.service
#
#Wants=memcached.service
#After=memcached.service
#
#Wants=redis.service
#After=redis.service
#
###
# If using socket activation for main http/s
###
#
#After=gitea.main.socket
#Requires=gitea.main.socket
#
###
# (You can also provide gitea an http fallback and/or ssh socket too)
#
# An example of /etc/systemd/system/gitea.main.socket
###
##
## [Unit]
## Description=Gitea Web Socket
## PartOf=gitea.service
##
## [Socket]
## Service=gitea.service
## ListenStream=<some_port>
## NoDelay=true
##
## [Install]
## WantedBy=sockets.target
##
###

[Service]
# Modify these two values and uncomment them if you have
# repos with lots of files and get an HTTP error 500 because
# of that
###
#LimitMEMLOCK=infinity
#LimitNOFILE=65535
RestartSec=2s
Type=simple
User=git
Group=git
WorkingDirectory=/var/lib/gitea/
# If using Unix socket: tells systemd to create the /run/gitea folder, which will contain the gitea.sock file
# (manually creating /run/gitea doesn't work, because it would not persist across reboots)
#RuntimeDirectory=gitea
ExecStart=/usr/local/bin/gitea web --config /etc/gitea/app.ini
Restart=always
Environment=USER=git HOME=/home/git GITEA_WORK_DIR=/var/lib/gitea
# If you install Git to directory prefix other than default PATH (which happens
# for example if you install other versions of Git side-to-side with
# distribution version), uncomment below line and add that prefix to PATH
# Don't forget to place git-lfs binary on the PATH below if you want to enable
# Git LFS support
#Environment=PATH=/path/to/git/bin:/bin:/sbin:/usr/bin:/usr/sbin
# If you want to bind Gitea to a port below 1024, uncomment
# the two values below, or use socket activation to pass Gitea its ports as above
###
#CapabilityBoundingSet=CAP_NET_BIND_SERVICE
#AmbientCapabilities=CAP_NET_BIND_SERVICE
###

[Install]
WantedBy=multi-user.target
Press CTRL+O and enter to save the file and reload the daemon and start Gitea and also enable Gitea on Boot
systemctl daemon-reload
systemctl enable gitea
systemctl start gitea
Check whether if Gitea is running or not
systemctl status gitea

Step 5 : Configuring Gitea using WebInstaller
We have fully installed Gitea and the required packages that was needed to run our Git Server. To further complete the installation of the server we need to run the Web Installer. Access your Installer at
http://yourip:3000
- You will see a screen like this, Enter your database details which you created in Step 2

2. You will see a screen like this now which indicates it is being installed
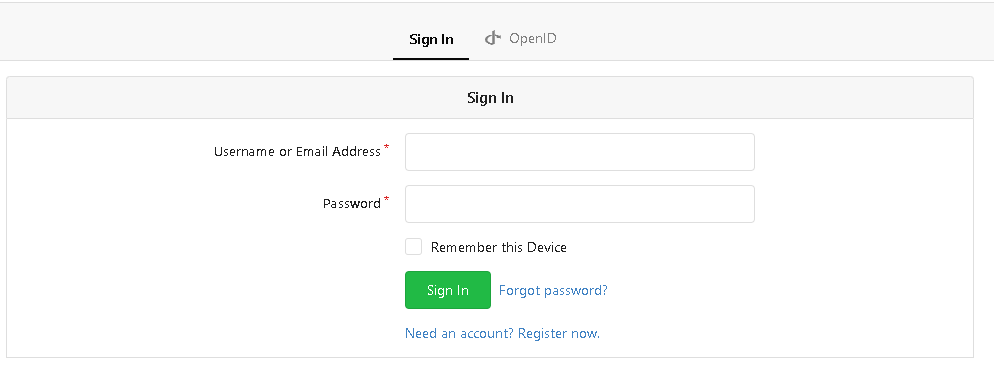
3. Now you can create go to link http://localhost:3000/user/login to access your login page.
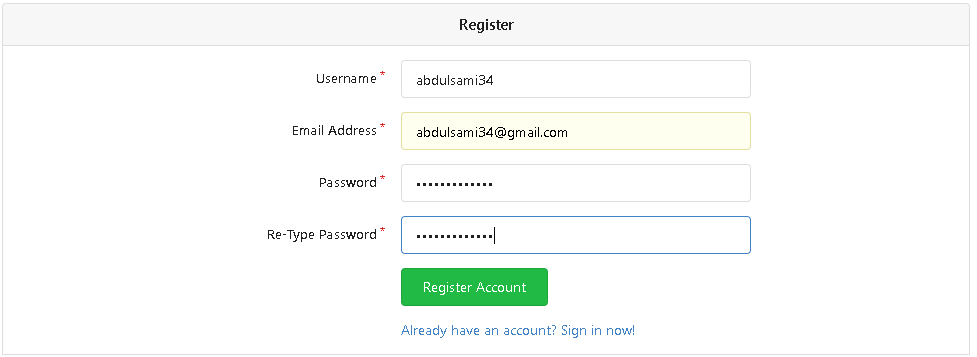
4. You can create an administrative user in the first installation step also if you forgot to do that, You can register an account now which will become an administrator user automatically
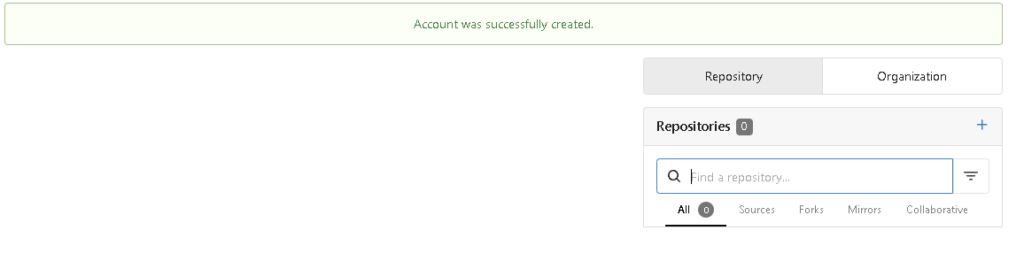
5. You will see a prompt like this meaning that the user has been created.
Conclusion :
You have successfully installed Gitea server on your Ubuntu or Debian server!