
The ELK stack is a group of open-source software packages used to manage logs. It’s typically used for server logs but is also flexible (elastic) for any project that generates large sets of data.
ELK Stack consists of Elasticsearch, Logstash and Kibana. These three components make ELK Stack.
Elasticsearch (indexes data) – This is the core of the Elastic software. Elasticsearch is a search and analytics engine used to sort through data.
Logstash (collects data) – This package connects to various data sources, collates it, and directs it to storage. As its name suggests, it collects and “stashes” your log files.
Kibana (visualize Data) – Kibana is a graphical tool for visualizing data. Use it to generate charts and graphs to make sense of the raw data in your databases.
This guide shows you how to install the ELK stack (Elasticsearch, Logstash, and Kibana) on CentOS 8 server.
Prerequisites:
- A System with CentOS 8 Installed
- Access to a terminal window/command line.
- A user account with sudo/root privileges
- Java version 8 or 11.
Step 1: Install OpenJDK 8 Java
If you already have Java 8 (or 11) installed on your system, you can skip this step.
If not, open a terminal window, and enter the following command:
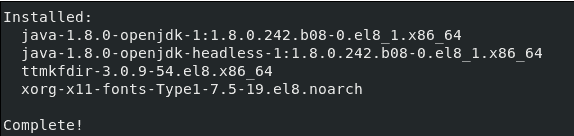
sudo yum install java-1.8.0-openjdkThe system will check the repositories, then prompt you to confirm the installation. Type Y then Enter.
After installation is complete you will see the following output:
Step 2: Add Elasticsearch Repositories
ELK stack default repositories are not present so to install ELK Stack by YUM command we need to add ELK repositories. Addition of repositories are done by adding Elastic search PGP Key and RPM Repository.
Import the Elasticsearch PGP Key:
To import the Elastic search PGP key enter following command:
sudo rpm --import https://artifacts.elastic.co/GPG-KEY-elasticsearchAbove command will add Elastic search Public Signing Key to your system, The key will validate Elastic search software when you download it.
Add the Elasticsearch RPM Repository:
To add Elastic search RPM repository we will add config file in path /etc/yum.repos.d/. first we will move into this directory.
cd /etc/yum.repos.d/Now create a file in a text editor of your choice (we are using nano)
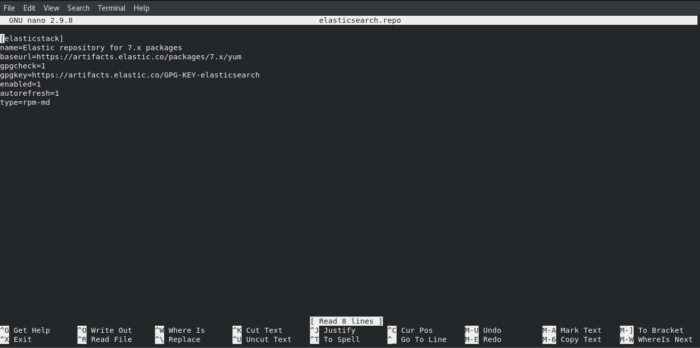
nano elasticsearch.repoType or copy the following lines:
[elasticstack]
name=Elastic repository for 7.x packages
baseurl=https://artifacts.elastic.co/packages/7.x/yum
gpgcheck=1
gpgkey=https://artifacts.elastic.co/GPG-KEY-elasticsearch
enabled=1
autorefresh=1
type=rpm-md
If using nano editor press CTRL+X and press y to save the file.
Update your repositories package lists by command mentioned below:
dnf updatefollowing output will be shown of above command:

Step 3: Install and Set Up Elasticsearch
We will first install Elasticsearch from the ELK Stack.
To install Elasticsearch run the following command:
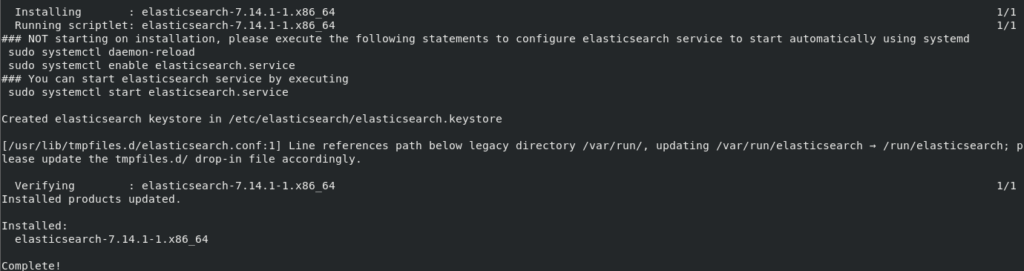
sudo dnf install elasticsearch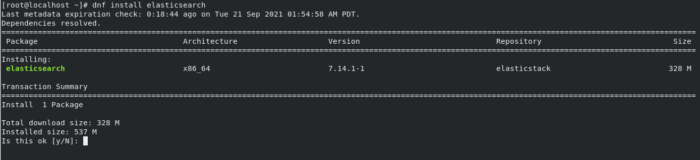
System will calculate the size and ask you to confirm the download. Press “Y” and then press ENTER to continue download.
Configure Elasticsearch
Once the installation is finished open and edit the Elasticsearch configuration file /etc/elasticsearch/elasticsearch.ymlusing nano editor.
nano /etc/elasticsearch/elasticsearch.ymlScroll down to the Network part and uncomment lines network.host: and http.port: 9200 and add your machine’s IP address in network.host: line as shown below:
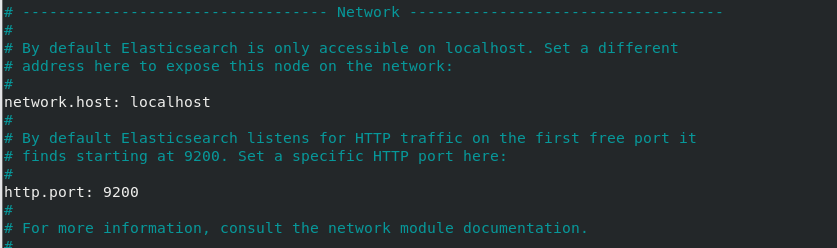
save and exit configuration file.
Now reboot the system so that changes may take effect.
sudo rebootSystem will start after reboot command. Now, Start Elasticsearch service.
sudo systemctl start elasticsearch.service Enable the Elasticsearch service so that it may start automatically after boot:
sudo systemctl enable elasticsearch.service Check the status of Elasticsearch using following command:
sudo systemctl status elasticsearch.service 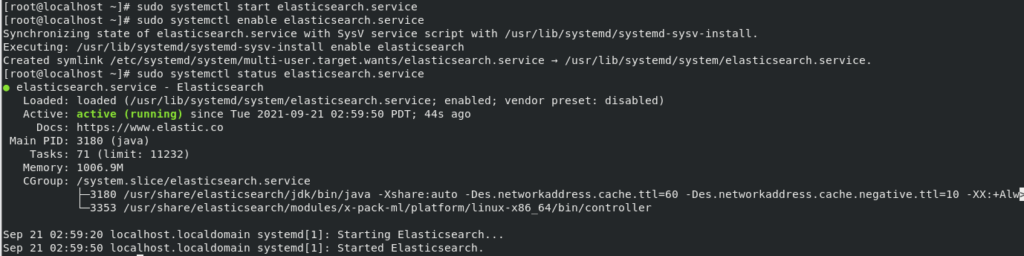
Now we will test Elasticsearch to see if it responds to the connections requested on port 9200.
curl -X GET "localhost:9200"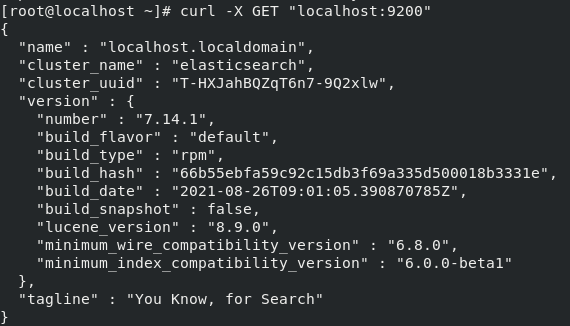
Step 4: Install Kibana
Kibana is a visualization tools. We will install kibana using the same GPG key that was used for Elasticsearch.
Use following command to install kibana, please note that system will require your approval for installation so press Y to install.
sudo dnf install kibana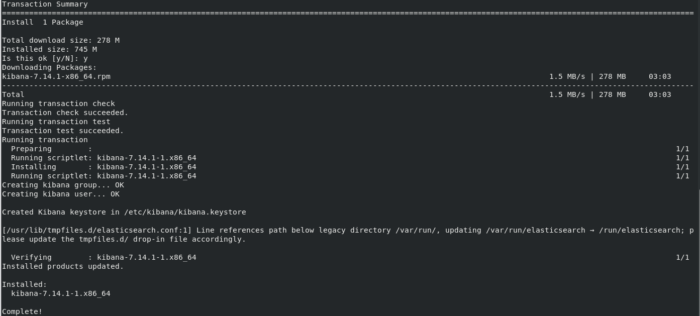
Configure Kibana
We will configure kibana by opening its configuration file with nano editor.
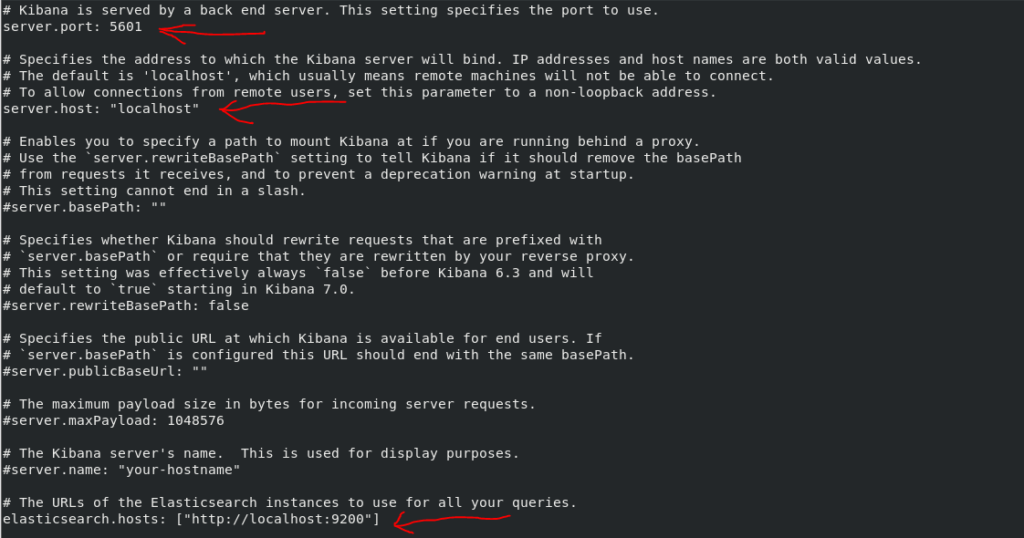
sudo nano /etc/kibana/kibana.ymlUncomment the Following Lines by removing “#” from the begining of each line.


After Uncommenting file will look like this:
Start and Enable Kibana
sudo systemctl start kibana.service
sudo systemctl enable kibana.service
sudo systemctl status kibana.service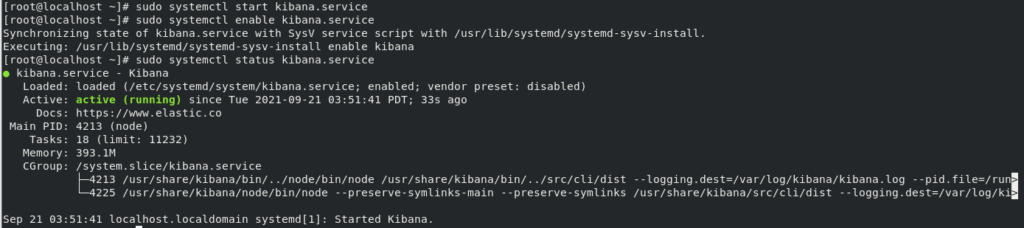
Disable Firewall
Stop firewall service in your system and disable it so that it doesn’t automatically starts after systems boot.
sudo systemctl stop firewalld.service
sudo systemctl disable firewalld.service
sudo systemctl status firewalld.service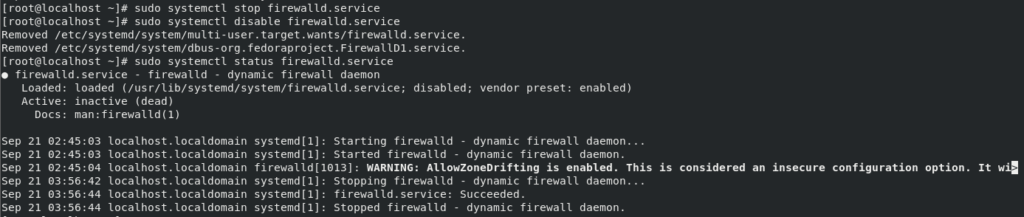
If you donot wish to stop Firewall run following command to enable traffic on port 5601:
firewall-cmd --add-port=5601/tcp --permanent
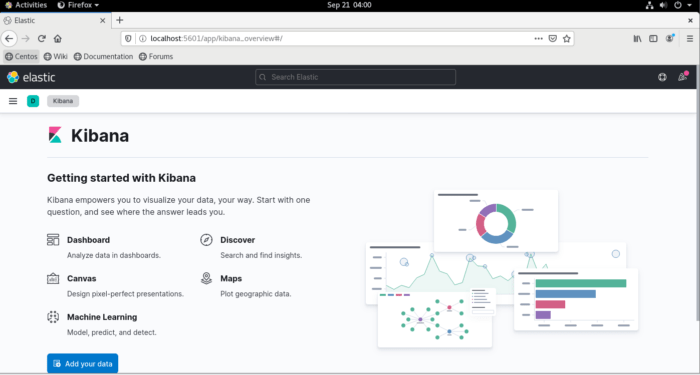
firewall-cmd --reloadOpen Web Browser and enter address http://localhost:5601 to test if kibana is working or not:
Step 5: Install Logstash
Logstash tool in ELK Stack is used for collecting of Data from different sources. The data collected by Logstash is parsed by Kibana and is stored in Elasticsearch.
Logstash can also use the same GPG Key and repository used by Elasticsearch for installation use following command:
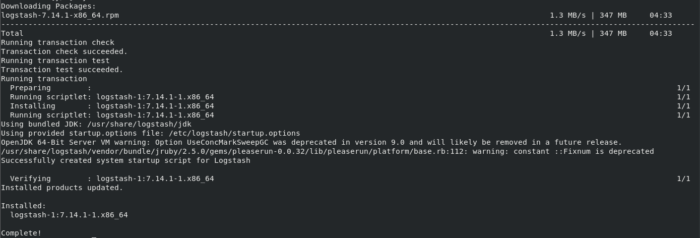
sudo dnf install logstashPress “y” when system asks for confirmation

For the configuration of Logstash you can put all your custom plugins in the following directory:
“/etc/logstash/conf.d/“
The configuration of Logstash depends on your use cases. For configuration you can see sample plugins from Logstash Configuration Examples.
Start Logstash
Start and Enable Logstash so that it may start on system boot.
sudo systemctl start logstash.service
sudo systemctl enable logstash.service
sudo systemctl status logstash.service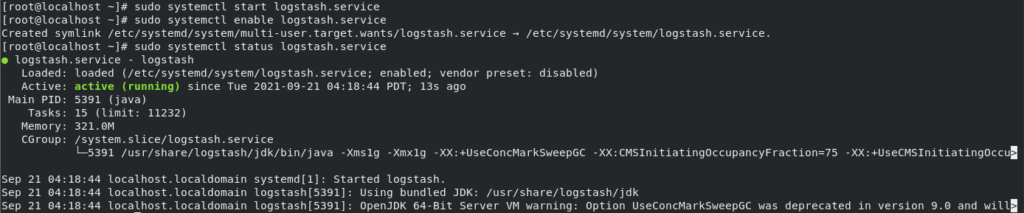
Conclusion
By following above step you should have ELK stack installed on your system. ELK Stack is a powerful tools used in an IT Environment because of its powerful monitoring and visualization of different logs as per your requirement.