
digiKam is a powerful open-source photo management application that provides users with a wide range of tools for importing, managing, editing, and sharing their digital photos. In this tutorial, we will guide you through the process of installing digiKam on Ubuntu 22.04.
Step 1:
Update the package list Before installing digiKam, it is always recommended to update the package list on your Ubuntu system. To do this, open the terminal and run the following command:
sudo apt-get updateStep 2:
Install digiKam To install digiKam, run the following command in the terminal:
sudo apt-get install digikamThis will install digiKam and all its dependencies on your Ubuntu system.
Step 3:
Launch digiKam Once digiKam is installed, you can launch it from the Applications menu or by running the following command in the terminal:
digikamThis will launch digiKam and you can start importing, managing, and editing your digital photos.
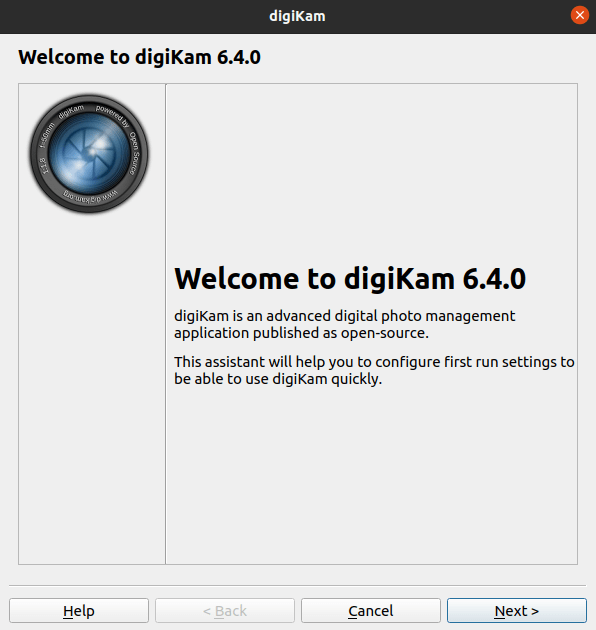
Click next to start setup
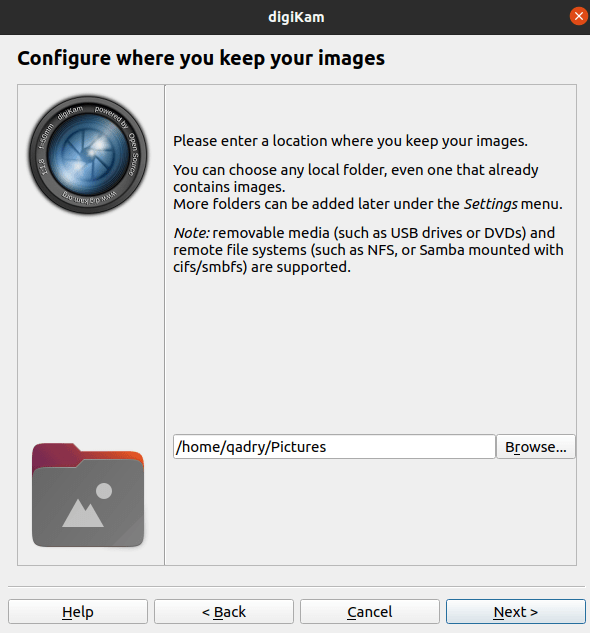
Configure where you keep your image then click Next
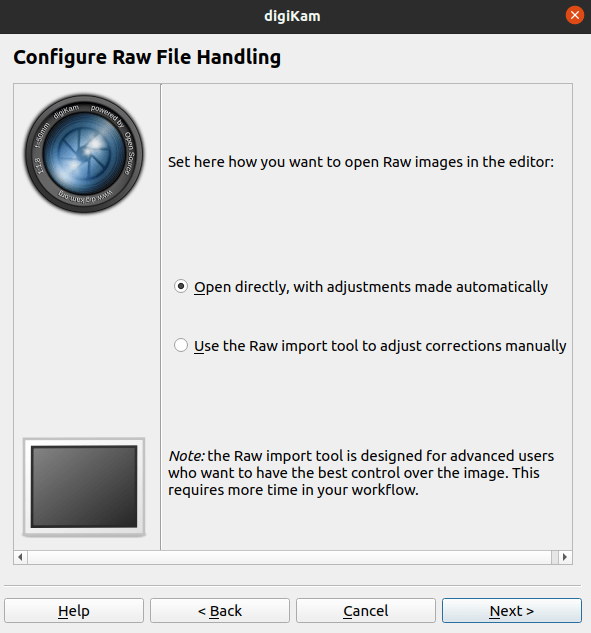
Configure RAW file handling as follows:
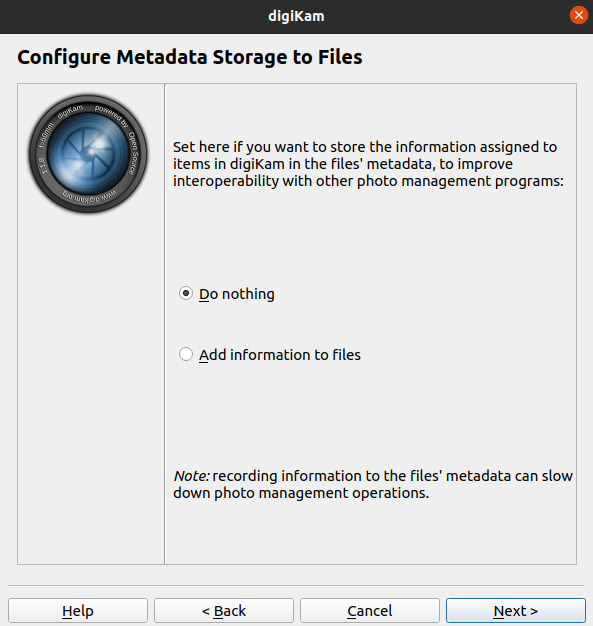
Then configure the metadata storage to the files
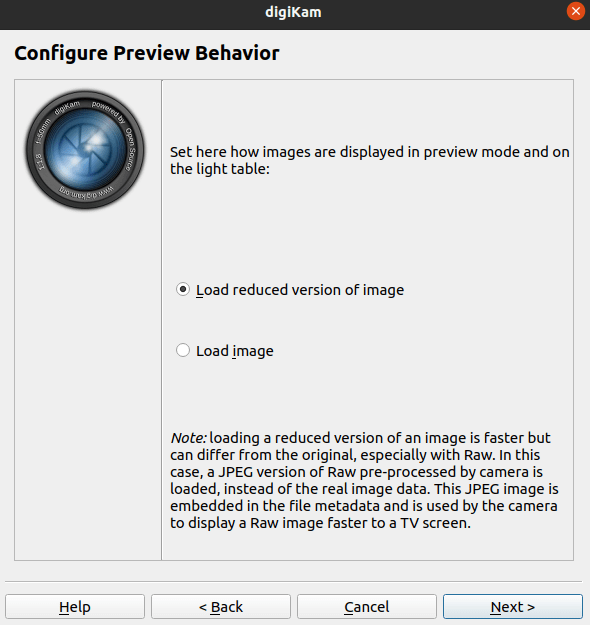
Choose the review behavior as shown below then click Next
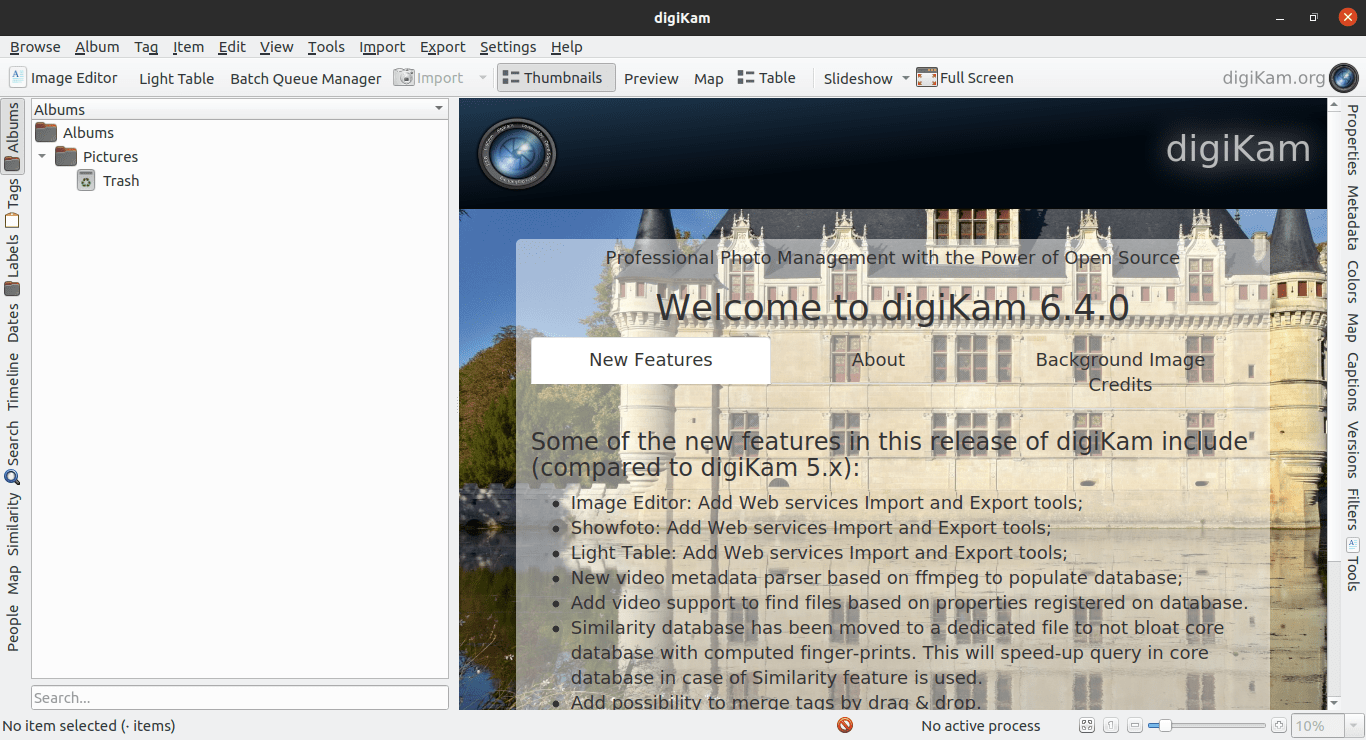
digiKam will be launched as follows:
Step 4:
Configure digiKam When you launch digiKam for the first time, you will be prompted to configure it. You can choose to configure it later, but it is recommended to configure it at the first launch. In the configuration wizard, you can specify the location of your photo library, import options, and image editing preferences.
Step 5:
Import photos To import photos into digiKam, click on the Import button on the toolbar or press F2. This will open the Import dialog box, where you can select the source of your photos, such as a folder, camera, or device.
Step 6:
Manage photos digiKam provides various tools for managing your digital photos, such as organizing them into albums, tagging them, and rating them. You can also search for photos using various criteria such as date, rating, and tags.
Step 7:
Edit photos digiKam also provides powerful image editing tools that allow you to enhance your photos with various effects, filters, and adjustments. You can also crop, rotate, and resize your photos.
Step 8:
Share photos Once you have edited and organized your photos, you can share them with others using various options such as exporting them, creating a slideshow, or uploading them to social media or cloud storage services.
Conclusion
digiKam is a powerful photo management application that provides users with a wide range of tools for importing, managing, editing, and sharing their digital photos. By following the above steps, you can easily install and start using digiKam on your Ubuntu 22.04 system.