
Hello, friends. In this post, you will learn how to install Cockpit on CentOS 9 Stream. This tutorial is easy to follow, but it can help us to better manage our system.
Introduction—What is Cockpit?
According to their website:
Cockpit is a web-based graphical interface for servers, intended for everyone, especially those new to Linux.
Although it may be focused on novices, the reality is that almost any user can use it because it makes the task of administering a system like CentOS much easier.
Because Cockpit intentionally uses APIs and system commands, an entire team of administrators can manage a system the way they prefer, including the command line and utilities alongside Cockpit.
So, what can I do with Cockpit? Well, these are some operations you can do with Cockpit.
- Inspect and change network settings
- Configure a firewall
- Manage storage (including RAID and LUKS partitions)
- Create and manage virtual machines
- Download and run containers
And much more.
Install Cockpit on CentOS 9 Stream
Fortunately, Cockpit is present in the official CentOS 9 Stream repositories. So, this makes the process a lot easier. Let’s get started.
First, open a terminal or connect via SSH to your server and make sure it is up-to-date with the following command
sudo dnf updateThereafter, you can install Cockpit.
sudo dnf install cockpit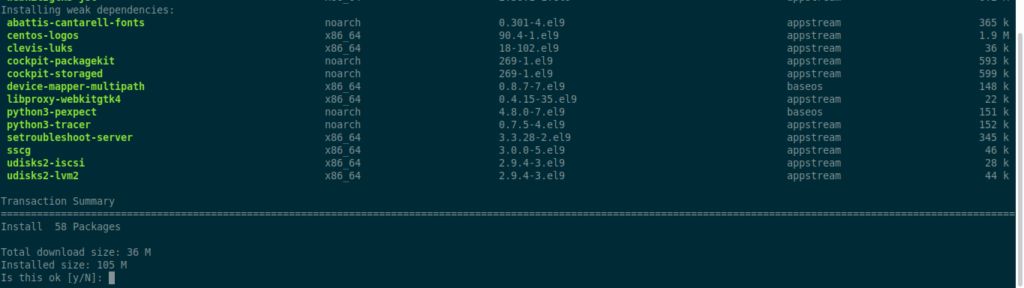
Start Cockpit on CentOS 9 Stream
Now we have to start it, so we can use it. This can be done using the systemctl command. For example, to start it, you have to run.
sudo systemctl start cockpitIf you want it to start with the system
sudo systemctl enable cockpitOr stop it:
sudo systemctl stop cockpitAnd finally, you can check the status of the service
sudo systemctl status cockpit
● cockpit.service - Cockpit Web Service
     Loaded: loaded (/usr/lib/systemd/system/cockpit.service; static)
     Active: active (running) since Mon 2022-05-30 20:18:17 UTC; 2s ago
TriggeredBy: ● cockpit.socket
       Docs: man:cockpit-ws(8)
    Process: 2805 ExecStartPre=/usr/libexec/cockpit-certificate-ensure --for-cockpit-tls (code=exited, status=0/SUCCESS)
   Main PID: 2829 (cockpit-tls)
      Tasks: 1 (limit: 12035)
     Memory: 1.5M
        CPU: 933ms
     CGroup: /system.slice/cockpit.service
             └─2829 /usr/libexec/cockpit-tls

May 30 20:18:16 unixcop systemd[1]: Starting Cockpit Web Service...
May 30 20:18:17 unixcop systemd[1]: Started Cockpit Web Service.
After this, you have to configure the firewall so that Cockpit can run.
sudo firewall-cmd --permanent --zone=public --add-service=cockpitAnd to apply the changes, restart the service
sudo firewall-cmd --reloadWe will be able to use it.
The Cockpit interface
Now, with all the above done, we can use it without problems. Open a web browser and go to http://your-server-ip:9090 and you will see a login screen like this:

Log in with your username and password, and you will be able to start using Cockpit.
Conclusion
Cockpit is a simple tool that allows you to administer a Linux system without major issues. Hopefully, you can use it in your daily work.
More posts about CentOS 9 Stream