
AWStats is an open source Web analytics reporting tool, suitable for analyzing data from Internet services such as web, streaming media, mail, and FTP servers. AWStats parses and analyzes server log files, producing HTML reports. Data is visually presented within reports by tables and bar graphs. Static reports can be created through a command line interface, and on-demand reporting is supported through a Web browser CGI program. In this article, you will learn how to install AWSTATS on CentOS 8
Step 1: Install EPEL Repository
dnf install epel-release -y
Step 2: Install Apache
dnf install httpd -y

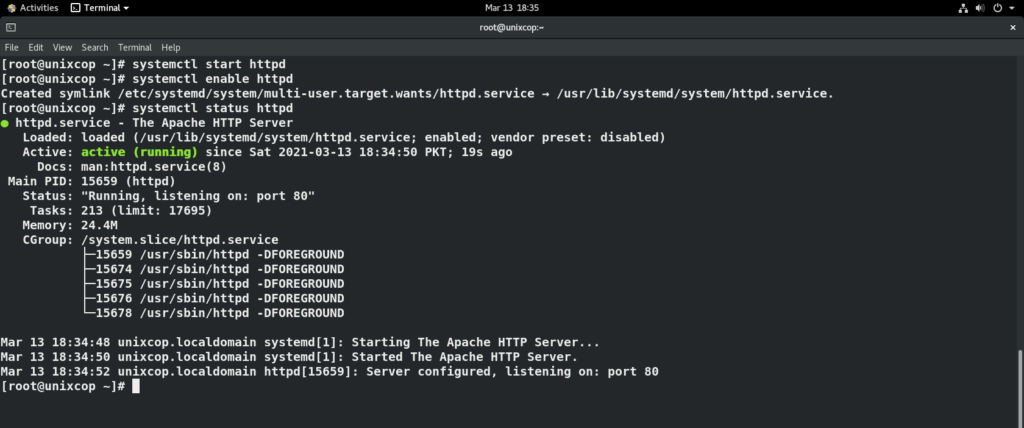
After Apache installation start and enable its services.
systemctl start httpd
systemctl enable httpd
systemctl status httpd
Step 3: Install AWStats
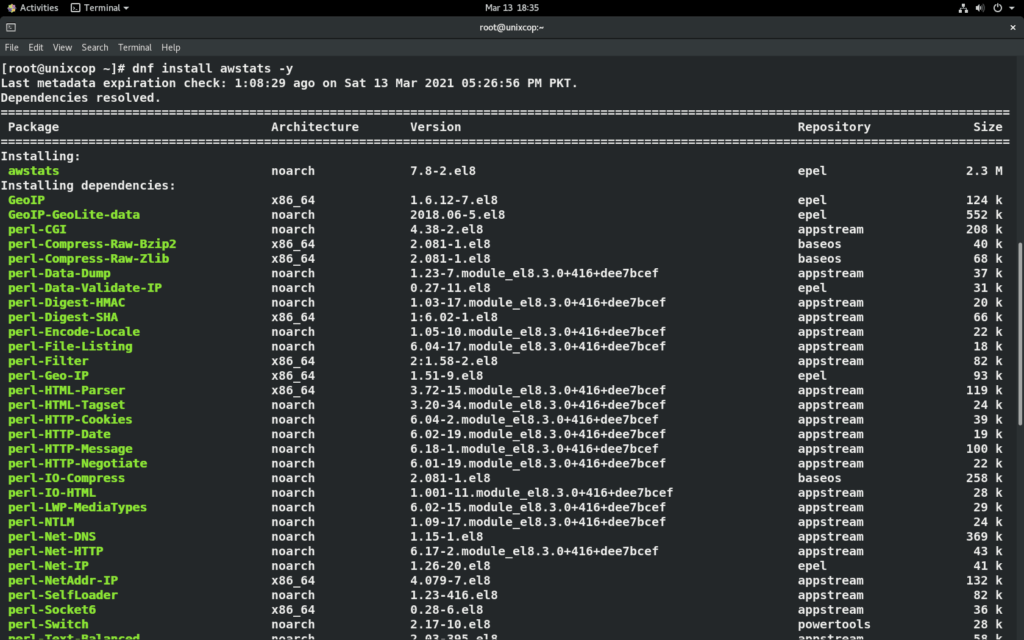
Now, install AWstats using below command
dnf install awstats -y
Configure AWStats for Apache
AWStats generates an default Apache configuration file /etc/httpd/conf.d/awstats.conf This file allows access to all IP addresses but if you want to access Awstats from the particular network or IP addresses then modify the “Allow from” section in this file with your desired network IP. once you made the changes restart apache using below command. In this article we will not edit this file.
systemctl restart httpd
Step 4: Create AWStats Configuration File for Website
Now you need to make a configuration file for desired website so we can check its statistics.You can make separate file for each website.
Create a copy of default AWStats configuration file with your domain name using below command
cp /etc/awstats/awstats.localhost.localdomain.conf /etc/awstats/awstats.yourdomain.com.conf
Then make some changes in “awstats.yourdomain.com.conf” file, use below command to edit it.
vi /etc/awstats/awstats.yourdomain.com.conf
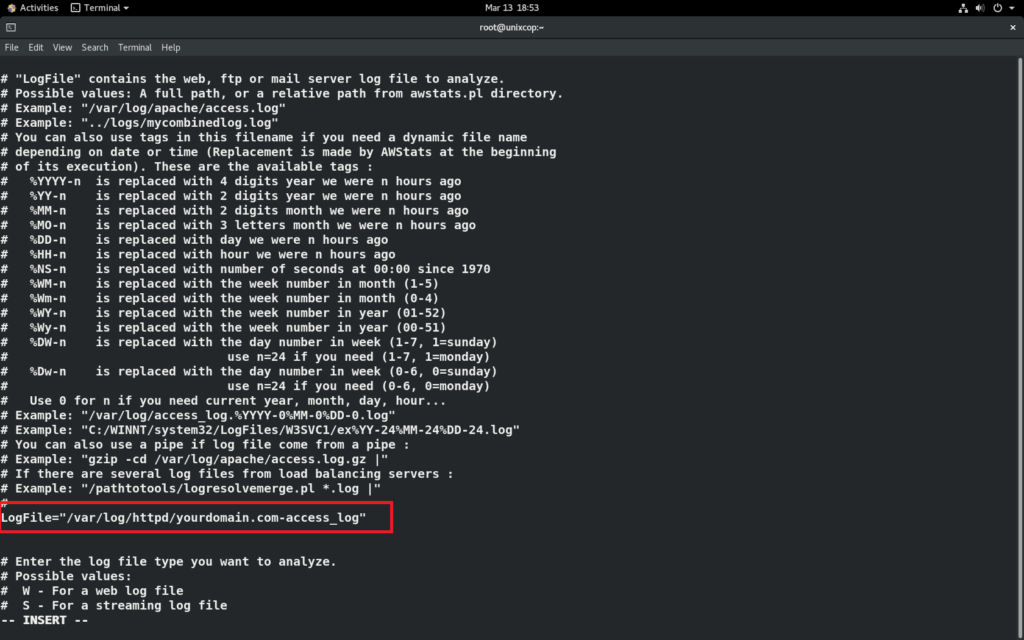
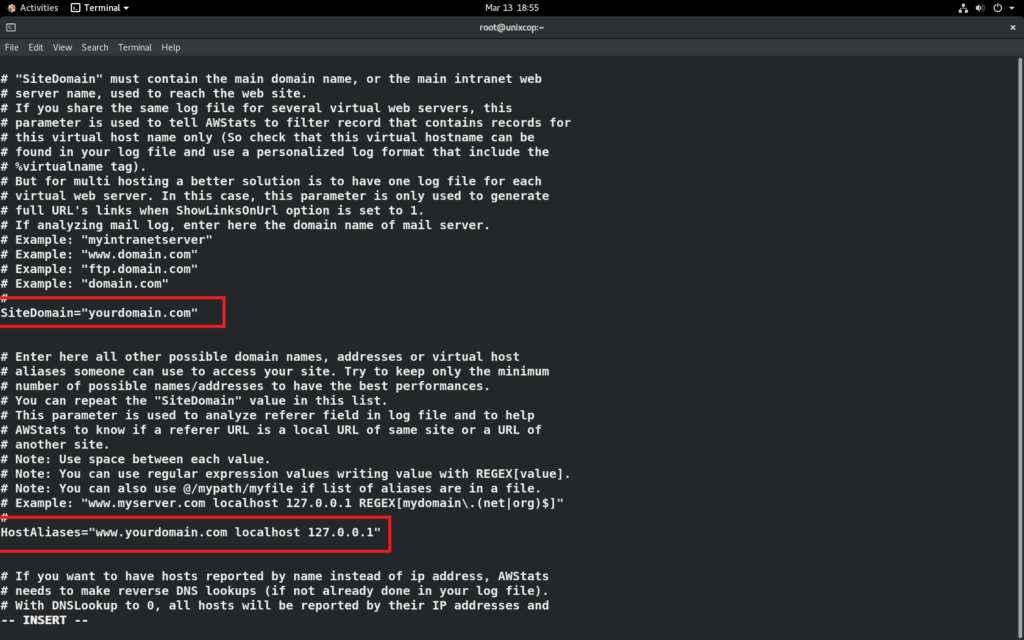
and modify below lines in this file with your domain name
LogFile=”/var/log/httpd/yourdomain.com-access_log”
SiteDomain=”yourdomain.com”
HostAliases=”www.yourdomain.com localhost 127.0.0.1″
now save changes to file and restart apache
systemctl restart httpd
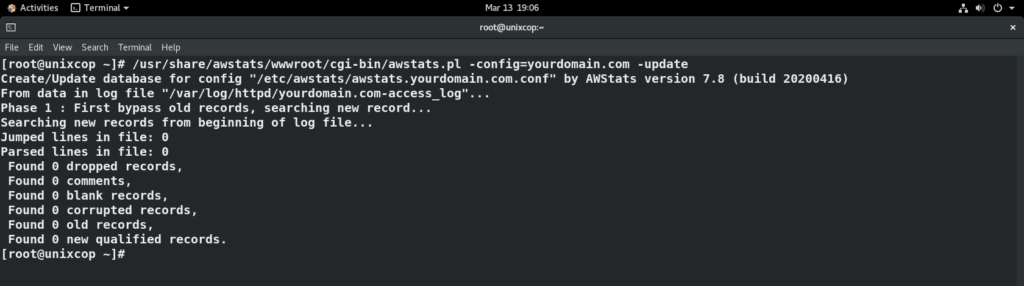
Update your website statistics from current logs using below command
Note: don’t forget to replace -config=yourdomain.com with your domain name.
/usr/share/awstats/wwwroot/cgi-bin/awstats.pl -config=yourdomain.com -update
If you face any error during execution of above command, use below command and try again,
mkdir /var/log/httpd/yourdomain.com-access_log
Step 5: Setting up Cron Job
You setup a cron job to keep updating your website statistics at specific time interval. For example, we want to update website stats after every every 59 mins so we will configure cron job using below commands
Create cron job using below command
crontab -e
add below lines in cron file
*/59 * * * * root /usr/share/awstats/wwwroot/cgi-bin/awstats.pl -config=yourdomain.com -update
then save changes and exit.
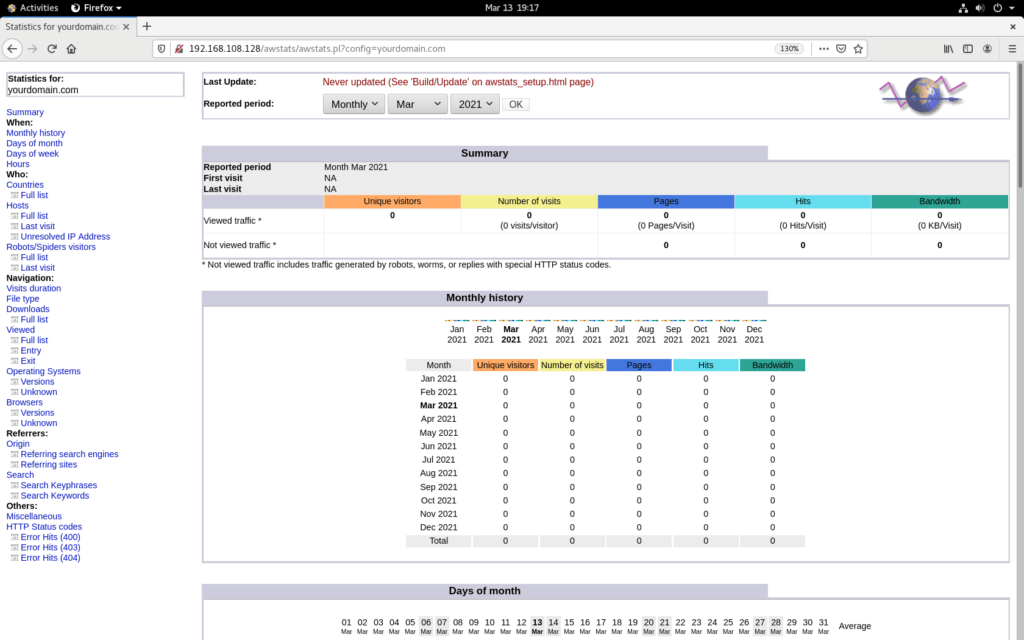
Step 6: Access AWStats from Web Browser
If you want to see your website stats use below link but don;t forget to use your own Server IP and domain name in that link
http://YOUR-SERVER-IP/awstats/awstats.pl?config=yourdomain.com
You should see similar page on your web browser.
Congratulations! You have installed and configured AWStats in your CentOS 8 successfully.