In this post you will learn how to install Apache Solr on Ubuntu.
Apache Solr is an open-source, reliable, scalable, and fault-tolerant search tool written in Java. It uses NoSQL as its database backend and to store data and query it in almost near real time. It aims to provide distributed indexing, replication, load-balanced querying with automated recovery and failover. It provides full-text search, Snippet Generation and highlighting. It also supports database queries through REST API Like Elastic Search
Requirements :
- Java 11 or higher
- 2GB RAM or more (The more the better the performance in queries)
- 5-10 Disk Space (For storing Content)
- 2vCore CPU or more (For optimal querying and searching)
Note : This uses java it may be recommend to use minimum of 4GB of RAM
Step 1 : Update your server
First step is to update your server and look for any newer packages or security release available for your distribution
apt-get update -y
apt-get upgrade -y
Step 2 : Install Java
Apache Solr is based on Java, So we need to install Java 11 on our
apt-get update
apt-get install openjdk-11-jdk

Check the Java version using the following command :
java -version

Step 3 : Installing & Configure Solr
Apache Solr is not available by default in Ubuntu & Apache repository, So we have to downlod it from the official mirror link and install it. The latest version till now is 8.11.2
wget https://downloads.apache.org/lucene/solr/8.11.2/solr-8.11.2.tgz
tar xvf solr-8.11.2.tgz
Now change directory to the extracted folder and run the installer script
cd solr-8.11.2/
bash solr-8.11.2/bin/install_solr_service.sh solr-8.11.2.tgz
You will see the following output and if you see the status screen that means that Solr is now installed and working!

Step 4 : Create Solr Collection
Apache Solr is fully installed now and you can continue creating a collection
su – solr -c “/opt/solr/bin/solr create -c collection1 -n data_driven_schema_configs”
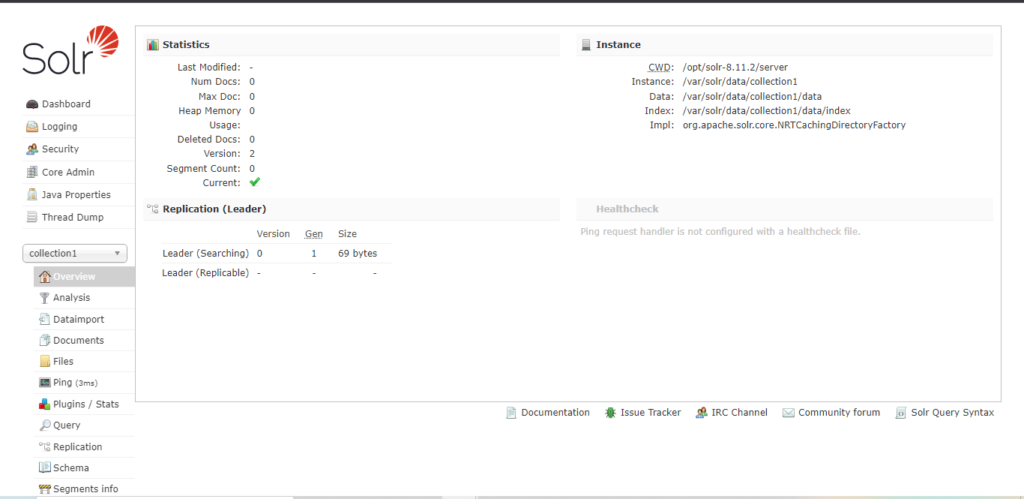
Access your web panel at http://localhost:8983
Conclusion :
You have installed Apache Solr on your Ubuntu/Debian server. This tutorial was tested on Debian 10. This tutorial assumes you are root