
Today you will learn how to install Apache ActiveMQ on Ubuntu and Debian Servers
Apache ActiveMQ is a free, open-source, multi-protocol message broker software written in Java. It supports standard industry protocols that can be used for communication between two separate applications that may have different or incompatible languages. It is designed for high performance communication and clustering and it also supports wide-range of language clients such as C, C++, Python, Ruby. It supports protocol like AMQP (Advanced Message Queuing Protocol) to integrate multi-platform applications and STOMP (Simple Text Orientated Messaging Protocol) for exchanging messages between web applications over websockets
Requirements to install Apache ActiveMQ:
- 1GB or more RAM (The more the better performance)
- 1vCore CPU or more
- 1GB of Disk Space or more (Depending upon your project can vary on your case)
- JRE 1.8 or greater
Step 1 : Update your server
First step is to update your server and look for newer packages and security releases may available for your distribution
apt-get update -y
apt-get upgrade -y
Step 2 : Install JAVA
Apache ActiveMQ is based on Java, So we need to install it on our server. Run the following command to install Java
apt-get install default-jre
You can verify the installation by running the following command :
java -version

Step 3 : Install Apache ActiveMQ
Now we have everything installed we needed for Apache ActiveMQ, Since ActiveMQ is not available by default in the Ubuntu or Debian Repository, So we can download it and install it through the official repository link, The current version is 5.1.7
cd /tmp
wget https://archive.apache.org/dist/activemq/5.17.1/apache-activemq-5.17.1-bin.tar.gz
Extract the downloaded file and move the extracted content to /opt/activemq
tar -xvzf apache-activemq-5.17.1-bin.tar.gz
mv apache-activemq-5.17.1 /opt/activemq
Now we can create a dedicated user and a usergroup for ActiveMQ. Run the following commands to create the account :
addgroup –quiet –system activemq
adduser –quiet –system –ingroup activemq –no-create-home –disabled-password activemq
Change the ownership of the installation directory to activemq
chown -R activemq:activemq /opt/activemq
Now, We can continue on creating a service file for Apache ActiveMQ
nano /etc/systemd/system/activemq.service
Paste the following content into the file :
[Unit]
Description=Apache ActiveMQ
After=network.target
[Service]
Type=forking
User=activemq
Group=activemq
ExecStart=/opt/activemq/bin/activemq start
ExecStop=/opt/activemq/bin/activemq stop
[Install]
WantedBy=multi-user.target
Save the file and restart the daemon and start ActiveMQ :
systemctl daemon-reload
systemctl start activemq
Enable ActiveMQ on boot :
systemctl enable activemq
Check the status for ActiveMQ by running the following command :
systemctl status activemq

You can then access the Web Panel at http://localhost:8161/admin
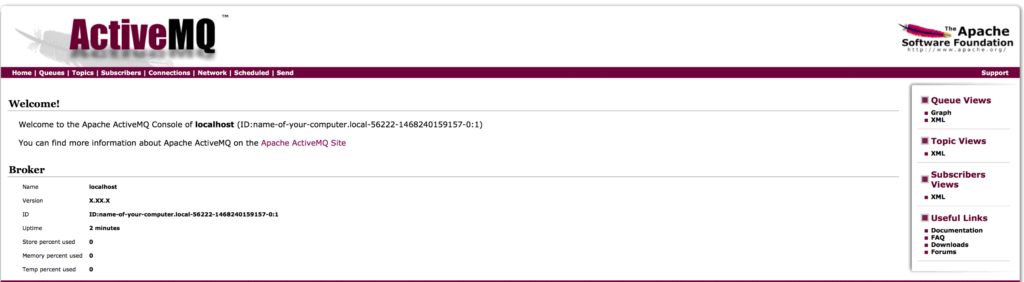
Default Credentials :
Username : admin
Password : admin
Conclusion :
You have successfully installed Apache ActiveMQ on your Ubuntu or Debian Server. This tutorial assumes you are root! This tutorial was tested on Ubuntu 20.04 and Debian 10.