
Introduction
WildFly (formerly known as JBoss) is an application server written in Java and developed by Red Hat. It is an open source application server for JEE applications, it is fast and lightweight and particularly efficient for web and business applications.
The technology behind WildFly is also available in JBoss Enterprise Application Platform 7.
JBoss EAP is a hardened enterprise subscription with Red Hat’s world-class support, long multi-year maintenance cycles, and exclusive content.
Wildfly Installation
Just follow the steps below carefully to get start with Wildfly:
- Update your CentOS 8 system
dnf update -y && dnf upgrade -y- Install Java Open-JDK 11 (Development Kit)
dnf install java-11-openjdk-devel -y- Create a user and group for WildFly
groupadd -r wildfly
useradd -r -g wildfly -d /opt/wildfly -s /sbin/nologin wildflyNOTE: WildFly also includes an add-user.sh script located within the bin folder for adding users.
- Download the latest version of WildFly under /tmp . At the time this article was written, the latest version was 25.0.1.Final.
wget https://github.com/wildfly/wildfly/releases/download/25.0.1.Final/wildfly-25.0.1.Final.tar.gz -P /tmpNOTE: To install the Latest Version of Wildfly, Kindly visit the official website of wildfly with opening the Link below:
- Extract the tarball into /opt directory
tar xf /tmp/wildfly-25.0.1.Final.tar.gz -C /opt/- Also, create a symbolic link that will point to the WildFly installation directory.
ln -s /opt/wildfly-25.0.1.Final/ /opt/wildfly- Then change ownership of the directory to the wildfly user.
chown -RH wildfly: /opt/wildflyWildFly Configuration
- Create a directory where the WildFly configuration files will be located.
mkdir -p /etc/wildfly- Then copy the configuration file to this directory.
cp /opt/wildfly/docs/contrib/scripts/systemd/wildfly.conf /etc/wildfly/NOTE:Configurations of Wildfly will by default run in standalone mode and listen on all interfaces. But, if we need to adjust it, we can edit the wildfly.conf file.
- Copy the WildFly’s binary launch script into our bin directory, and enable the software to utilize systemd.
#copy the script into the binary directory
cp /opt/wildfly/docs/contrib/scripts/systemd/launch.sh /opt/wildfly/bin/

#add executable permissions to execute the script
sh -c 'chmod +x /opt/wildfly/bin/*.sh'

#add the wildfly.service file into systemd
cp /opt/wildfly/docs/contrib/scripts/systemd/wildfly.service /etc/systemd/system/- Start WildFly with running the commands below:
systemctl daemon-reload
systemctl start wildfly
systemctl enable wildfly- Also, Configure firewall to allow access to WildFly.
firewall-cmd --zone=public --permanent --add-port=8080/tcp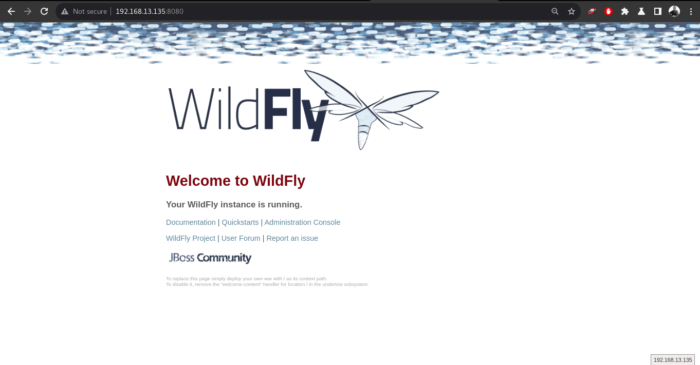
firewall-cmd --reload- Access WildFly with opening your browser then type http://IP_address:8080.
NOTE: The URL would look like this: http://server-ip:8080 or http://domain.com:8080
Wildfly Administration
WildFly 25 provide two administrative options for managing WildFly instance.
- A web-based Administration Console
- A command-line interface
Types of User that you will added to access WildFly Administration Console are:
- Management User
- Application User
WildFly Administration Console Remote Access
- To login to WildFly Administration console, we need to create an Admin user with following script and follow the steps as shown in the two screenshots below.
/opt/wildfly/bin/add-user.sh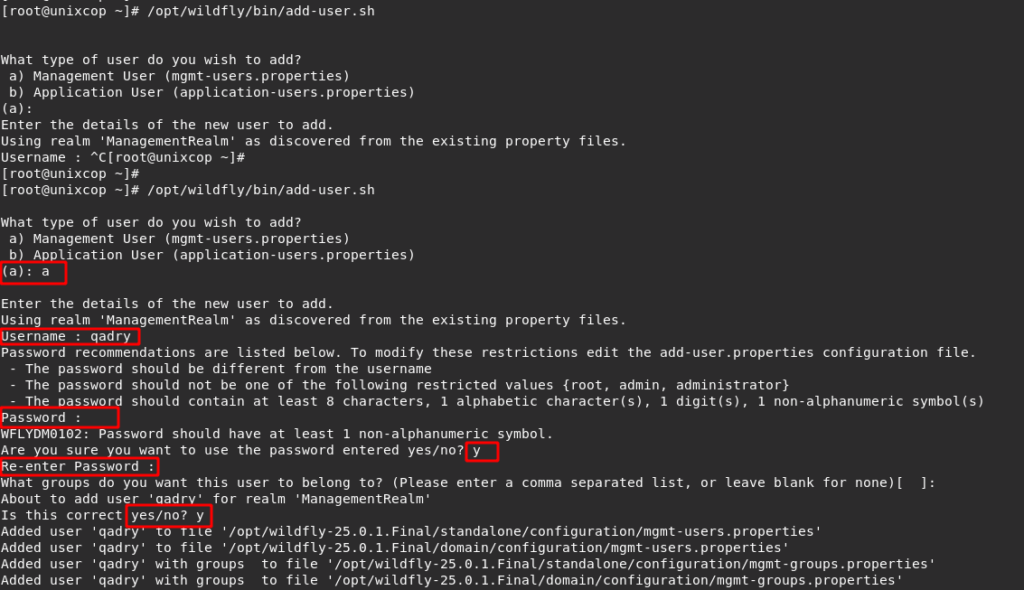

- Create a environment variable in wildfly configuration file
vim /etc/wildfly/wildfly.conf- Then add the following:
# The configuration you want to run
WILDFLY_CONFIG=standalone.xml

# The mode you want to run
WILDFLY_MODE=standalone

# The address to bind to
WILDFLY_BIND=0.0.0.0
# the address to bind console to
WILDFLY_CONSOLE_BIND=0.0.0.0
Edit /opt/wildfly/bin/launch.sh script.
vim /opt/wildfly/bin/launch.sh- Then update it as follows
#!/bin/bash

if [ "x$WILDFLY_HOME" = "x" ]; then
    WILDFLY_HOME="/opt/wildfly"
fi

if [[ "$1" == "domain" ]]; then
    $WILDFLY_HOME/bin/domain.sh -c $2 -b $3
else
    $WILDFLY_HOME/bin/standalone.sh -c $2 -b $3  -bmanagement=0.0.0.0
fi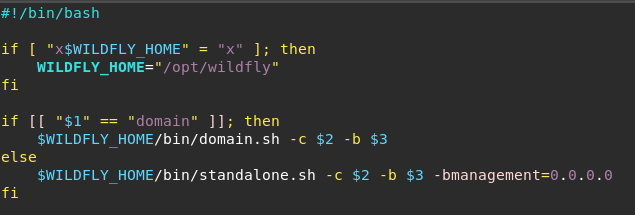
- Finally edit WildFly service.
vim /opt/wildfly/docs/contrib/scripts/systemd/wildfly.service- Then update it as follows
[Unit]
Description=The WildFly Application Server
After=syslog.target network.target
Before=httpd.service

[Service]
Environment=LAUNCH_JBOSS_IN_BACKGROUND=1
EnvironmentFile=-/etc/wildfly/wildfly.conf
User=wildfly
LimitNOFILE=102642
PIDFile=/var/run/wildfly/wildfly.pid
ExecStart=/opt/wildfly/bin/launch.sh $WILDFLY_MODE $WILDFLY_CONFIG $WILDFLY_BIND
StandardOutput=null

[Install]
WantedBy=multi-user.target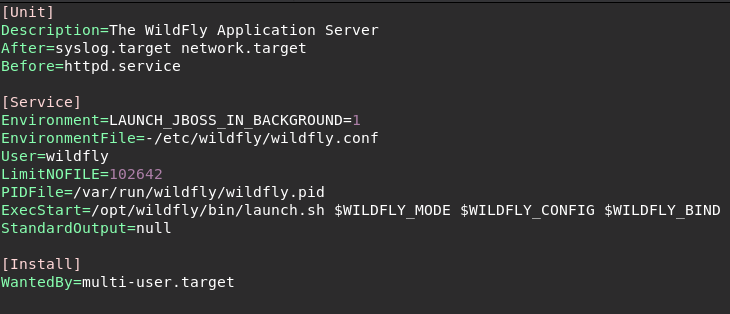
- Allow service port of WildFly Administration Console in firewall.
firewall-cmd --permanent --add-port=9990/tcp
firewall-cmd --reload- Access WildFly Administration Console with browsing URL http://server-ip:9990 or http://domain.com:9990
For my Wildfly Admin Console URL: http://wildfly.unixcop.com:9990
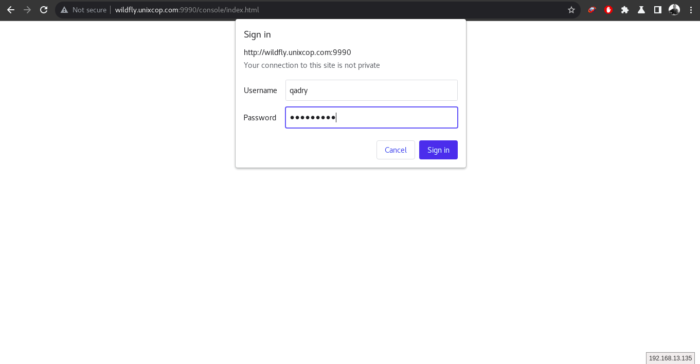
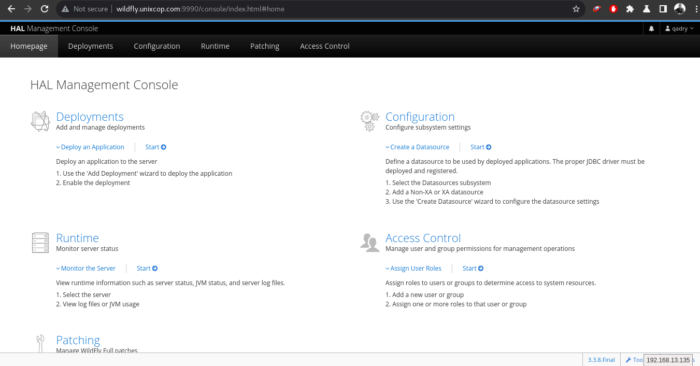
As soon as you entered the right credentials, you will be redirected to the Dashboard of the WildFly Administration Console as shown below.
Conclusion
That’s it
In this tutorial, We showed you how to install and configure WildFly.
Also, We illustrated how to access the WildFly Administration Console for management.
Also read ….. How to install the latest WildFly on Ubuntu 20.04
Thank you!!!