
Zabbix is a open source monitoring tool which keeps an eye on various IT components such as network, servers, Virtual Machines in real time. It can not only monitor thousand of metrics collected from physical as well as virtual machines but also network utilization, CPU load and Disk space consumption. Zabbix has a web management interface which is centralized through a database. Zabbix has the power to visualize your data in the form of graphs ,maps, screens and overviews.
REASONS TO USE ZABBIX
- Open Source – Comes at no cost
- Active Monitoring – Can easily monitor servers, applications and Network devices
- Enterprise ready – can be used from small scale to large scale environments
- Capacity planning – With the collected data of zabbix, we can further analyze infrastructure and can plan accordingly
FEATURES OF ZABBIX
- It supports MySql, SQlite, PostgreSQL, mariadb etc.
- Monitors system matrics including memory, CPU, Disk space..
- Monitors network devices , Hardwares and virtual machines.
- Supports multiple authentication technologies like LDAP and Active Directory.
- Provide notification through E-mail.
- Automatic Discovery
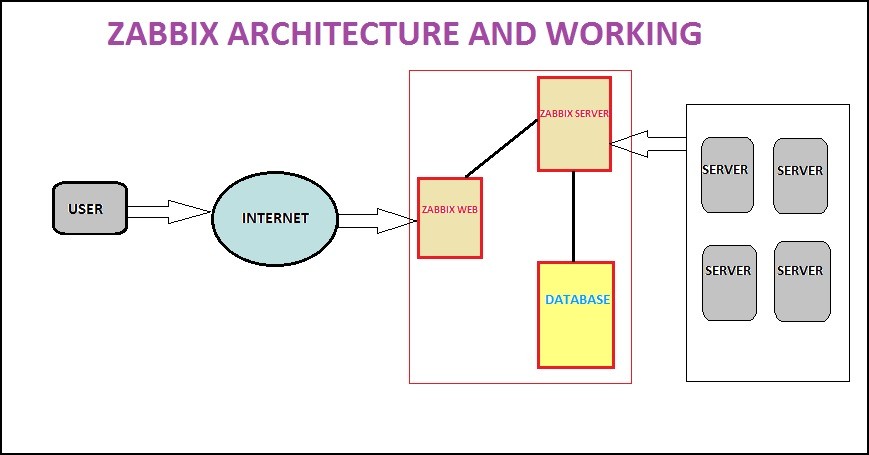
ZABBIX ARCHITECTURE
Zabbix has a central web interface as it is a distributed monitoring tool. Its architecture consist of three servers.
- Web server
- RDBMS server
- Zabbix server
Basically Zabbix uses a client-server architecture and uses the zabbix agent at the client systems to be monitored.These zabbix agents installed on the client system use to gather all the needed information and status from these systems and send it to the zabbix server.
In this tutorial I will guide you through all the steps to install and configure Zabbix server on your CENTOS 8/ RHEL 8 detailed wise.
STEP (1) Disable SElinux
First of all disable the SELinux on your CENTOS 8 ,so that Zabbix can work properly.For that we have to edit the file /etc/selinux/config by the below command:
$ nano /etc/Selinux/config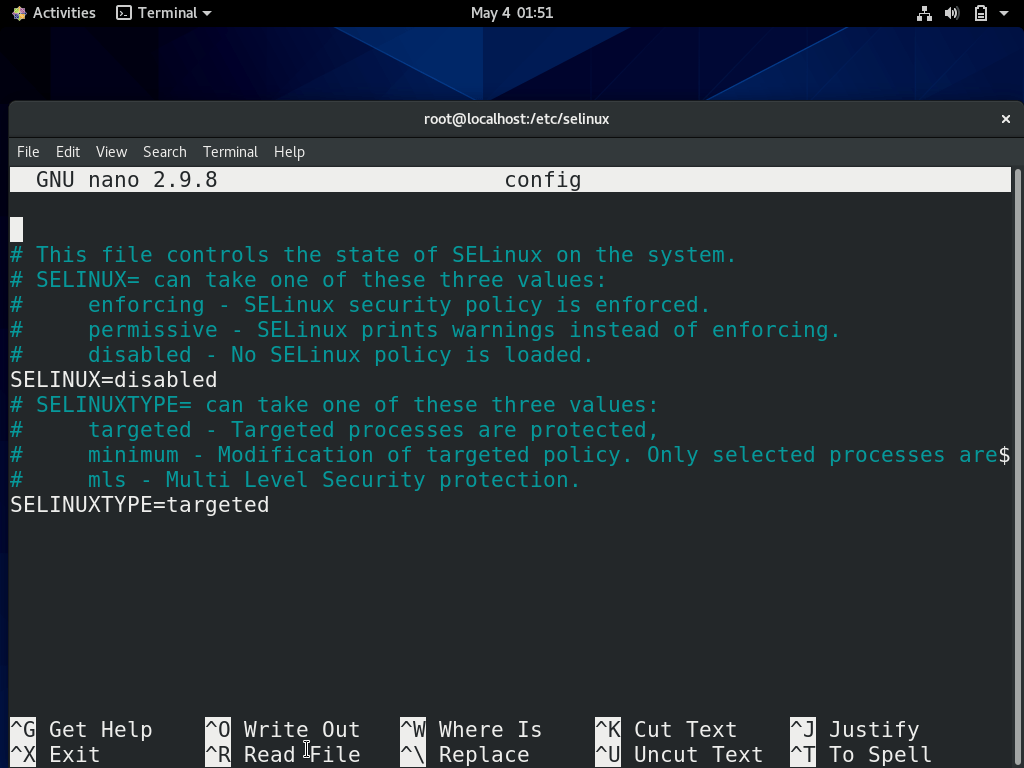
STEP (2)Install LAMP server
Now we need to install Apache webserver, MariaDB server, PHP and other needed extensions with that.To install all the packages we have to enter the below command:
$ dnf install -y httpd mariadb-server php php-cli php-common php-mbstring php-mysqlnd php-xml php-bcmath php-devel php-pear php-gdOutput would be something like the below:
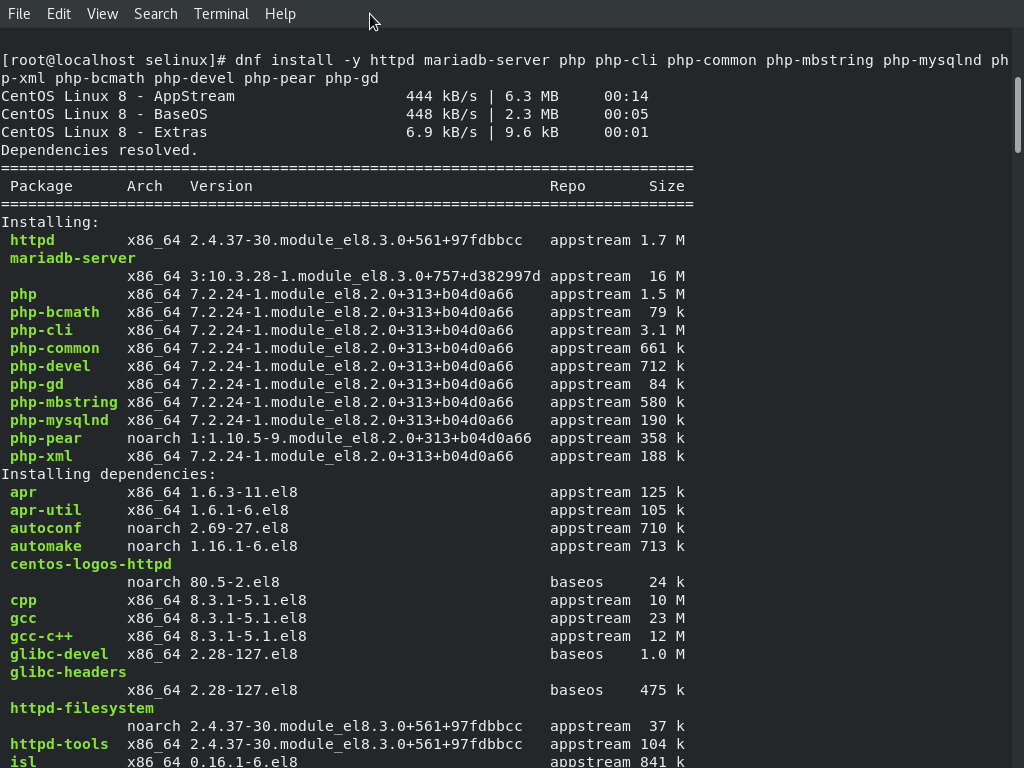
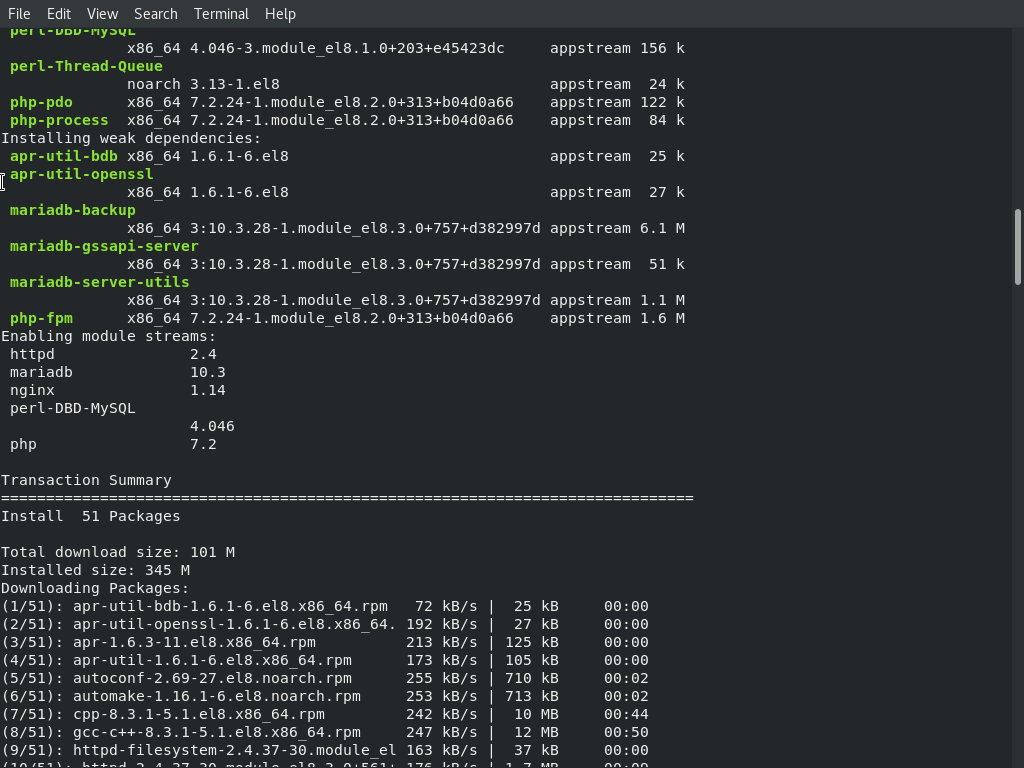

Now we have installed the LAMP server and its required extensions also successfully.
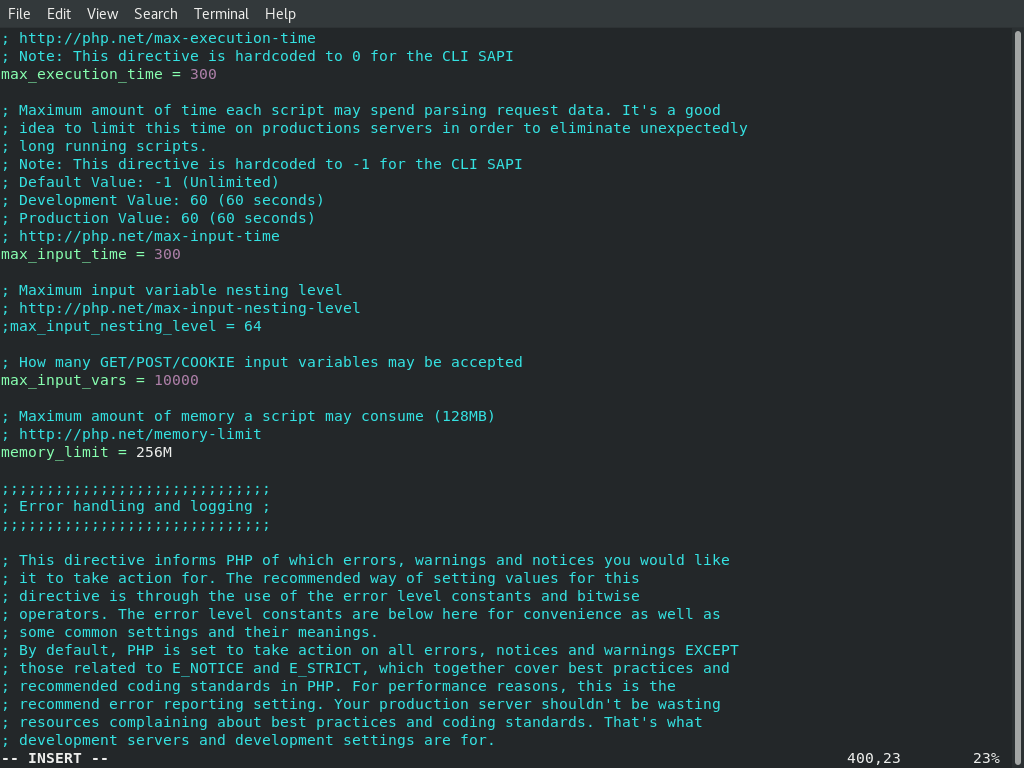
Now open php.ini File and do some minor changes as given below
$ nano /etc/php.ini max_execution_time 300
max_input_time 300
memory_limit 256M
upload_max_filesize 16M
post_max_size 16M
max_input_vars 10000
date.timezone = Asia/Kolkata
You can choose your Timezone as per your requirements.
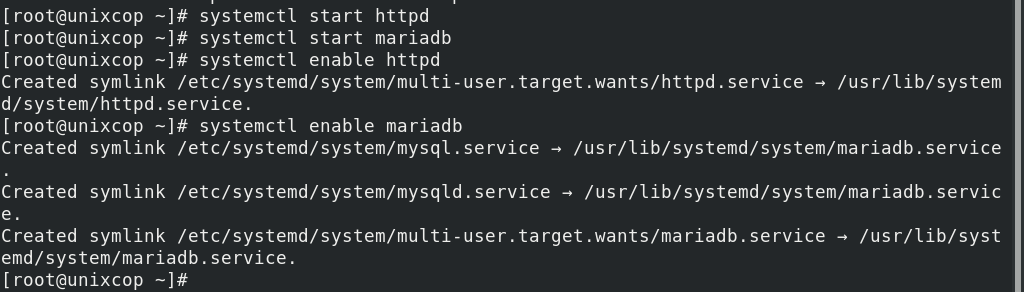
After saving and closing the above file, we have to start the Apache and MariaDB services. And if we want them started automatically after every reboot we have to Enable them as well.
$ systemctl start httpd
$ systemctl start mariadb
$ systemctl enable httpd
$ systemctl enable mariadb
Step (3) MariaDB database configuration
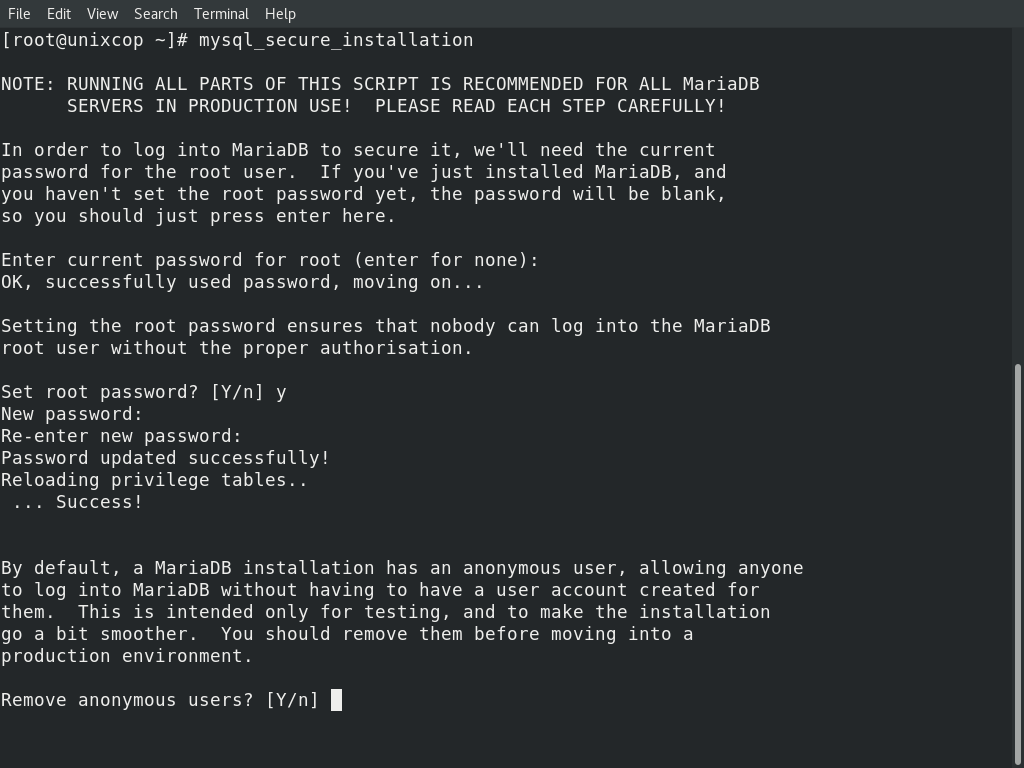
Now first of all we have to secure the MariaDB database so that only authentic users can have the access to it including the ROOT user.
$ mysql_secure_installation
This will set MariaDB ROOT password, remove anonymous login and will Disallow the root login remotely. Do it as shown below:
Enter current password for root (enter for none): Press Enter
Set root password? [Y/n] Y
New password:
Re-enter new password:
Remove anonymous users? [Y/n] Y
Disallow root login remotely? [Y/n] Y
Remove test database and access to it? [Y/n] Y
Reload privilege tables now? [Y/n] Y
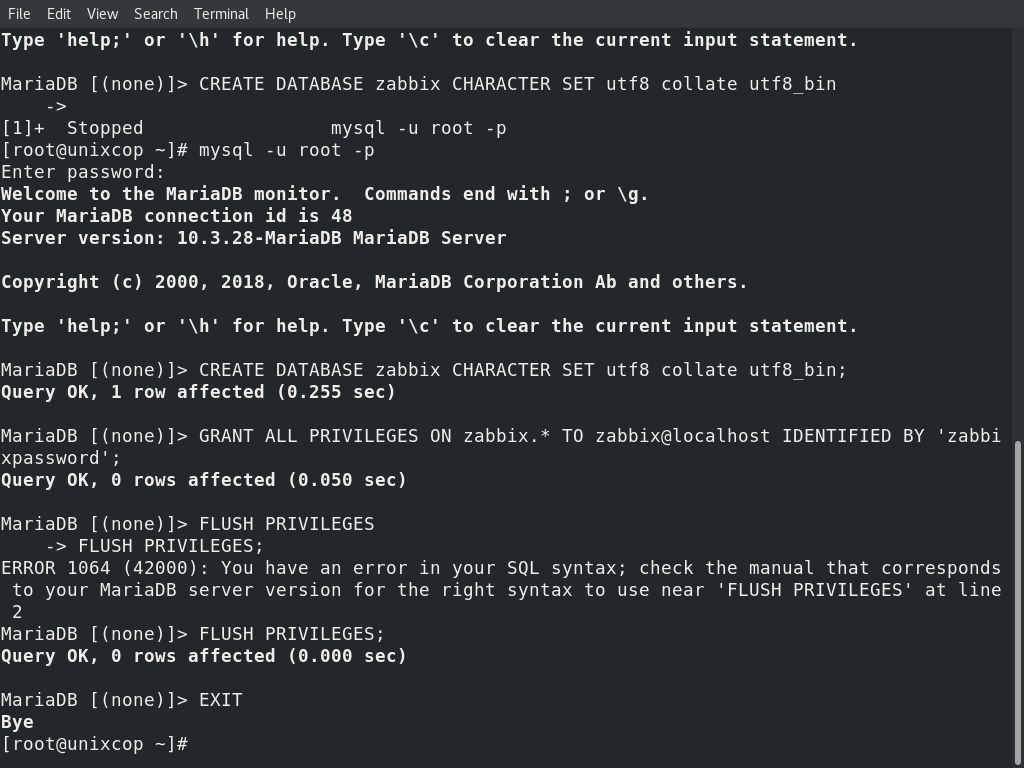
Now Log in to MariaDB shell with command:
$ mysql -u root -p
Now create a Database and user for zabbix
MariaDB [(none)]> CREATE DATABASE zabbix CHARACTER SET utf8 collate utf8_bin;
MariaDB [(none)]> GRANT ALL PRIVILEGES ON zabbix.* TO zabbix@localhost     IDENTIFIED BY 'zabbixpassword';
Now Flush the previleges and get exit from MariaDB
MariaDB [(none)]> FLUSH PRIVILEGES;
MariaDB [(none)]> EXIT;
Step (4) Now Time to install the Zabbix server
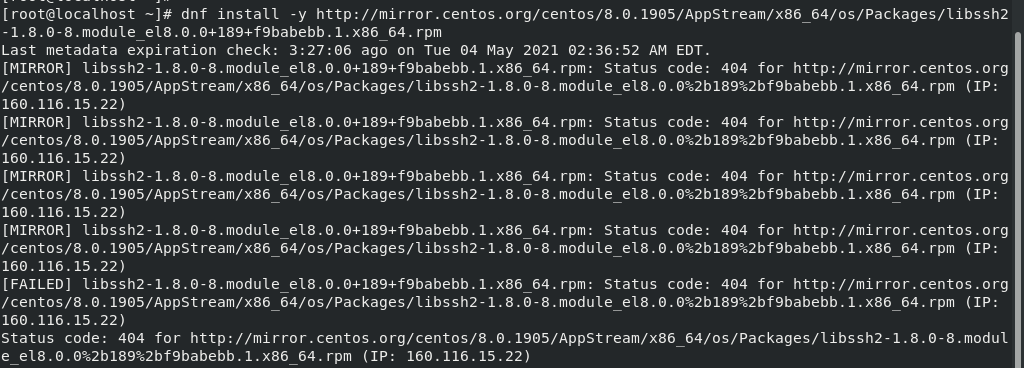
As a pre-requisite install the libssh2 library required by Zabbix for our CENTOS.
$ dnf install -y http://mirror.centos.org/centos/8.0.1905/AppStream/x86_64/os/Packages/libssh2-1.8.0-8.module_el8.0.0+189+f9babebb.1.x86_64.rpm
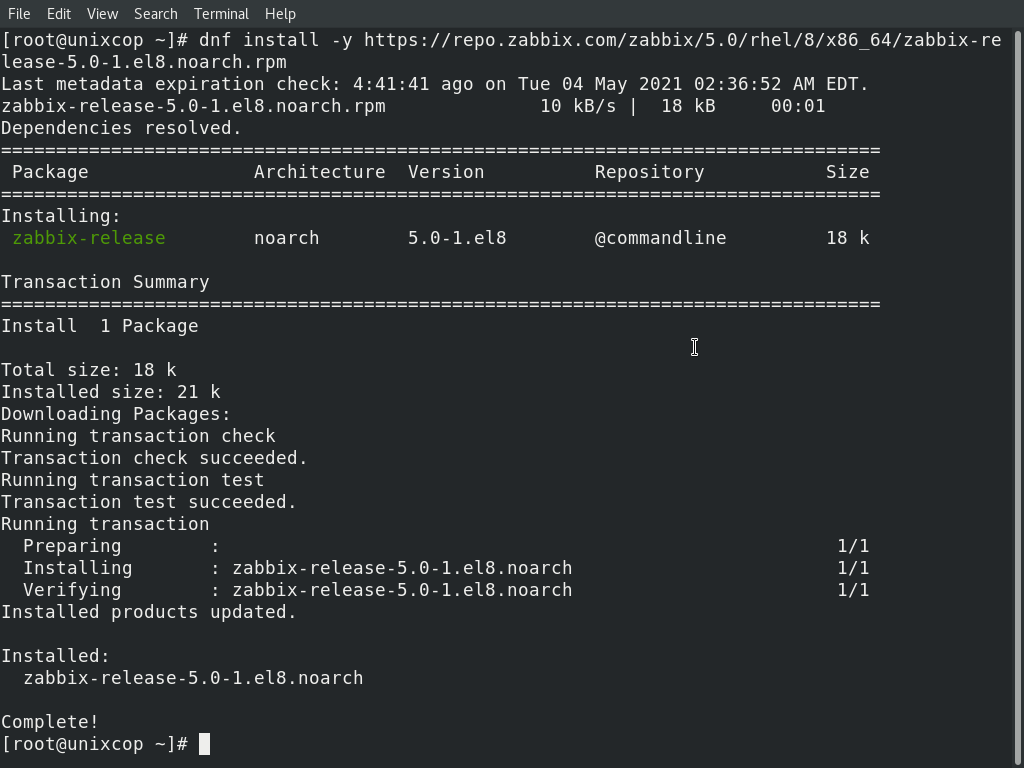
Now install the Zabbix Repository to the system. I am installing the Zabbix 5.0 Repository package.You can go for any of the version as per your requirements.
$ dnf install -y https://repo.zabbix.com/zabbix/5.0/rhel/8/x86_64/zabbix-release-5.0-1.el8.noarch.rpm
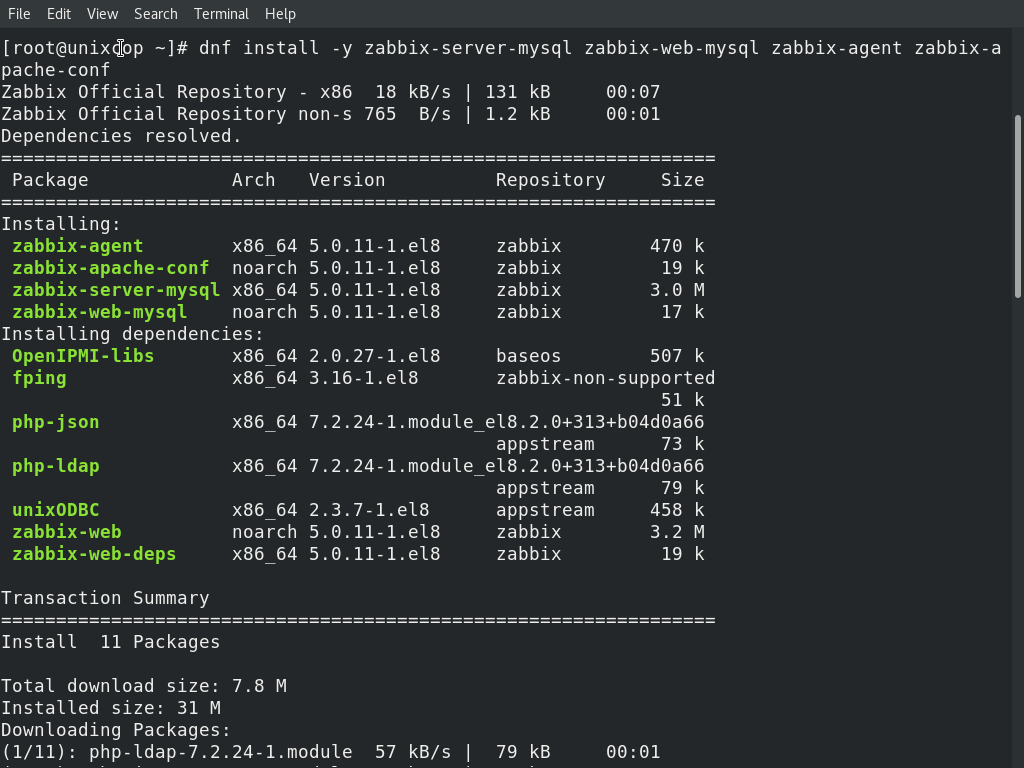
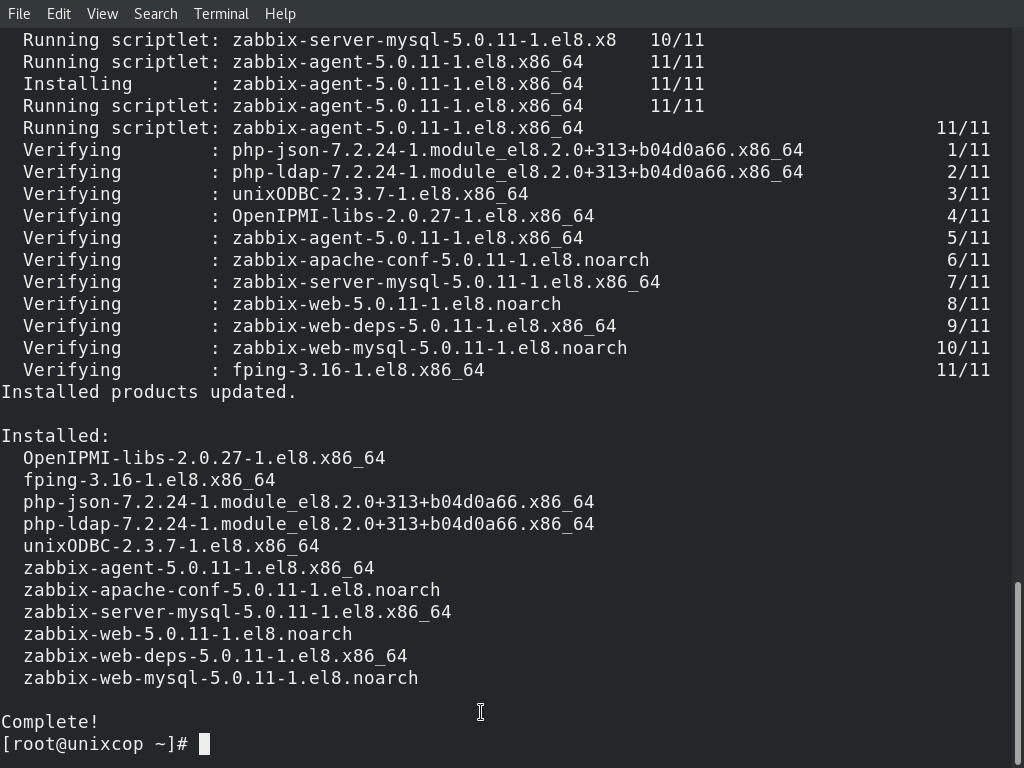
After creating the Repository, enter the below given command to install other reuired packages for zabbix server.
$ dnf install -y zabbix-server-mysql zabbix-web-mysql zabbix-agent zabbix-apache-conf
After completing the installation, start the zabbix server, zabbix agent and PHP-fpm services. Don’t forget to enable them also ,so that they gets restarted automatically after every reboot.
$ systemctl start zabbix-server
$ systemctl start zabbix-agent
$ systemctl start php-fpm
$ systemctl enable zabbix-server
$ systemctl enable zabbix-agent
$ systemctl enable php-fpm
Now Zabbix server and Zabbix agent have started to listening on ports 10050 and 10051.we can verify it with the following command:
$ netstat -ant | grep LISTEN

Step (5) Now its the time to configure Zabbix
First import the database schema to the Zabbix database
$ cd /usr/share/doc/zabbix-server-mysql
$ zcat create.sql.gz | mysql -u zabbix -p zabbix

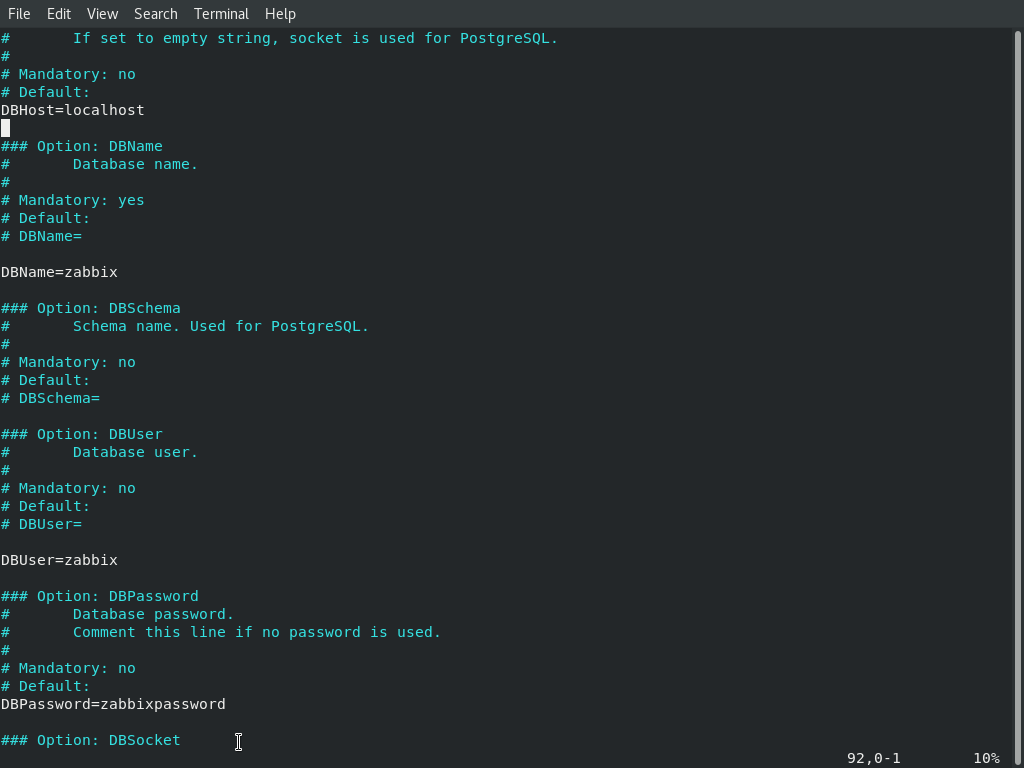
Now enter the zabbix.conf file and enter your desired zabbix credentials.I am using the given credentials so that we don’t get confused during this configuration about these password and credentials.
$ nano /etc/zabbix/zabbix_server.conf
DBHost=localhost
DBName=zabbix
DBUser=zabbix
DBPassword=zabbixpassword
After saving and closing the above file the Next step is to configure PHP for Zabbix frontend. Do this by following command:
$ nano /etc/php-fpm.d/zabbix.conf
Edit the Timezone as per your needs
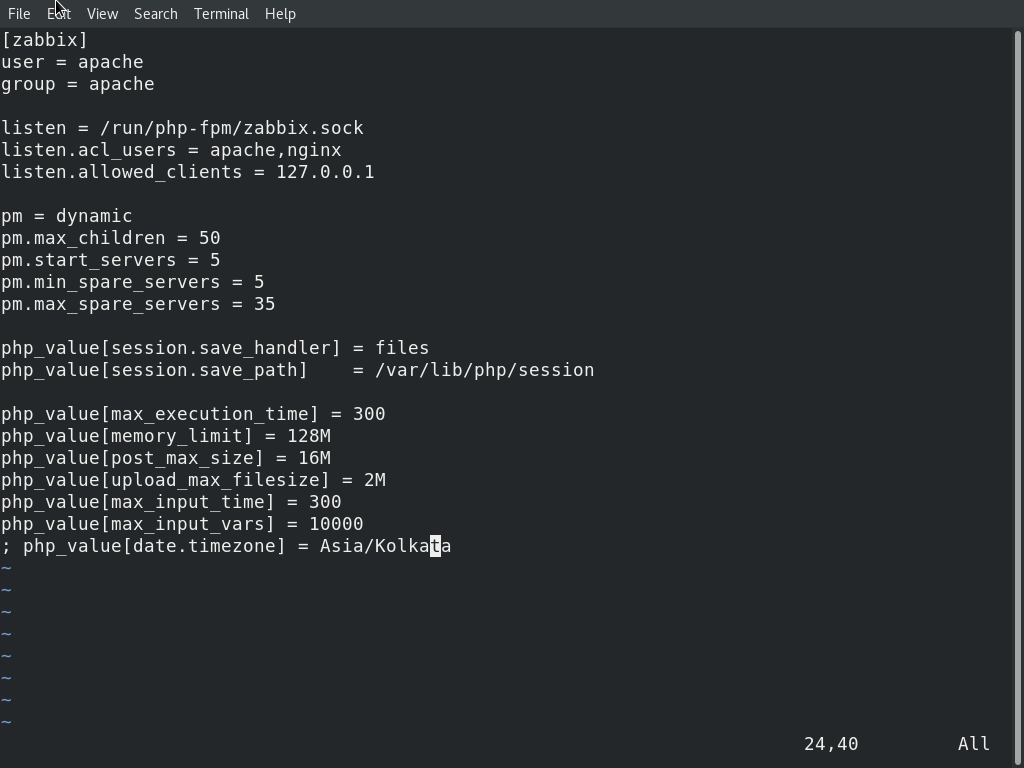
Save and close the above file. Now Restart all the services so that the changes may apply.
$ systemctl restart zabbix-server
$ systemctl restart zabbix-agent
$ systemctl restart php-fpm
$ systemctl restart httpd
$ systemctl restart mariadb
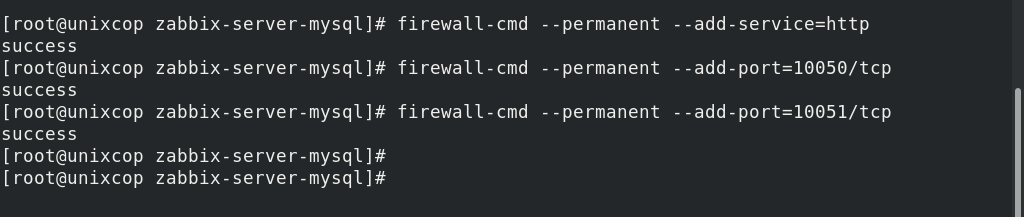
Step (6) Adjust the Firewall for Zabbix
Adjust the Firewall so that it will allow zabbix ports 10050 and 10051.Also we need to allow the httpd service through Firewalld.
$ firewall-cmd --permanent --add-port=10050/tcp
$ firewall-cmd --permanent --add-port=10051/tcp
$ firewall-cmd --permanent --add-service=http
Now restart the Firewalld services to apply the changes.
$ firewall-cmd --reload

Step (7)Finall its the time to access our Zabbix Web interface
Open your browser and type http://server-ip/zabbix. Here ‘Server ip’ is the ip of your server. The other way to access it is with the Loopback address of the system. Loopback address can be used if you are using it for a learning purpose and not for a production environment. For loopback you can enter the following URL: http://127.0.0.1/zabbix.Following screen will appear to do the Zabbix web installation.
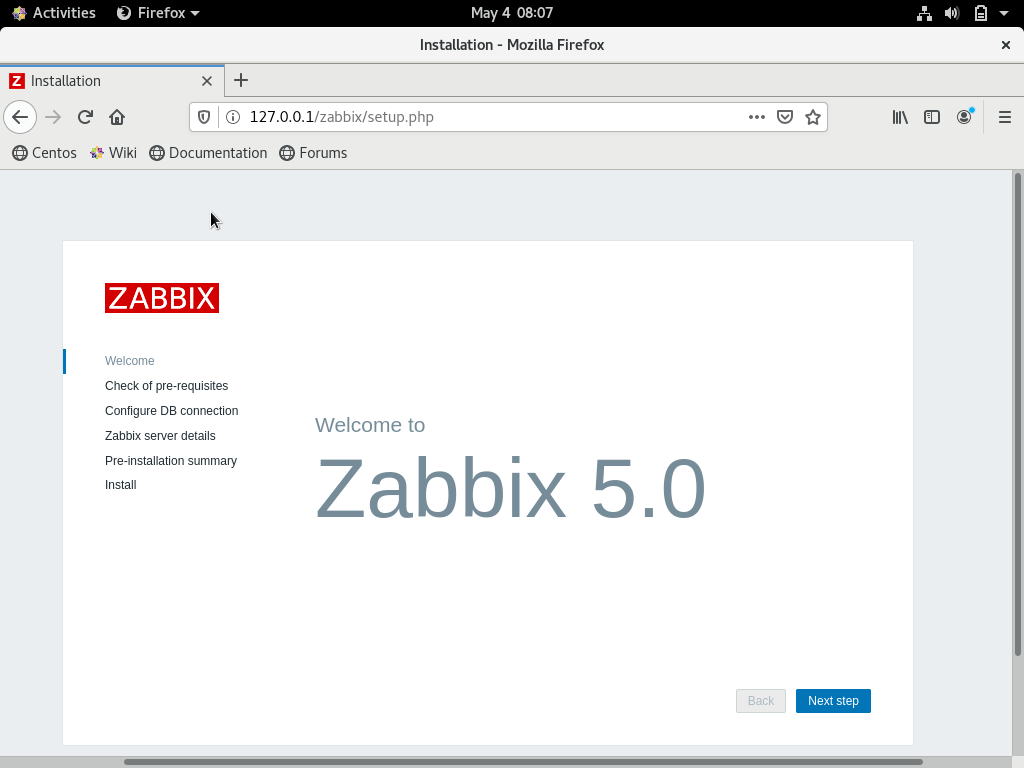
Click Next
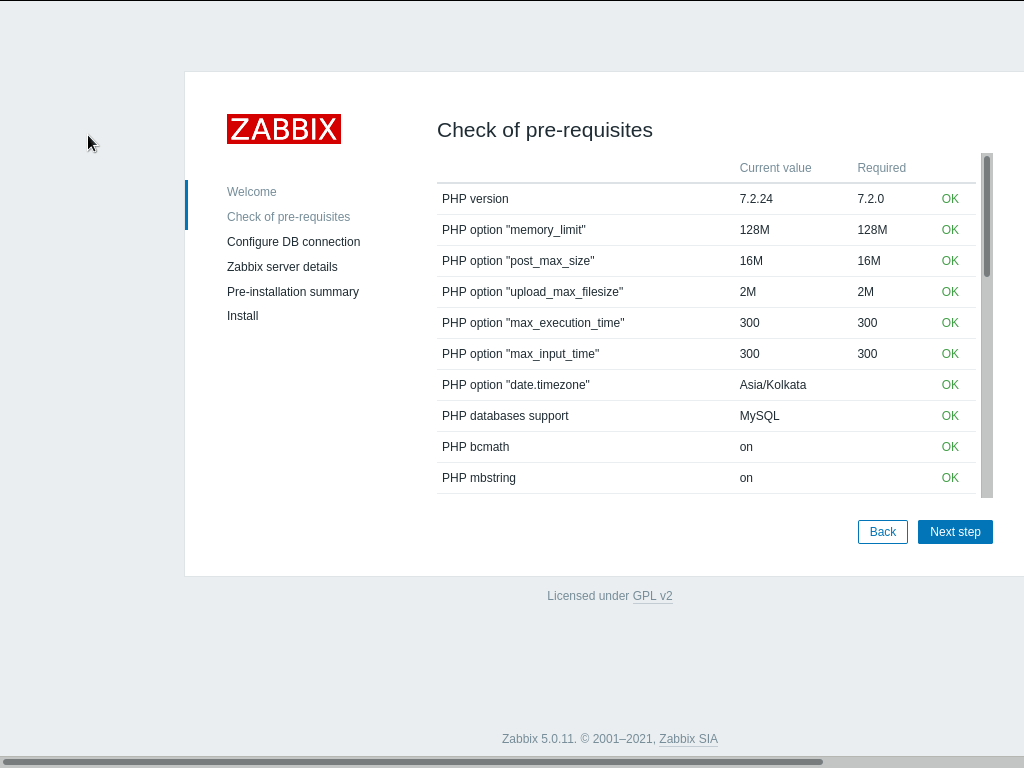
As you can see pre-requisite dependencies are properly installed above. Now click on Next to configure the Database connection. For that you have to provide your credentials as given below.
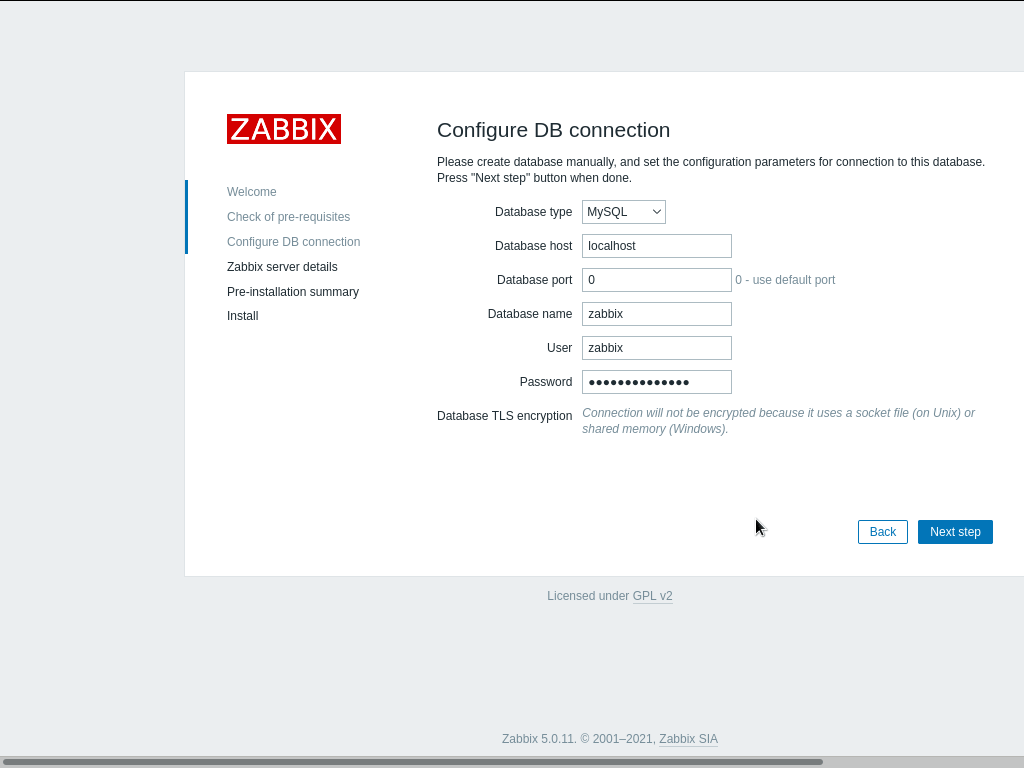
After clicking on Next you will see the below page. Enter your server details in this page and click next.
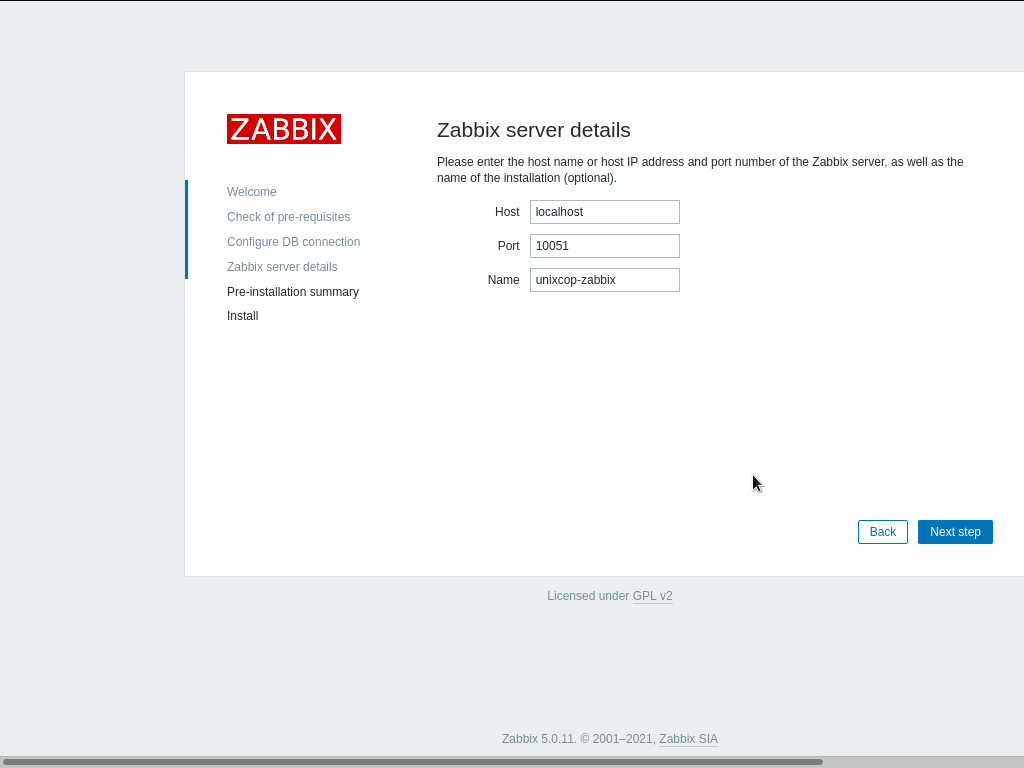
After the above page the below page below will appear. Now remember to make sure that all the things are proper and good. As you can see everything is ok, we will press next to install the Zabbix web interface.
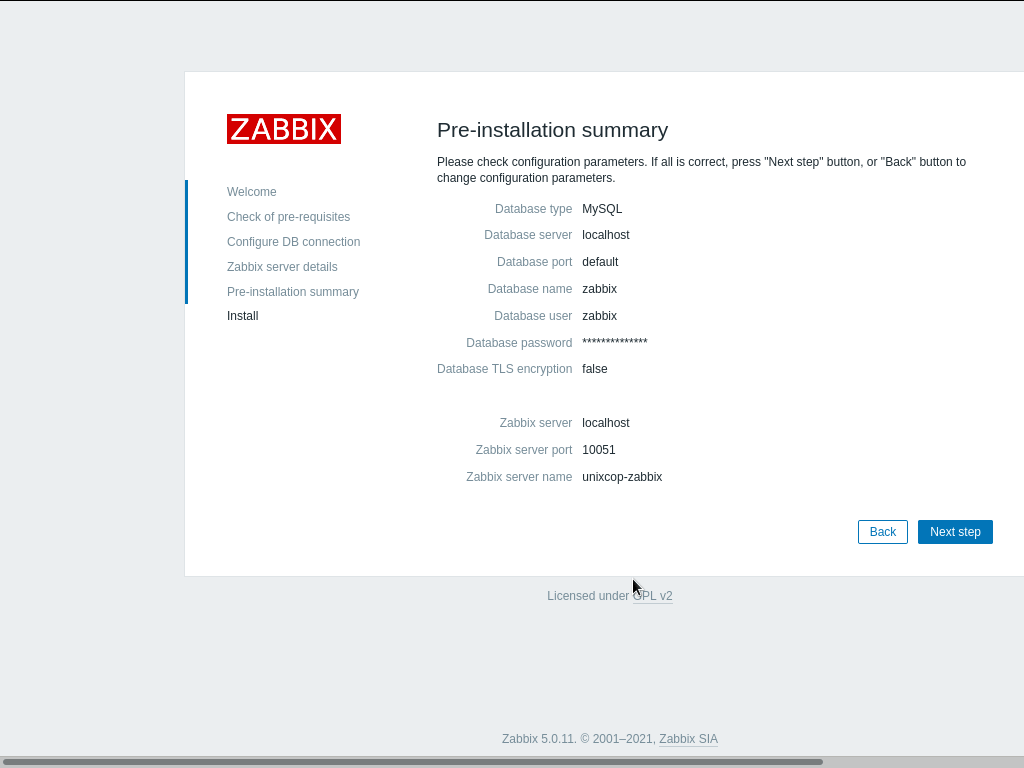
After successful completion of installation below page with a message will appear.
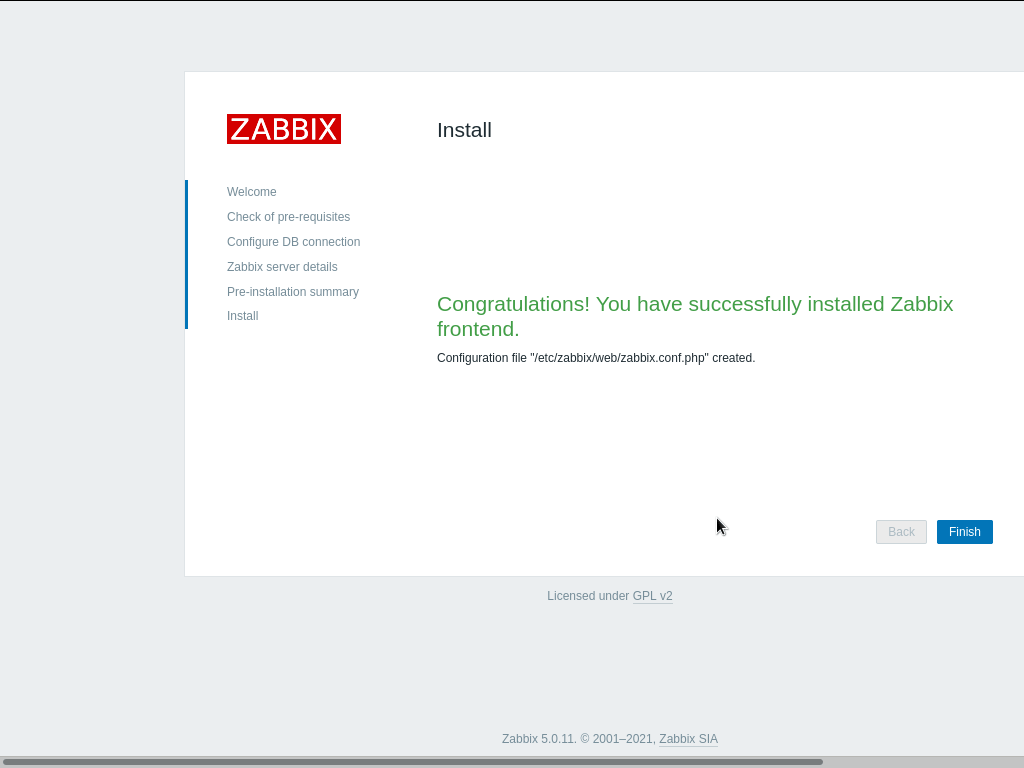
Click on the ‘finish’ button and you would be taken to the Zabbix login page as appeared below.
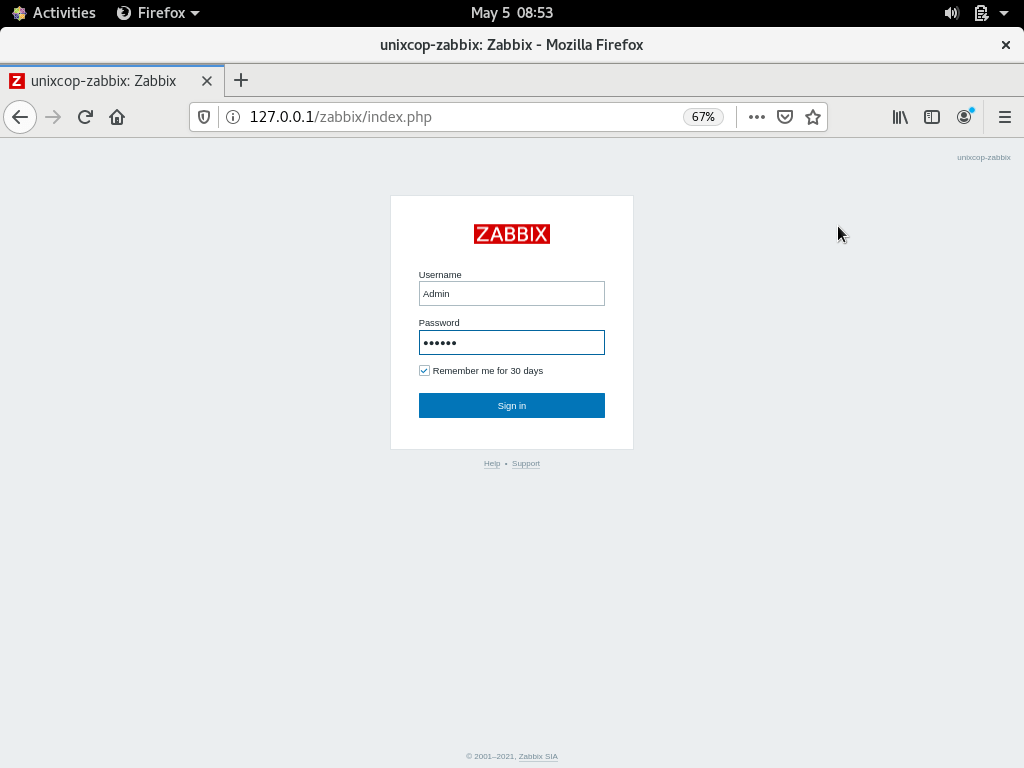
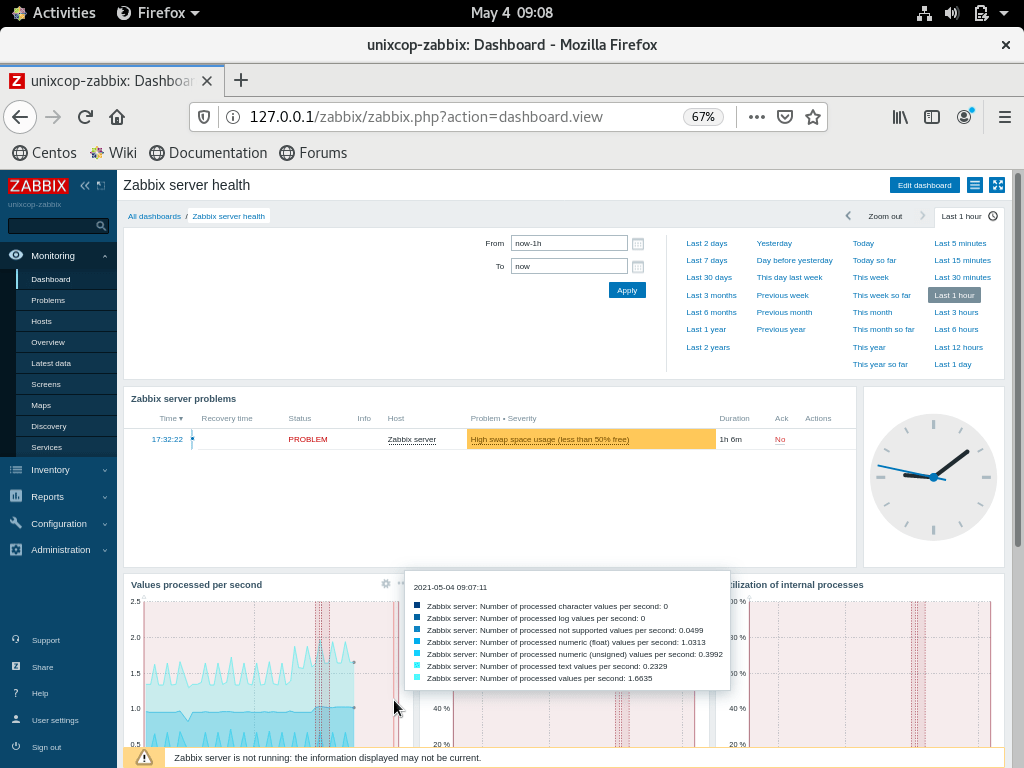
Now enter the Default Username and password as ‘Admin’ and ‘Zabbix’ and Sign in. The Zabbix Dashboard will appear on the screen.
CONCLUSION
In this tutorial I have guided you with the step by step installation of Zabbix server on your CENTOS 8.I keptall the things during this tutorial plain and simple,so that you won’t get stuck anywhere between this. Now you can start exploring its functions and features.