
Introduction
Hashicorp Vagrant is an open-source product for building and maintaining portable virtual software development environments, e.g., for VirtualBox, KVM, Hyper-V, Docker containers, VMware, and AWS. In addition, it tries to simplify the software configuration management of virtualization for development productivity. Ruby Language was used for the creation of vagrant.
Why hashicorp vagrant?
In addition to, Vagrant gives easy to configure, reproducible, and transferable work ecosystems built on top of industry-standard technology and managed by a single, compatible workflow to help maximize the productivity and versatility of you and your team.
Installing hashicorp vagrant
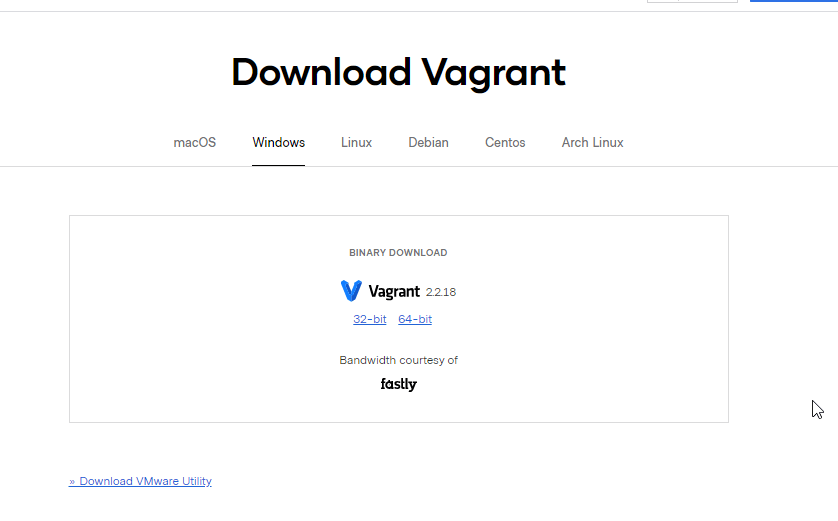
Installing Vagrant is extremely easy. Head over to the Vagrant downloads page and get the appropriate installer or package for your platform. Then, install the package using standard procedures for your operating system.
For this tutorial, we will use Centos/RHEL/Rocky Linux.
# sudo yum install -y yum-utils
# sudo yum-config-manager --add-repo https://rpm.releases.hashicorp.com/RHEL/hashicorp.repo
# sudo yum -y install vagrant
Installing virtualbox
Download rpm from virtualbox.org. Also, try a sample Virtualbox-related tutorial.
# wget https://download.virtualbox.org/virtualbox/6.1.26/VirtualBox-6.1-6.1.26_145957_el7-1.x86_64.rpm
# rpm -ivh VirtualBox-6.1-6.1.26_145957_el7-1.x86_64.rpm
After installation add hashicorp vagrant box
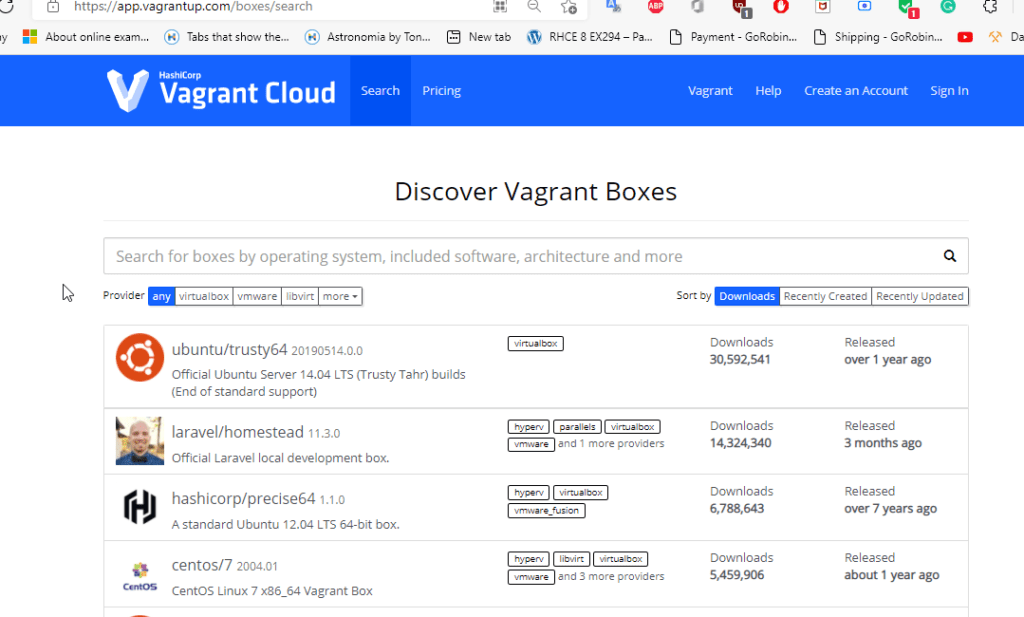
So Vagrant boxes repository you can search you can choose.
Adding the box of your choice
# vagrant box add centos/7Initialize with box installed
# vagrant init centos/7
==> vagrant: A new version of Vagrant is available: 2.2.18 (installed version: 2.2.16)!
==> vagrant: To upgrade visit: https://www.vagrantup.com/downloads.html

A `Vagrantfile` has been placed in this directory. You are now
ready to `vagrant up` your first virtual environment! Please read
the comments in the Vagrantfile as well as documentation on
`vagrantup.com` for more information on using Vagrant.
Start virtualbox vm
The VM will be provisioned during this stage.
# vagrant up
# Bringing machine 'default' up with 'virtualbox' provider...
==> default: Importing base box 'centos/7'...
==> default: Matching MAC address for NAT networking...
==> default: Checking if box 'centos/7' version '2004.01' is up to date...
==> default: Setting the name of the VM: vault_default_1628394527943_40519
==> default: Clearing any previously set network interfaces...
==> default: Preparing network interfaces based on configuration...
    default: Adapter 1: nat
==> default: Forwarding ports...
    default: 22 (guest) => 2222 (host) (adapter 1)
==> default: Booting VM...
==> default: Waiting for machine to boot. This may take a few minutes...
    default: SSH address: 127.0.0.1:2222
    default: SSH username: vagrant
    default: SSH auth method: private key
    default:
    default: Vagrant insecure key detected. Vagrant will automatically replace
    default: this with a newly generated keypair for better security.
    default:
    default: Inserting generated public key within guest...
    default: Removing insecure key from the guest if it's present...
    default: Key inserted! Disconnecting and reconnecting using new SSH key...
==> default: Machine booted and ready!
==> default: Checking for guest additions in VM...
    default: No guest additions were detected on the base box for this VM! Guest
    default: additions are required for forwarded ports, shared folders, host only
    default: networking, and more. If SSH fails on this machine, please install
    default: the guest additions and repackage the box to continue.
    default:
    default: This is not an error message; everything may continue to work properly,
    default: in which case you may ignore this message.
==> default: Automatic installation for Landrush IP not enabled
==> default: Rsyncing folder: /cygdrive/d/vagrant/vault/ => /vagrant
Log in to the vm created
$ vagrant ssh
[vagrant@localhost ~]$
Stopping the vm
You can stop the VM by using the option halt from the vagrant command.
# vagrant haltAdding plugin to hashicorp vagrant
# vagrant plugin install vagrant-vbguest
Installing the 'vagrant-vbguest' plugin. This can take a few minutes...
Building native extensions. This could take a while...
Fetching micromachine-3.0.0.gem
Fetching vagrant-vbguest-0.30.0.gem
Installed the plugin 'vagrant-vbguest (0.30.0)'!
Restarting vagrant vm
Also You can use reload option for vagrant VM.
# vagrant reloadHashicorp Vagrant cli reference
vagrant global-status So This command will show the current status of all active
vagrant status Also This will show the status of the current environment.
vagrant upThis command will create an environment according to Vagrantfile;
vagrant reload This command will delete current and create a new environment according to Vagrantfile;
vagrant rdpThis opens RDP to Windows-based VM;
vagrant powershellThis opens PowerShell remote session, but only from Windows hosts;
vagrant sshThis will establish SSH session with Linux-based VM;
vagrant snapshotThis command will list, create, restore or delete VM snapshots
vagrant suspend This will put the on pause the vm
vagrant resumeThis will turn on the suspended environment
vagrant haltThis shut down the vagrant VM.
vagrant destroyThis command will delete an environment, but not Vagrantfile and shared stuff
Conclusion
The application is possible to install on all operating systems. And so versatile component for automating provisioning and development tools. However, this may be a factor slowing down the system. Requirements, swift changes, and testing purposes it is the best option.