
Hello, friends. In this post, you will learn how to enable mod_headers on Apache web server. The tutorial is intended for Debian / Ubuntu or some derivatives of these. Let’s go.
Introduction
According to the information provided by Apache
This module provides directives to control and modify HTTP request and response headers.
One of the most basic reasons to enable this module is to avoid a 500 error when modifying request headers.
One thing to keep in mind is that in Debian and Ubuntu, although it is included in an installation, it will not be enabled. Fortunately, we will be able to activate it manually, but it is possible that someone may not notice it.
On the other hand, in distributions like RHEL and derivatives, this module comes loaded at once, so you will be able to use it immediately.
Let’s go for it.
Install Apache2 on Debian / Ubuntu
The first thing to do is to install Apache web server. This, in case you don’t already have it on your system. Open a terminal or connect via SSH to your server and install it.
sudo apt update
sudo apt upgrade
Then, install it with the following command
sudo apt install apache2Normally, you will want it to run at system startup
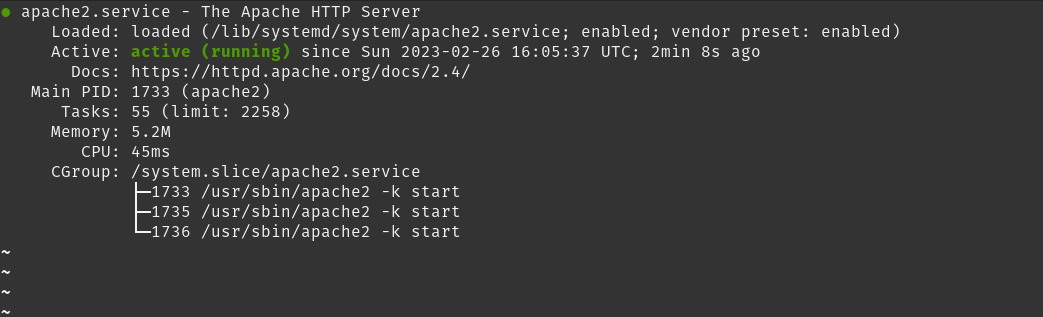
sudo systemctl enable apache2And then you should check the status of the server
systemctl status apache2You will get an output screen like this
Of course, open ports 80 and 443 so it can work.
sudo ufw allow 80
sudo ufw allow 443
sudo ufw reload
Now yes, open a web browser and go to http://your-server You will see a screen like this

Yes, Apache web server is running.
How to enable mod_headers on Apache web server
Enabling this module is relatively simple. To enable it, you can run.
sudo a2enmod headers
Enabling module headers.
To activate the new configuration, you need to run:
  systemctl restart apache2
Of course, to apply the changes you’ll have to restart apache
sudo systemctl restart apache2Now, check if the module is working properly
sudo apachectl -M | headersAnd you should have a screen output like this
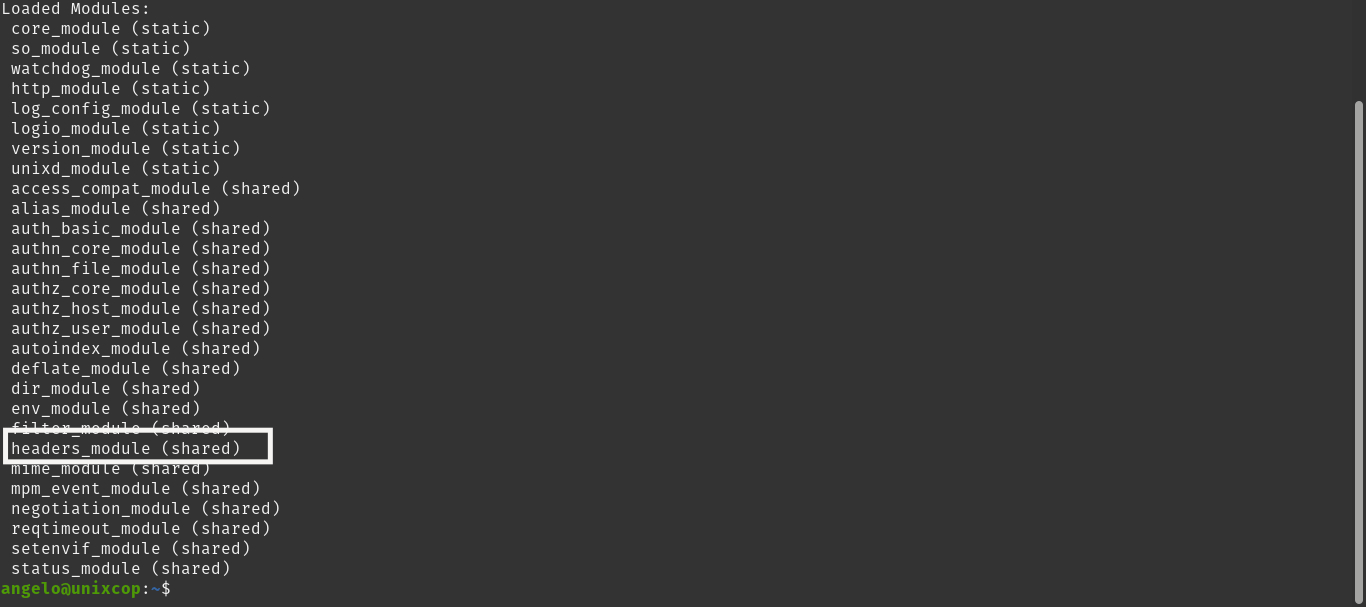
This indicates that the module is enabled and working properly.
Conclusion
The headers module is important if you want to avoid some server errors. This way, it becomes easy to use and enable.