
Hello, friends. In this post, you will learn the basics of the dig and nslookup commands on Linux. These commands, although simple, are part of powerful network utilities.
Introduction to dig and nslookup commands
The tools for querying network actions are important for testing solutions and troubleshooting in everyday system use. In the DNS chaos there are two similar tools that can be counted on are dig and nslookup.
The dig (domain information groper) command is a flexible tool for interrogating DNS name servers. It performs DNS lookups and displays the answers that are returned from the queried name server(s).
Many sysadmins use the command to obtain relevant information related to the DNS of a particular server.
Unless you are asked to query a specific server name, the dig command will send the DNS query to all server names listed in the resolve file, e.g., /etc/resolv.conf.
Dig also allows you to read from a file, all hosts, in bulk form. This makes it possible to use it massively.
As you can guess, dig is essential for domain analytics.
With a similar operation, there is the nslookup command, whose basic function is to find the IP address of a given computer or to perform a reverse DNS lookup.
Like dig, it is a terminal-based tool, so it is useful for configuration scripts and lookups.
Installing the dig and nslookup commands
Although well known and popular, these commands are not installed on most current distributions. However, it is easy to do so because they are in the official repositories of many of them.
So, for Debian, Ubuntu and derivatives, you should install the dnsutils package
sudo apt update
sudo apt install dnsutils
For RHEL, derivatives and the rest of the family including Fedora and CentOS
sudo dnf install bind-utilsAnd in the case of Arch Linux and derivatives such as Manjaro
sudo pacman -S dnsutilsThis way, you can then use the test dig command
dig -vSample output
DiG 9.18.12-0ubuntu0.22.04.1-UbuntuLet’s use it.
Using the dig command on Linux
It is effortless to use the dig command on Linux. The most basic syntax is as follows.
dig [host]For example,
dig unixcop.comBy default, you will get an output like this
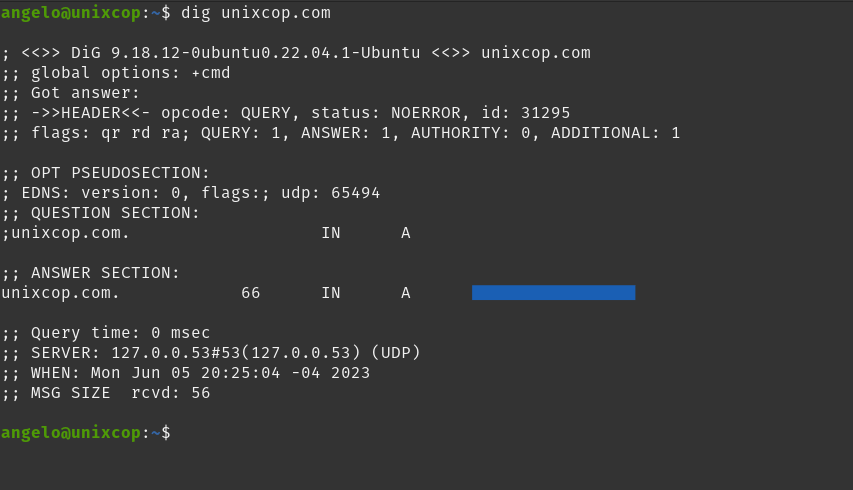
As you can see, a lot of information is displayed. You can filter the output a bit more by using the short answers.
dig unixcop.com +shortHere, it will only return the IP address of the server.
If you want a balance between just enough but balanced information, you can run
dig unixcop.com +noall +answerSample output
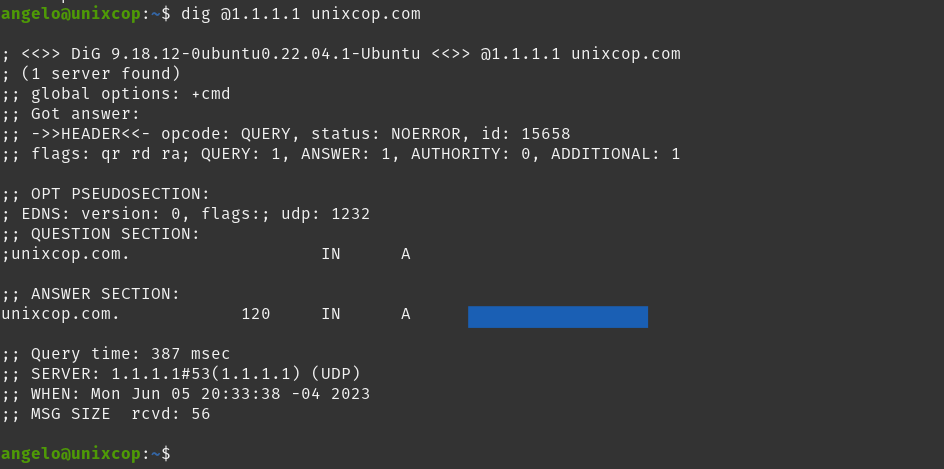
unixcop.com. 120 IN A X.X.X.X.XYou can also specify to use a DNS to access the server. For example,
dig @1.1.1.1.1 unixcop.comSample output
To query any of the specified DNS, add ANY
dig unixcop.com ANYNow, if you want to look up a specific record, simply add the record type to the end of the command.
dig unixcop.com MXOr any other: A, ns, txt,cname.
Using the nslookup command
In the nslookup case, the process is much simpler as it has fewer options. The most basic way to use it is to simply pass the host as the only argument.
nslookup unixcop.com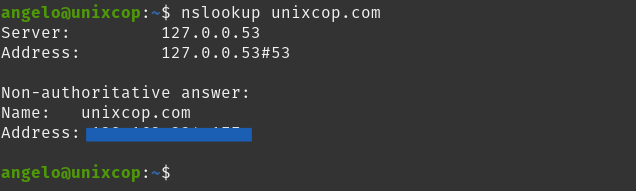
You can also enter the interactive mode by simply running
nslookupThen, you can do other operations such as setting the server by IP
server 8.8.8.8.8Conclusion
Dig and nslookup are tools to keep in mind so that you can have information about DNS on a server. It must be in the end so that you can apply it at work.