
In this article we will learn How to Create Golang Virtual Environments Using Conda In Linux. Golang is an opensource programming language to build simple, reliable, and efficient software. It was developed at Google and its similar to C language syntax-wise. Golang is actively being used in many Google servers as well other popular tech companies like Dropbox, CoreOS, CloudFlare etc.
Golang is available in the default channel maintained by the developers of Anaconda Distribution. To Create Golang Virtual environment we have to install Anaconda first.
Install Anaconda On Linux:
Anaconda Python distribution comes as free and paid editions. The Individual edition is free for personal use and learning purposes. We will be using Anaconda Individual edition.
Install the prerequisites for Anaconda using the following command:
apt install libgl1-mesa-glx libegl1-mesa libxrandr2 libxrandr2 libxss1 libxcursor1 libxcomposite1 libasound2 libxi6 libxtst6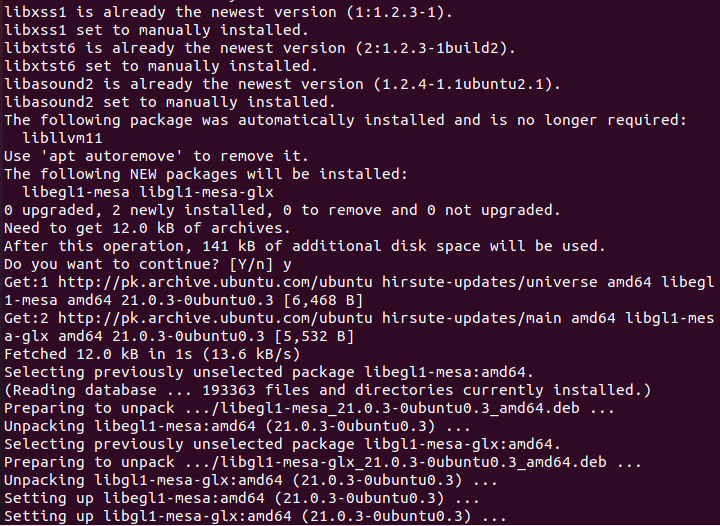
After installing the prerequisites, download the latest Anaconda installer for Linux from Anaconda Official Download Page.
Use the following command to do so.
wget https://repo.anaconda.com/archive/Anaconda3-2021.05-Linux-x86_64.sh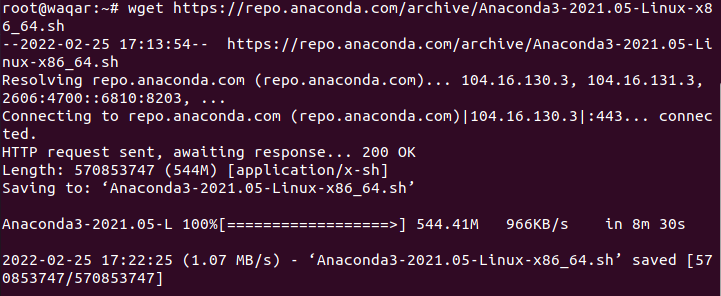
Now, start Anaconda installation using command:
bash Anaconda3-2021.05-Linux-x86_64.sh 
Press ENTER to continue installation:
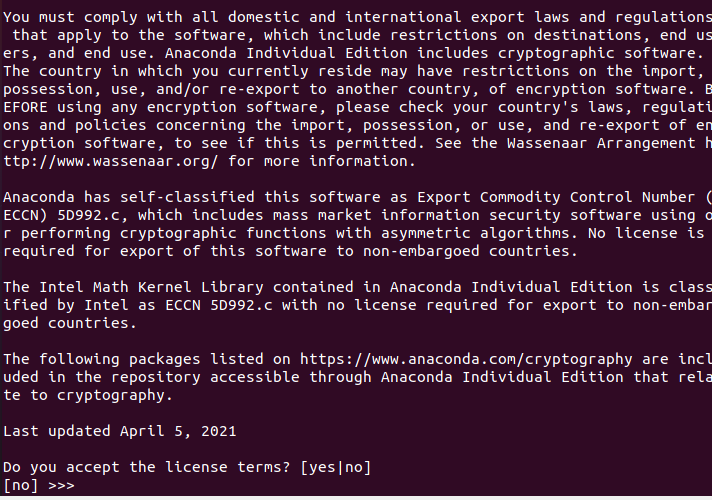
Type “yes” to accept license terms and then press “ENTER”
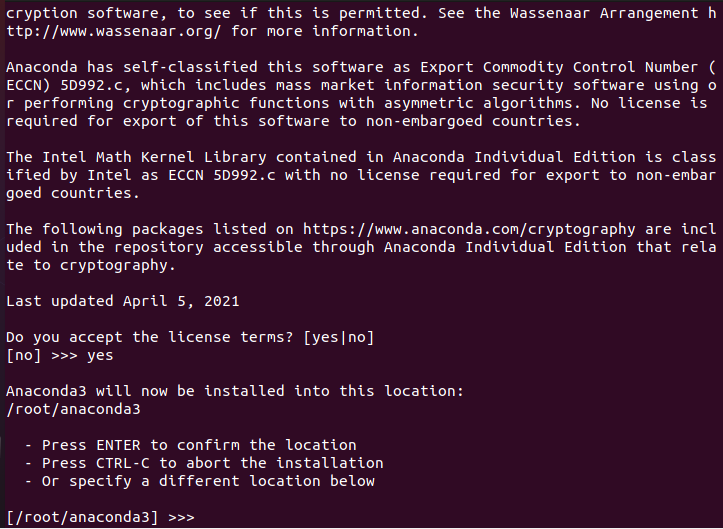
Press Enter for the Default location where Anaconda will be installed or specify your desired location and press ENTER.
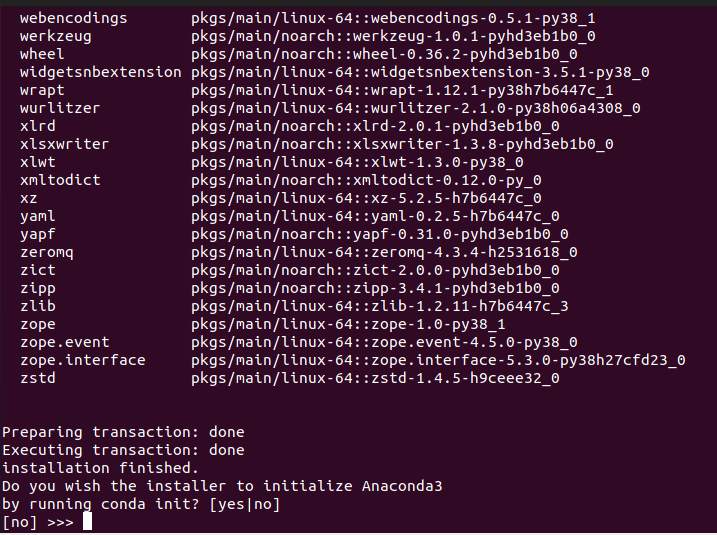
Next you will be asked if you want to initialize Anaconda. It is recommended to initialize it, so just type yes and press ENTER.
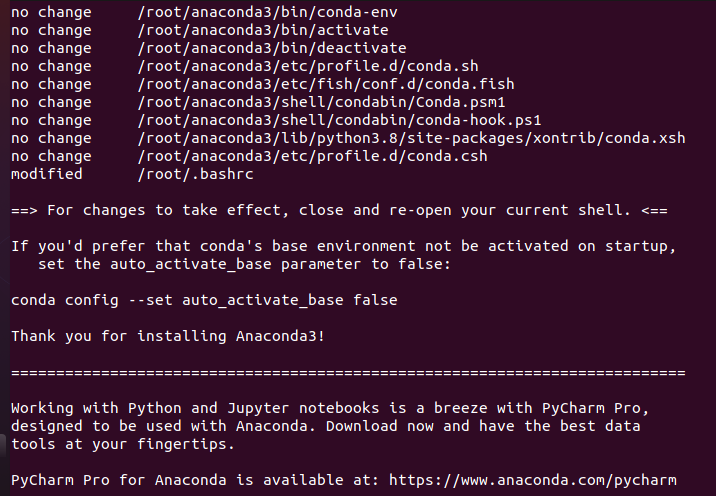
For the installation to take effect, close and open your terminal and run the following command:
source ~/.bashrc
You can now see that Conda is activated.
Create Golang Virtual Environments
To install Go from Conda-forge using Conda package manager, run the following command:
conda create -c conda-forge -n goenv go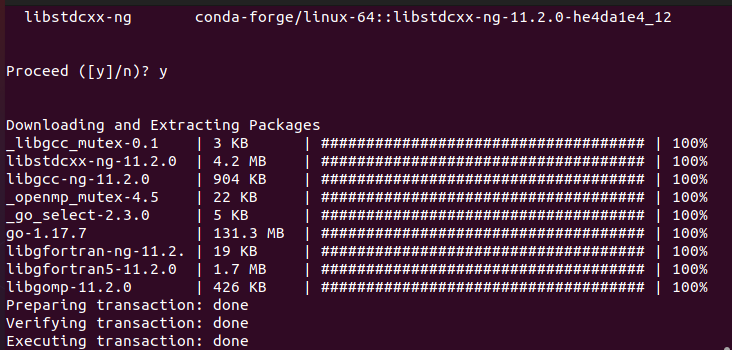
The above command will create a new Conda environment named goenv and install Go language and other required dependencies inside the environment.
You can verify if the Go environment is created by listing the available Conda environments using the following command:
conda info --envs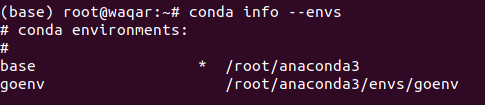
As you can see in the above picture I have 2 environments base and goenv in my Conda.
Now activate the newly create Golang environment using the following command:
conda activate goenv
As you can see in the above image conda environment has been changed from base to goenv.
Check the Golang Virtual Environment using the following command:
go version
Delete Golang Virtual Environment:
First, you have to deactivate the Go environment using the following command:
conda deactivateNow delete the Golang Virtual environment by running the following command:
conda env remove -n goenv
That’s It we have learned How to create and delete Golang virtual environment successfully.
Hi Mel,
Could you explain the difference between command no1: “` conda create -c conda-forge -n goenv go “`
and command no2: “` conda create –name goenv go “`
When I use the command no1, I get the latest version of Golang.
However, when I use command number 2 (which is not recommended by you), I get Golang version 1.16 .
Regards,
Sagar